press-on nails
How to Reuse Press-On Nails (And Get Multiple Wears Out of One Set)
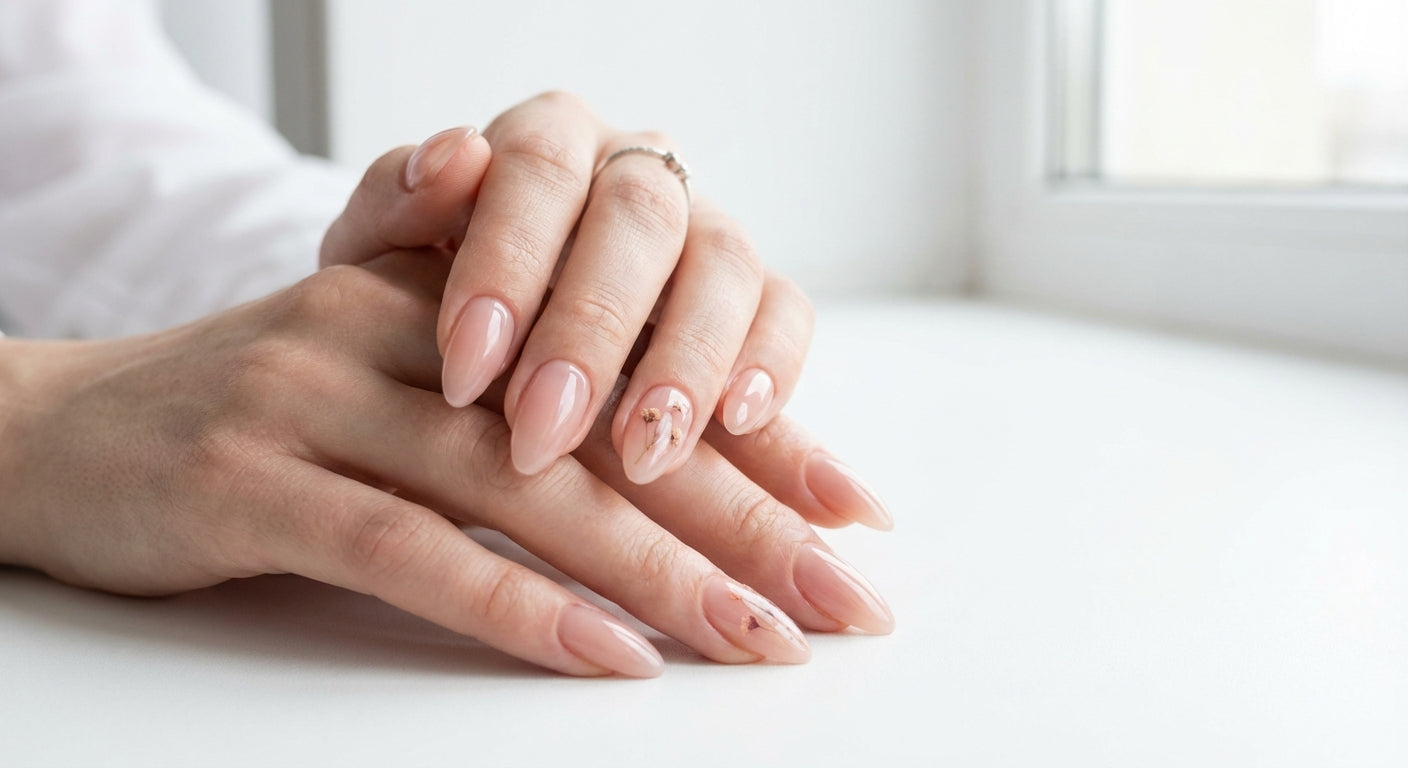
Yes, you can absolutely reuse press-on nails — if you remove, clean, and store them properly. Here's exactly how to get 2-5 wears from a single set.
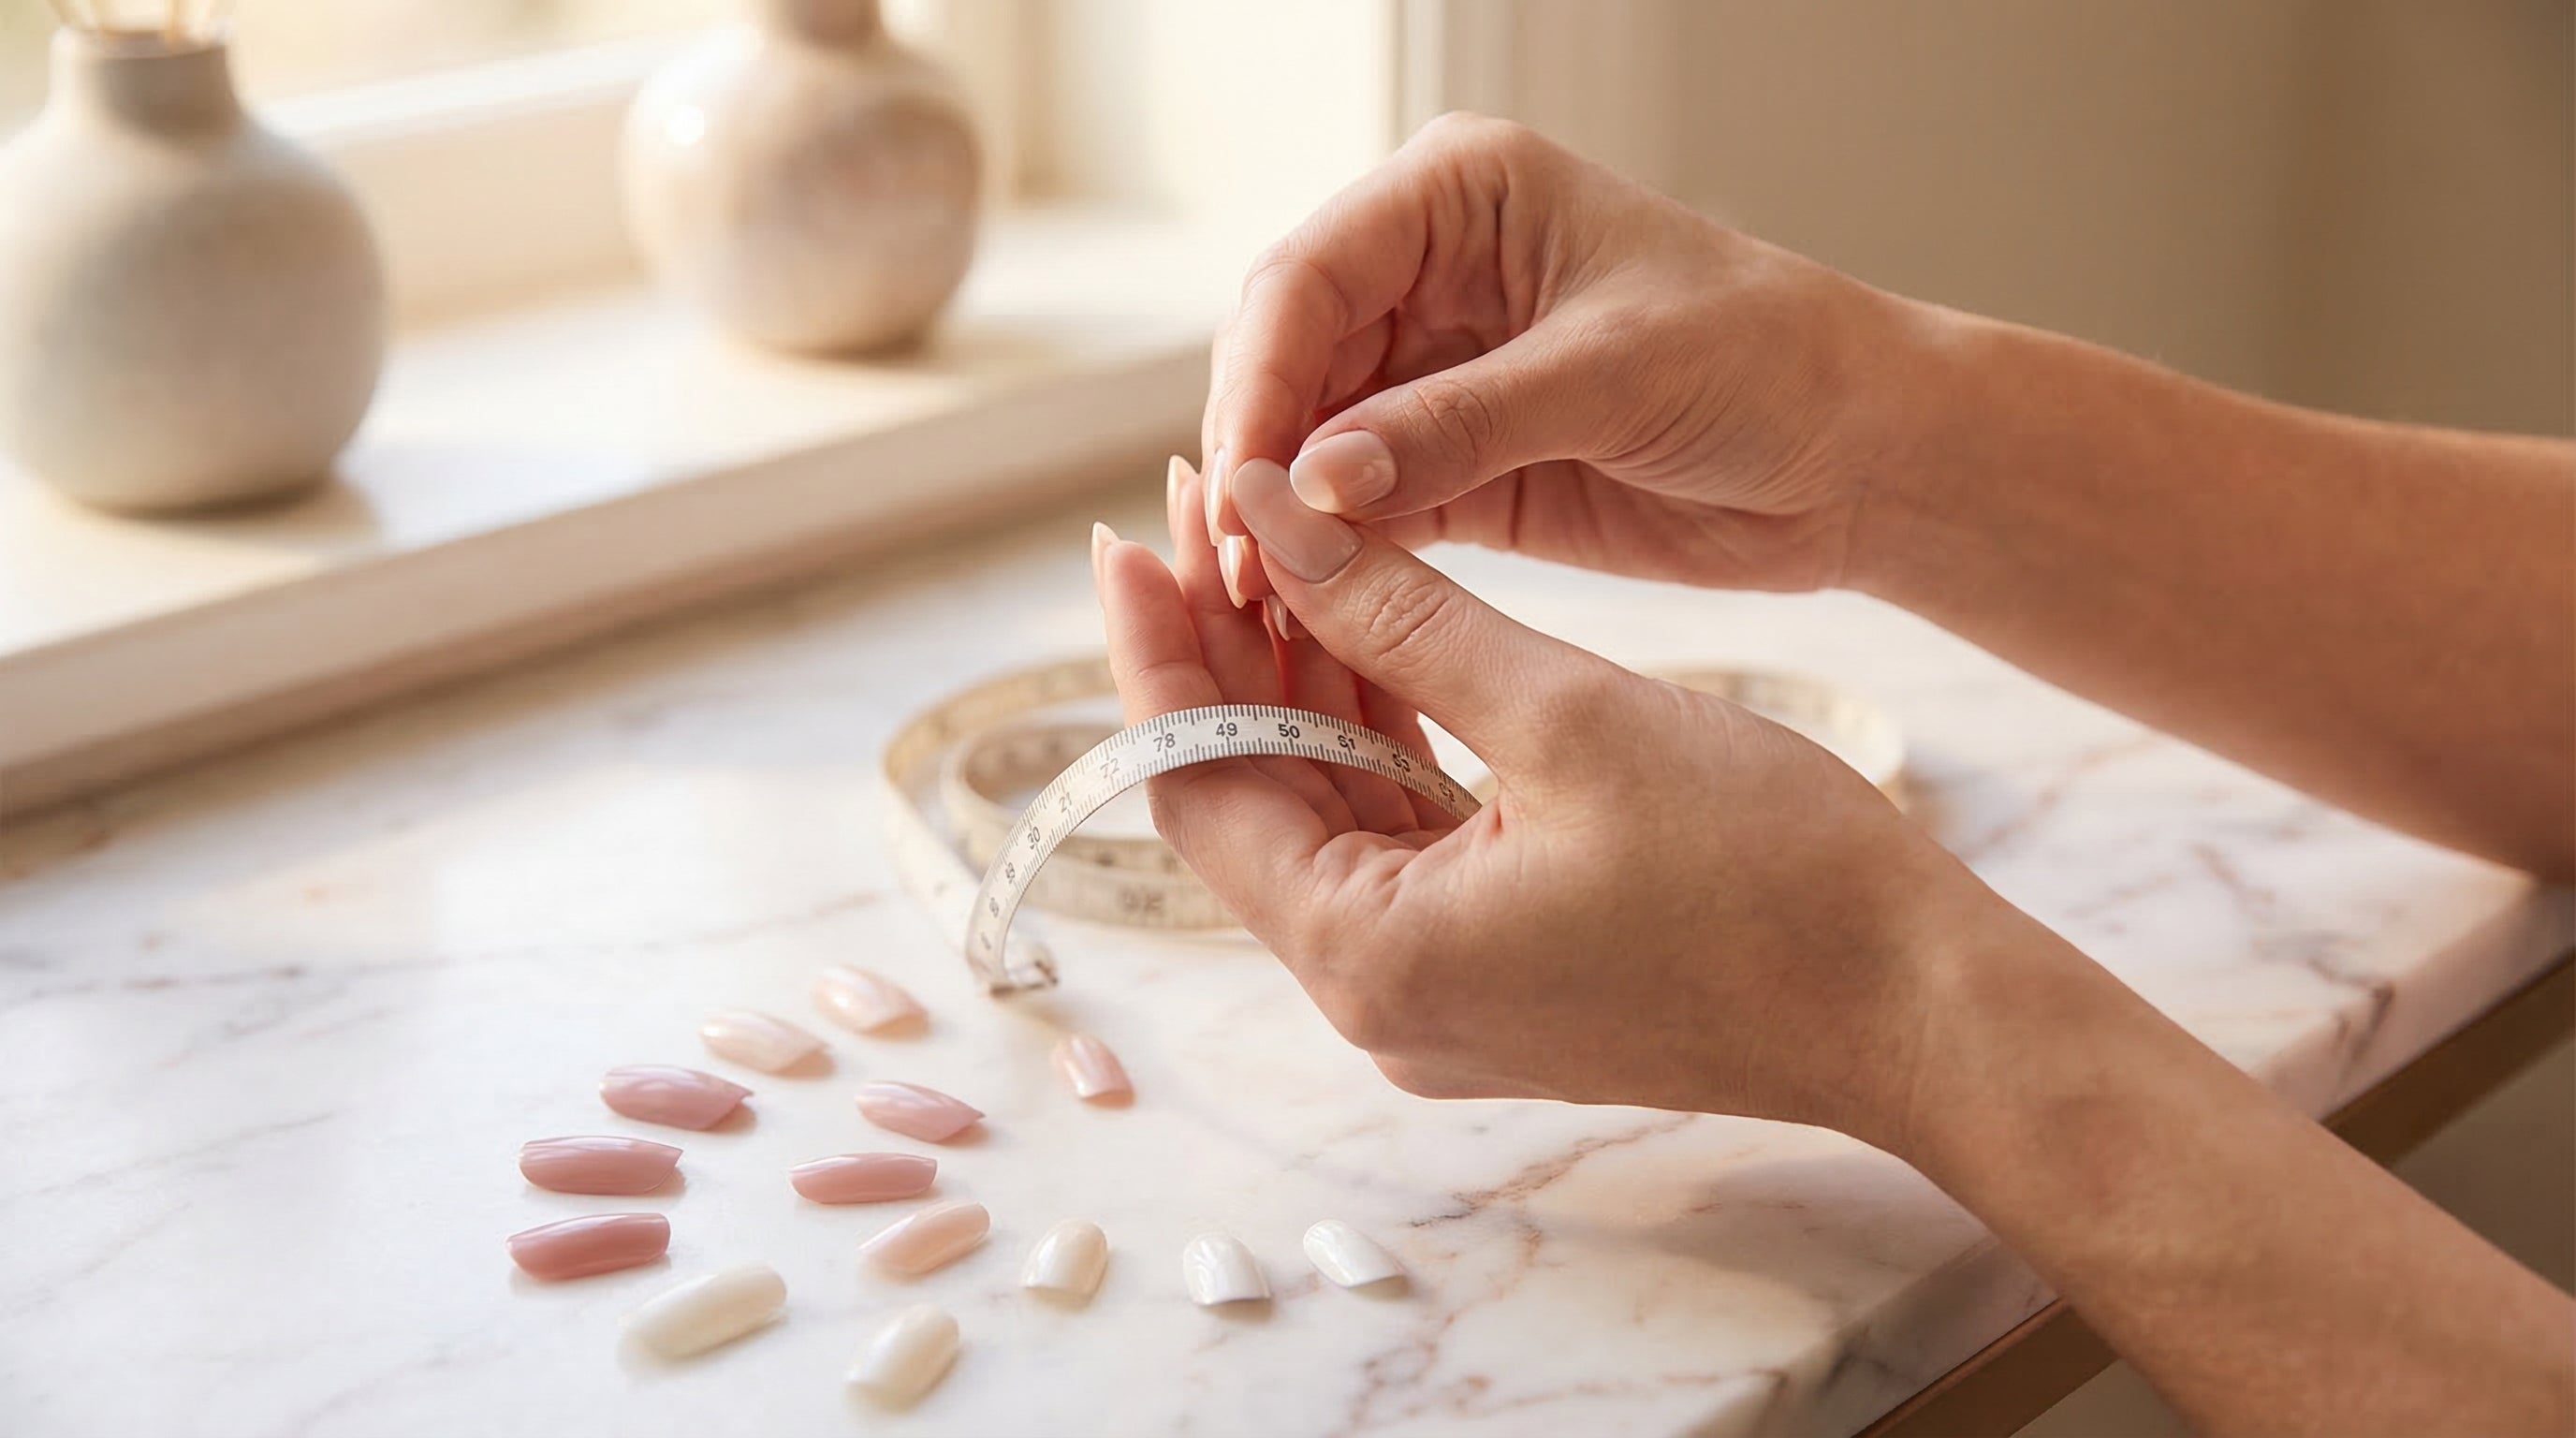
Getting the right size is the single most important step for press-on nails that look natural and stay put. A nail that's too wide lifts at the edges. Too narrow and it looks obviously fake. But sizing isn't complicated once you know what to look for — and it takes about five minutes.
Most people who say "press-ons don't work for me" are actually just wearing the wrong size. A properly sized press-on nail sits flush against your cuticle line and covers your natural nail from edge to edge — without overlapping the skin.
When the fit is right, three things happen:
You don't need special tools. A flexible measuring tape works best, but a piece of string and a ruler do the job too.
Measure the widest point of each nail — that's your number. For most people, this is roughly in the middle of the nail bed, but some nails are wider near the cuticle. Here's how:
1. Place the measuring tape across your nail at the widest point
2. Measure from one sidewall to the other — where the nail meets the skin on each side
3. Note the measurement in millimetres
4. Repeat for all ten fingers
Don't press the tape into the skin. You want the actual nail surface width, not the width including the folds on either side.
Some press-on brands include sizing stickers or templates. At Popink, every set comes with sizing guidance — but if you want to double-check:
1. Cut small strips of paper (about 2 cm × 1 cm)
2. Press a strip across each nail at the widest point
3. Mark both edges with a pen
4. Measure the distance between marks
This works especially well for nails that curve a lot, since the paper moulds to the shape.
Most press-on nail sets use a numbered sizing system — typically 0 through 9, where 0 is the largest and 9 is the smallest. Your thumb is almost always size 0 or 1, while your pinky is usually 7, 8, or 9.
Here's the thing that trips people up: sizes aren't perfectly standardised across all brands. A size 3 from one brand might be slightly different from another. That's why measuring matters more than memorising a number.
At Popink, we include a range of sizes in every set so you can find the exact match for each finger. When you're between sizes, always go slightly larger — you can file down a press-on that's a fraction too wide, but you can't add material to one that's too narrow.
| Finger | Common sizes |
|---|---|
| Thumb | 0–1 |
| Index finger | 2–4 |
| Middle finger | 3–5 |
| Ring finger | 4–6 |
| Pinky | 7–9 |
Your left and right hands may differ by half a size on some fingers. That's completely normal — measure both hands.
Width isn't the only thing that matters. The curve of the press-on nail at the base needs to match your cuticle shape.
Before applying adhesive, hold each nail against your finger and check:
A nail might look like it covers your nail bed, but if there's even 0.5 mm overlap onto the skin, it'll lift. Always check the edges.
Oils and moisture can make your nail bed look slightly different. Measure on clean, dry hands for the most accurate result.
They're usually close, but not identical. Your dominant hand tends to have very slightly wider nail beds. Measure each finger individually.
If you're choosing between, say, an almond and a coffin shape, remember that shape affects how the nail appears on your finger. A wider nail shape like square or coffin needs precise width sizing, while an almond or stiletto shape is more forgiving because the tapered tip draws the eye away from the base.
This happens more often than you'd think, and it's not a problem. Go up one size and file down the sides.
Here's how:
1. Pick the next size up
2. Hold it against your nail to see where the excess is
3. Use a fine nail file (180 grit works well) and file the sides in one direction — don't saw back and forth
4. Keep checking the fit as you go
5. Once it sits flush, smooth any rough edges
It takes about 30 seconds per nail and the result is a custom fit that looks completely natural. This is honestly one of the best tricks for making press-ons look like salon-quality nails.
Some people have naturally wide nail beds, and others have narrow ones. Neither is a problem — it just means you need to pay a bit more attention to sizing.
Wide nail beds: Look for sets with generous sizing at the top end. If a size 0 is still too narrow for your thumb, filing a size 0 slightly on the cuticle curve (not the width) can sometimes help it sit better. Some brands also offer "wide fit" sets.
Narrow nail beds: You'll probably use sizes on the smaller end of the range. The filing trick works here too — just file the sides of a slightly-too-wide nail until it matches your nail bed exactly.
If you've never worn press-on nails before, here are a few things that'll make your first sizing session easier:
A properly sized press-on covers your entire natural nail from sidewall to sidewall without any overlap onto the surrounding skin. It should sit flat without rocking, and the base curve should closely follow your cuticle line. If you see gaps at the sides or the nail hangs over the skin, it's the wrong size.
Absolutely — and you should. If you're between sizes, go up one size and gently file the sides with a fine-grit file (180 grit) until it sits perfectly. You can also file the base curve to better match your cuticle shape. Just file in one direction to avoid rough edges.
Yes, there's no universal standard. A size 4 from one brand might be slightly wider or narrower than a size 4 from another. That's why measuring your actual nail width in millimetres is more reliable than memorising a size number. Once you know your measurements, you can match them to any brand's sizing chart.
Always measure and fit after pushing back your cuticles. Pushing them back reveals more of your nail bed, which can change the effective width and the cuticle line shape. If you size before pushing cuticles back, you might end up with nails that are slightly too small.
Completely normal. Most people have slight size differences between their left and right hands, and your dominant hand often has marginally wider nail beds. Always measure and fit each hand separately rather than assuming they're the same.
Ready to find your perfect fit? Check out our size guide to find your exact measurements, then browse our press-on nail collection and use these sizing tips to get nails that look — and feel — like they were made for you.
Yes, you can absolutely reuse press-on nails — if you remove, clean, and store them properly. Here's exactly how to get 2-5 wears from a single set.
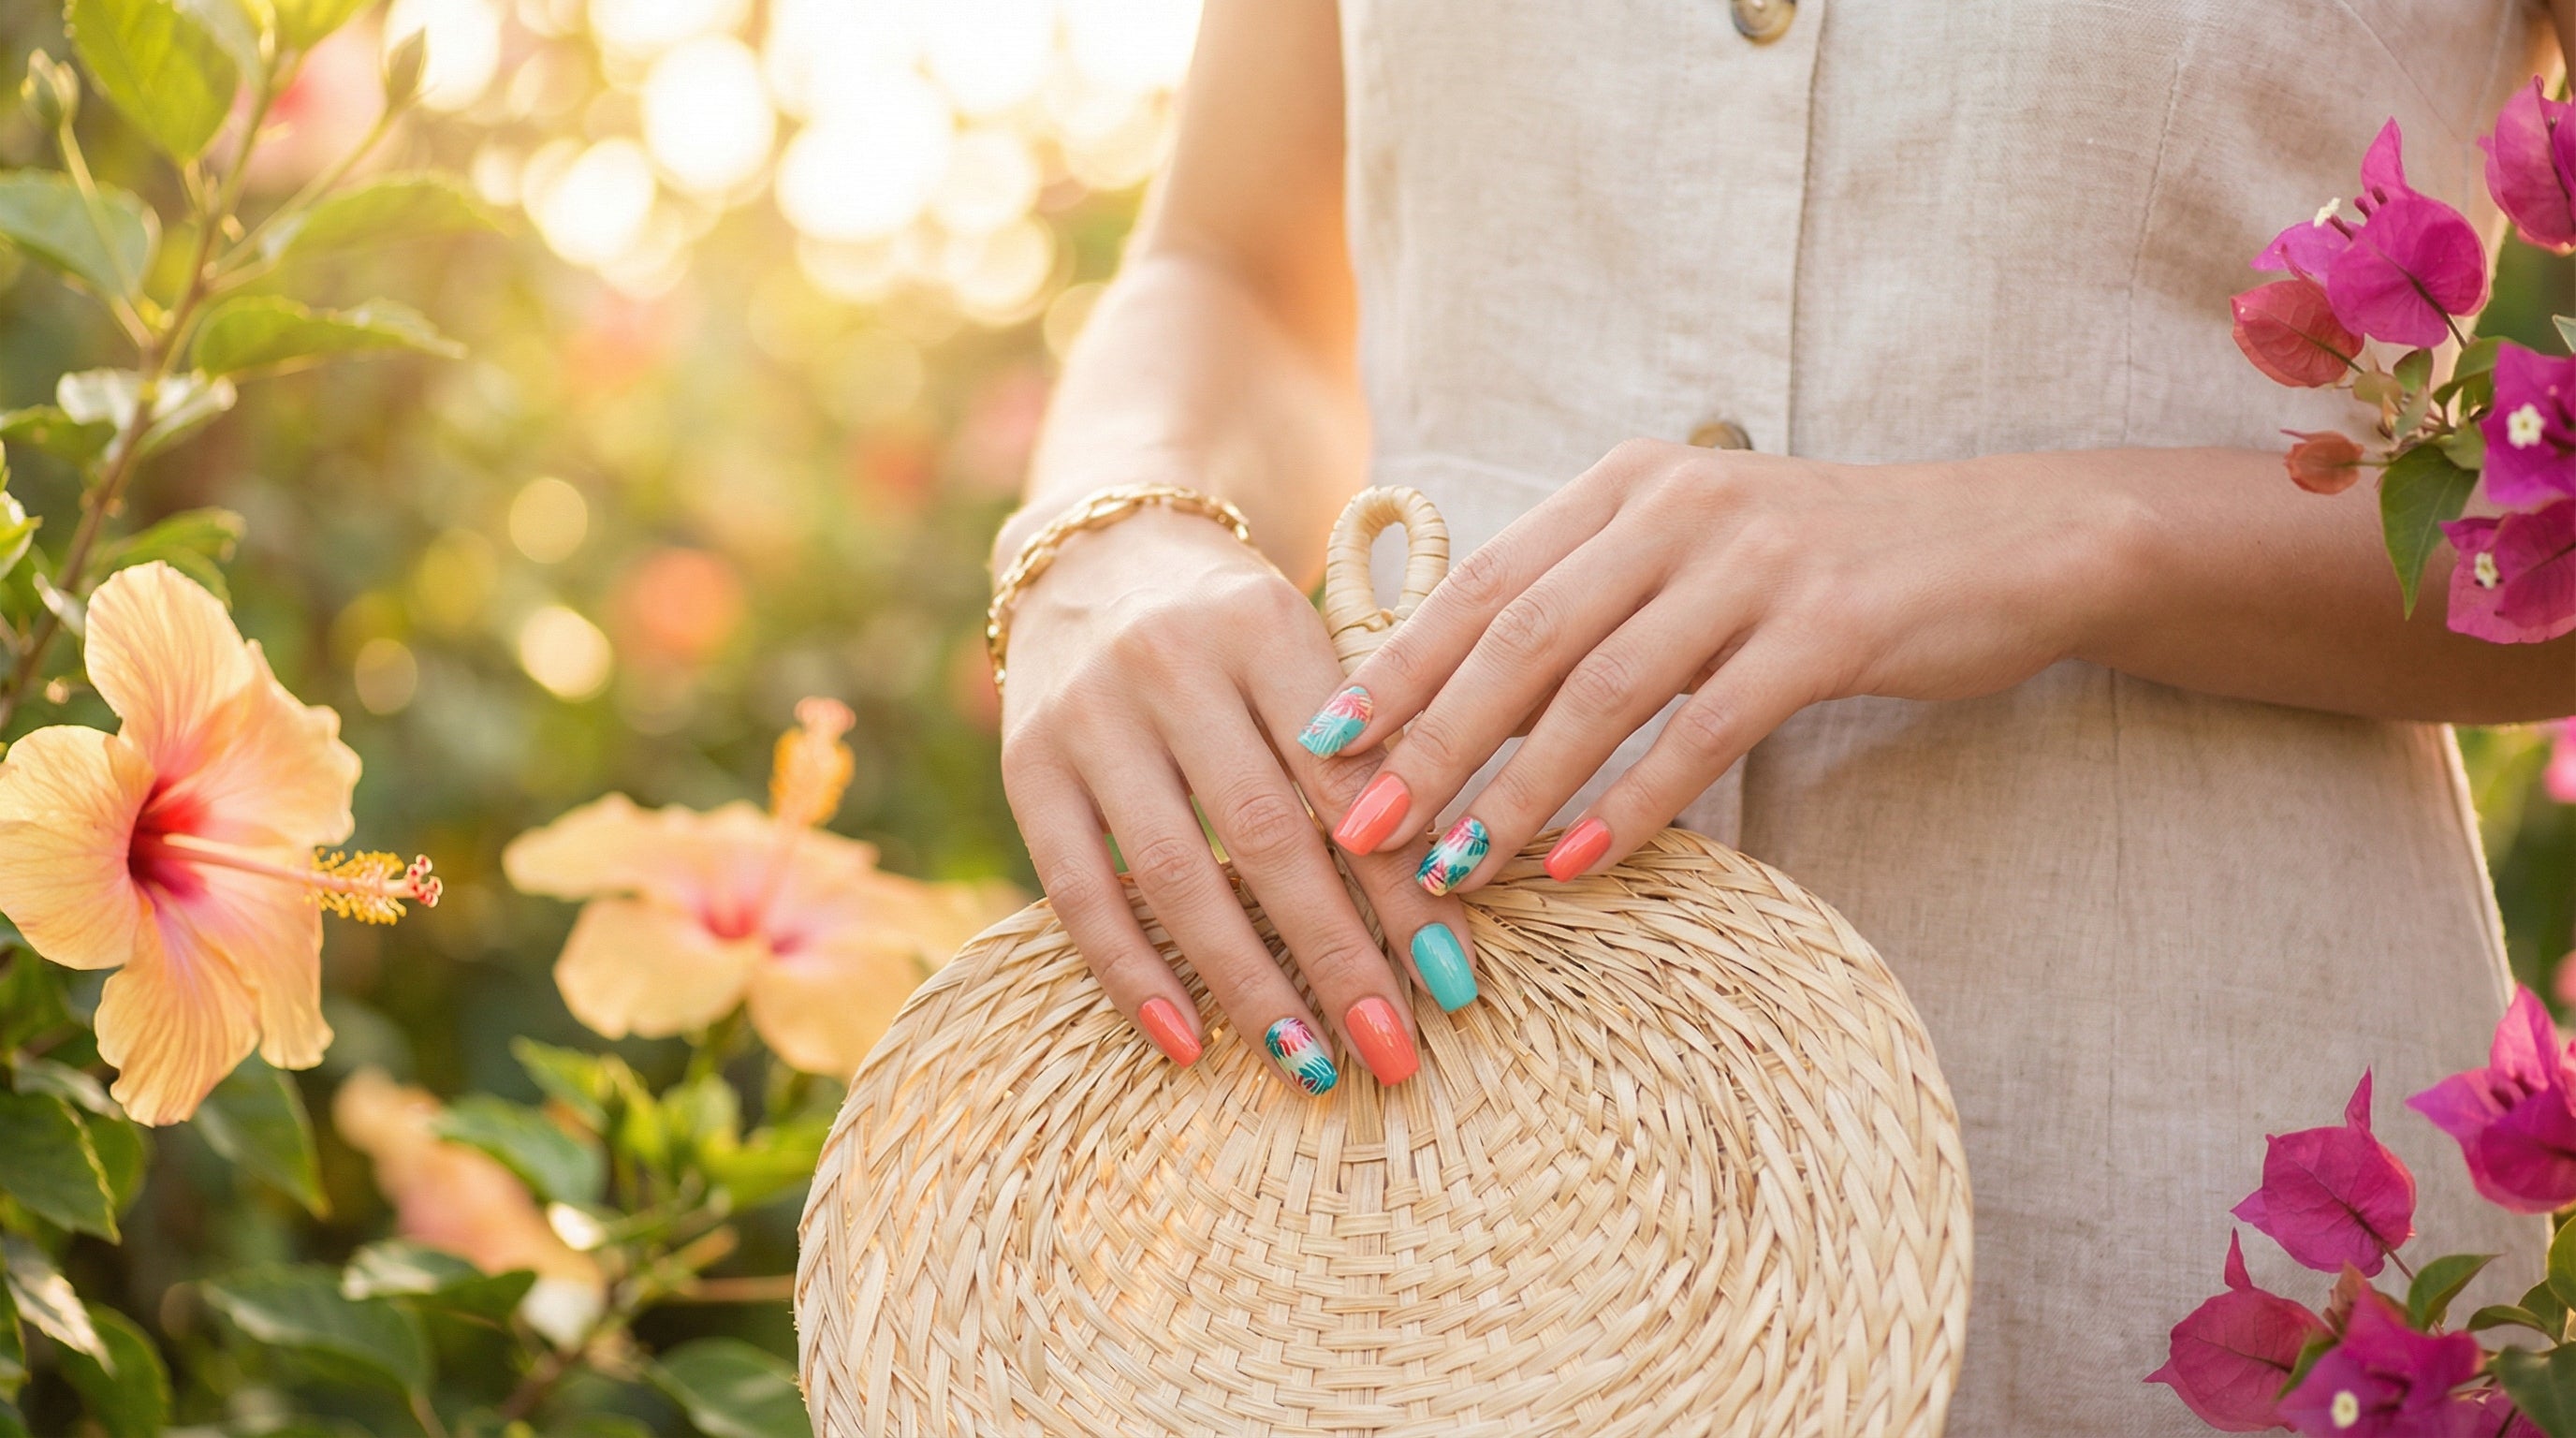
From jelly nails to tropical prints — here are the summer nail trends of 2026 you need to know about.
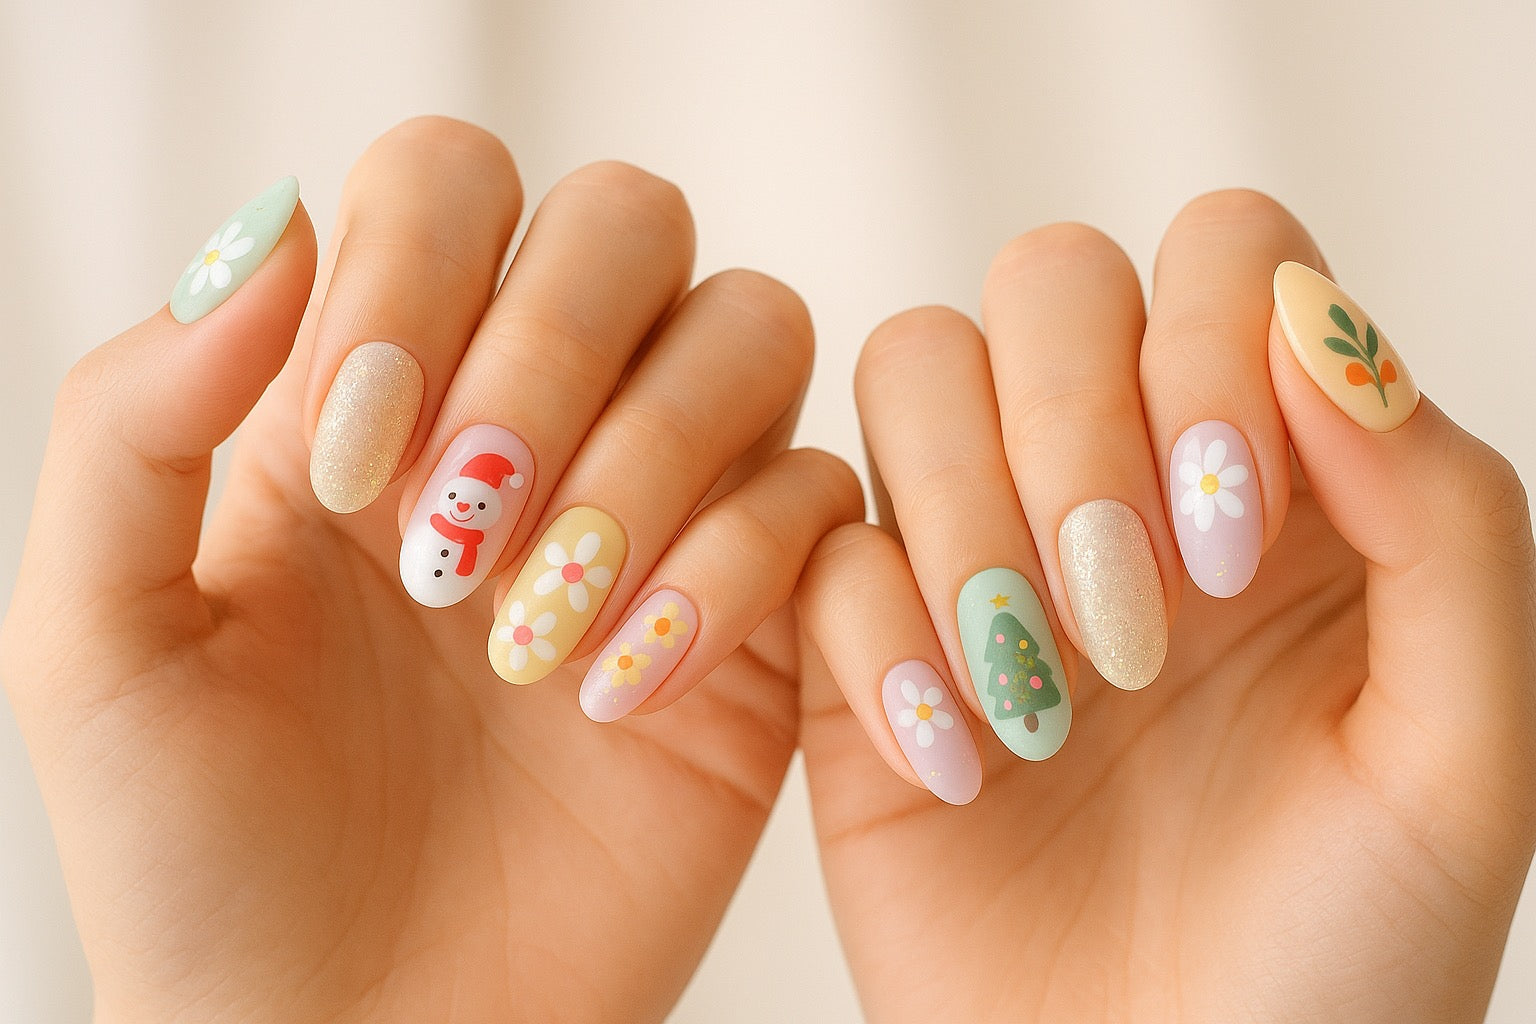
From Easter to Christmas: the best holiday nail art ideas for every season, applied in minutes with press-on nails.