
wedding
Press-On Nails for a Wedding: The Complete Guide for Brides and Guests
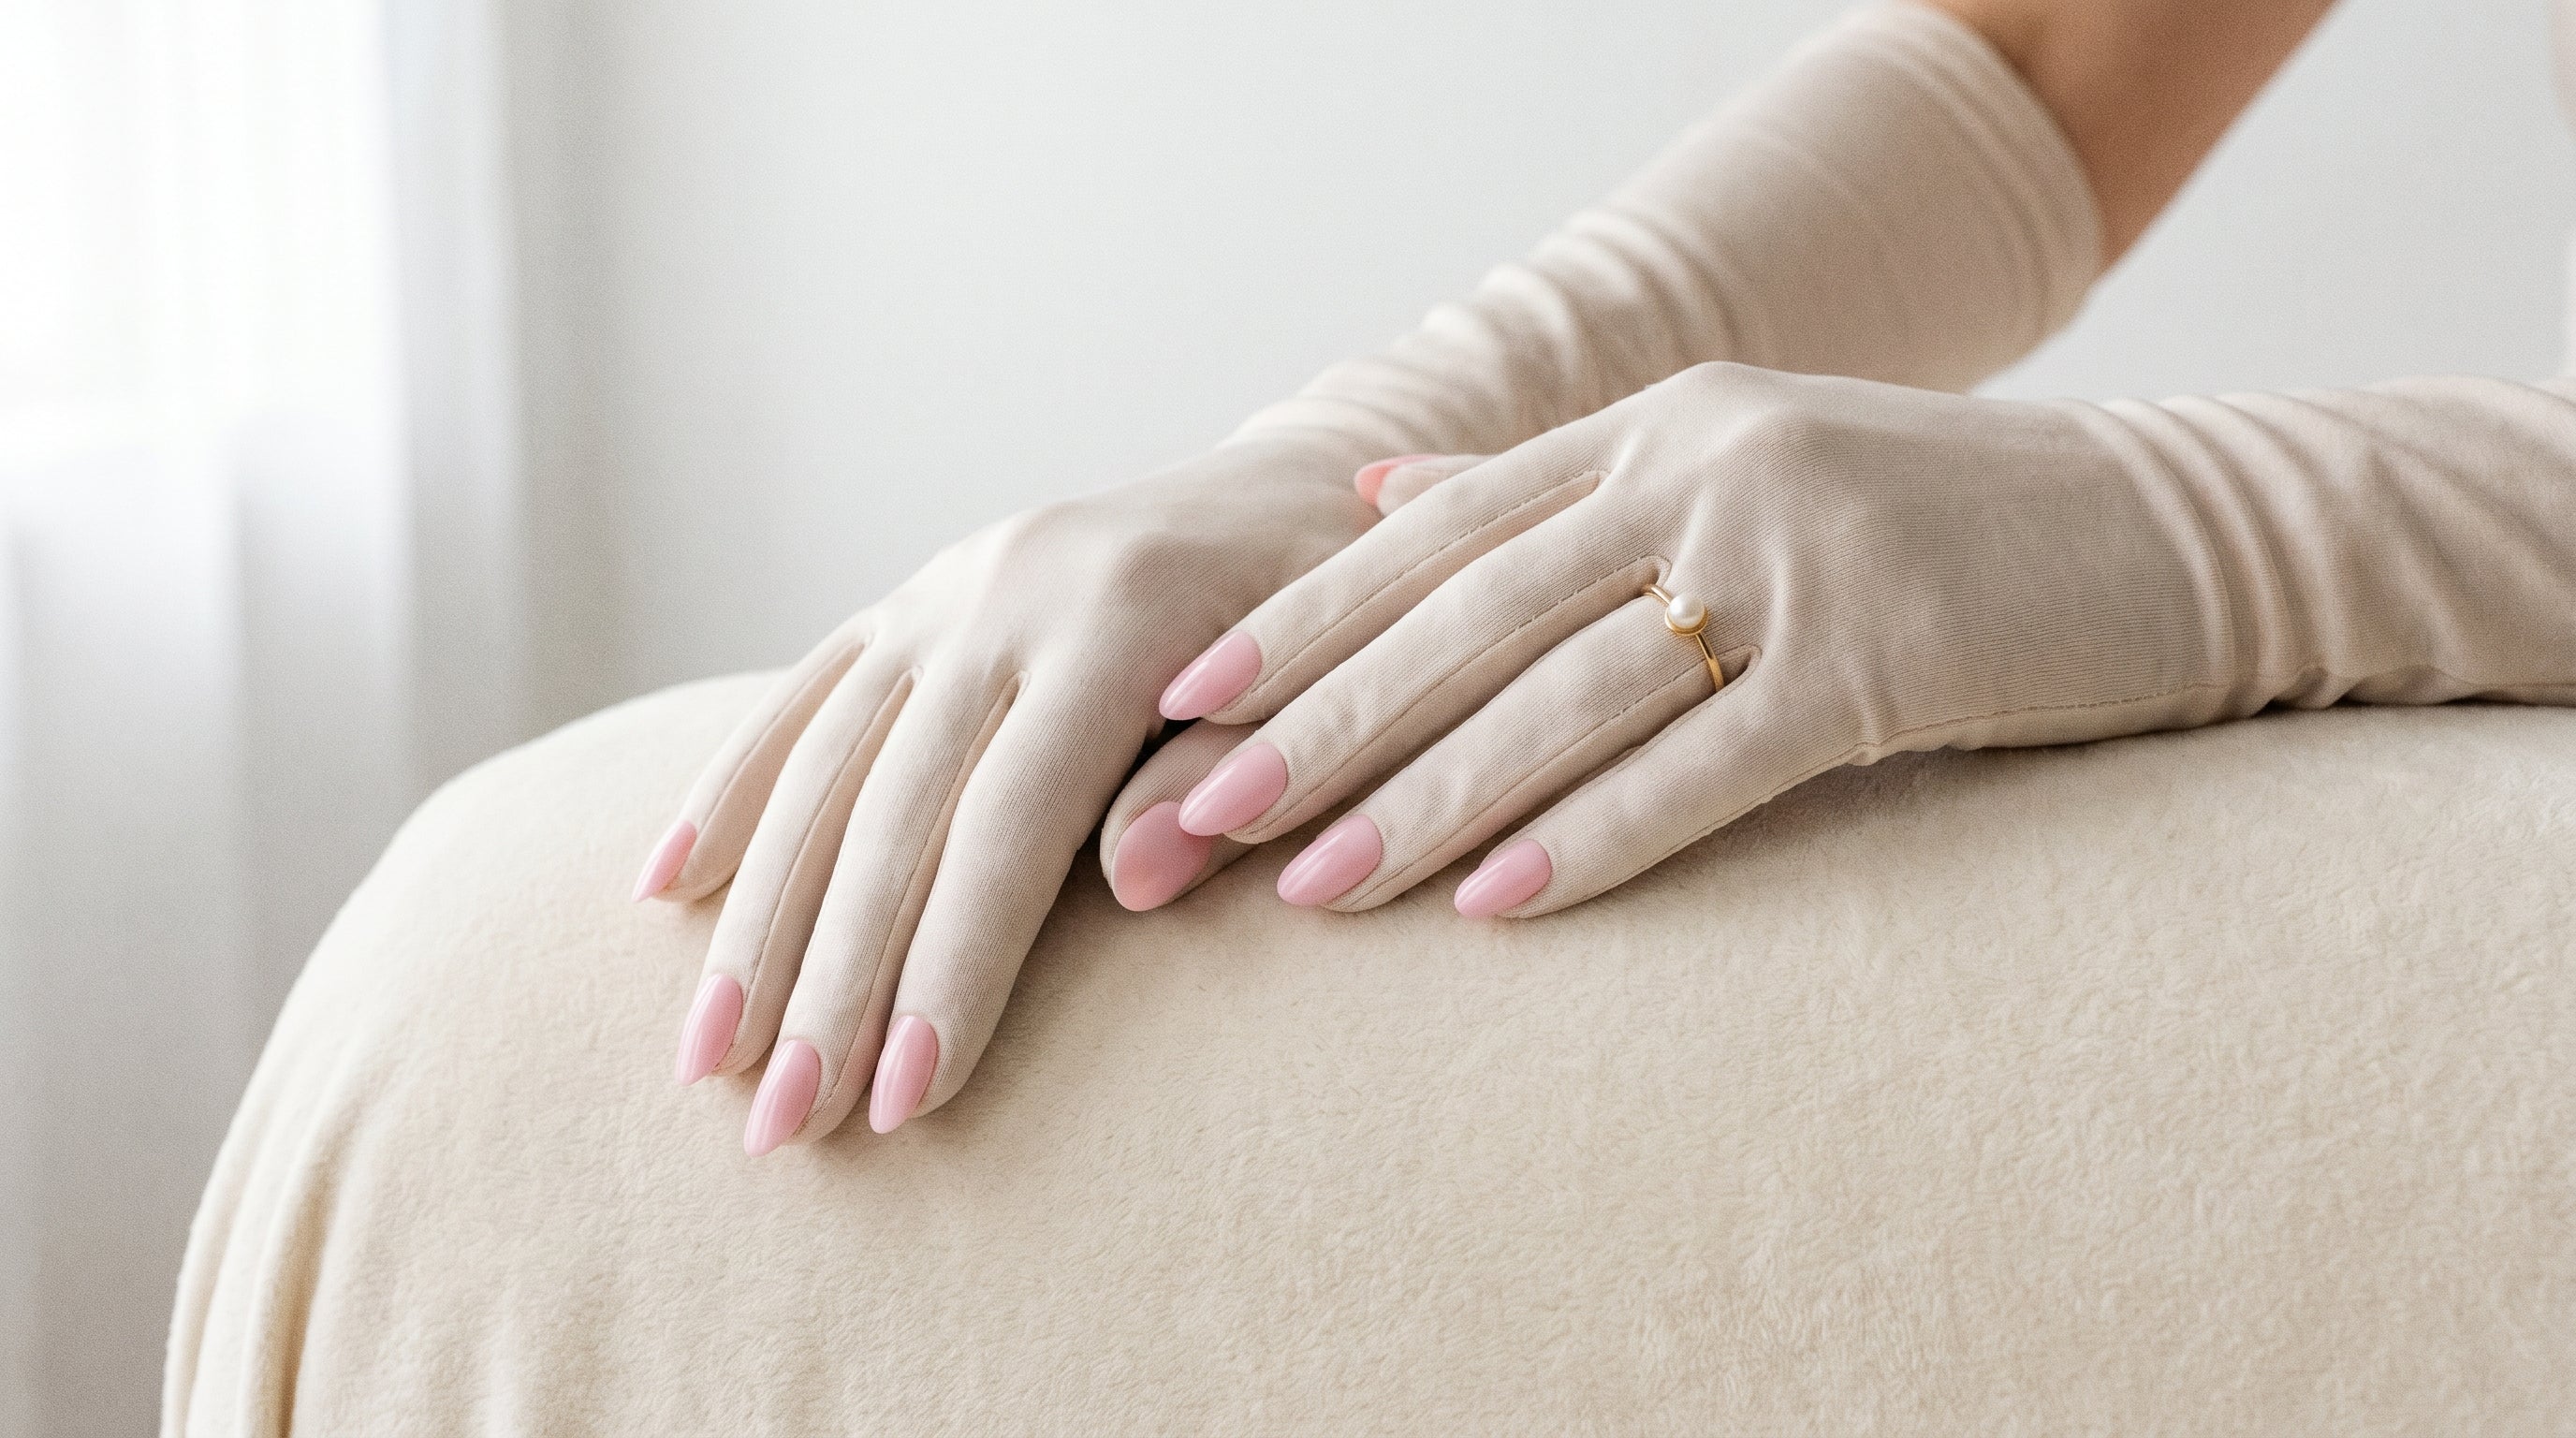
Everything you need to know about press-on nails for a wedding — from choosing the perfect shape and colour to making them last all day on the big day.
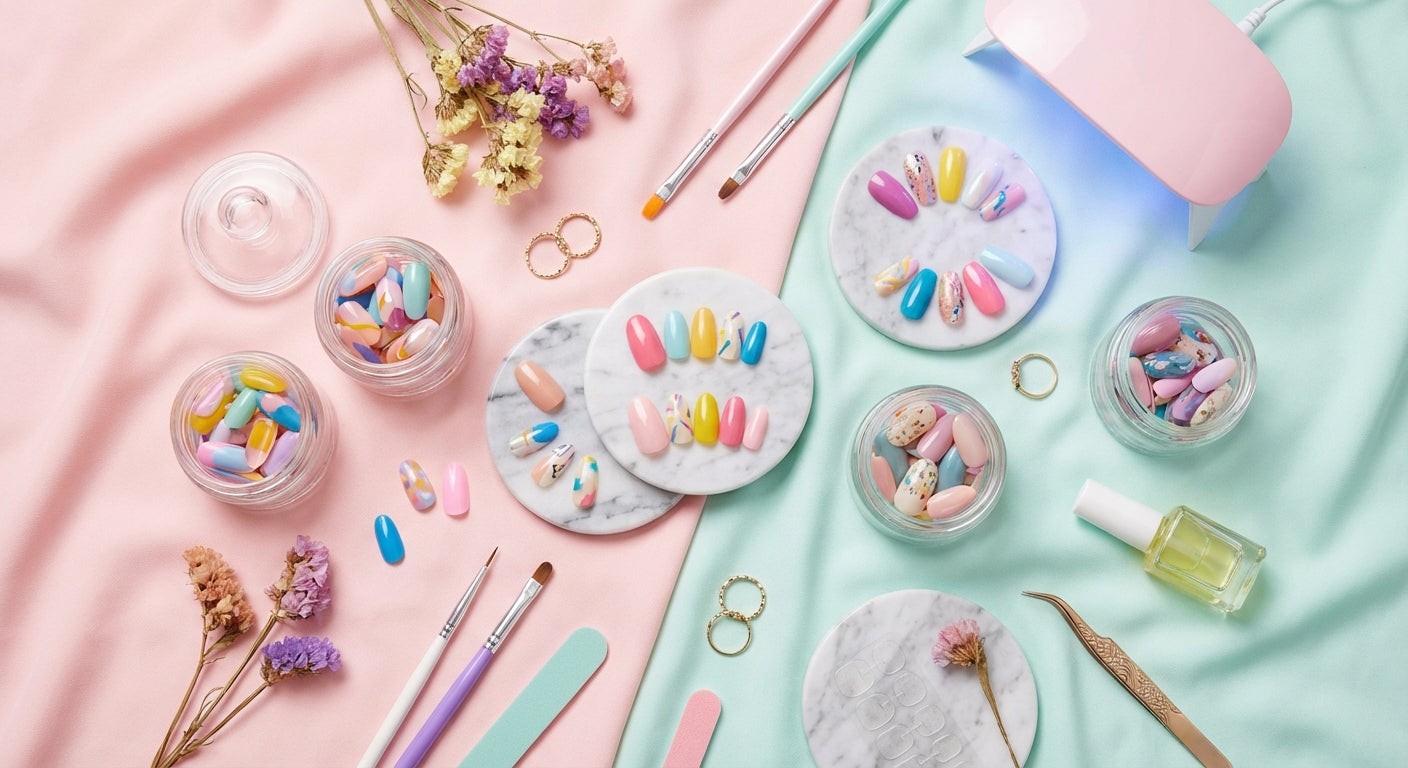
Nail art has never been more accessible. Whether you are a complete beginner or looking to sharpen your skills, Popink press-on nails make it easy to achieve stunning results at home.
Start with clean, dry nails. Push back your cuticles gently and lightly buff the surface of each nail. This helps the press-on adhere properly and last longer.
Each Popink kit includes multiple sizes. Match each press-on to your natural nail — it should cover the nail without touching the skin on the sides.
Peel the backing from an adhesive tab and press it onto your natural nail. Then firmly press the nail on top, holding for 10–15 seconds. Work from the cuticle end downward to avoid air bubbles.
Everything you need to know about press-on nails for a wedding — from choosing the perfect shape and colour to making them last all day on the big day.
The complete guide to applying press-on nails that actually stay on — from prep to finishing touches, for a salon-quality result at home.

From almond to ballerina — discover which nail shape flatters your hand and finger type, and how to achieve any look instantly with press-on nails.