press-on nails
How to Store Press-On Nails: Keep Your Collection Organised and Ready to Use
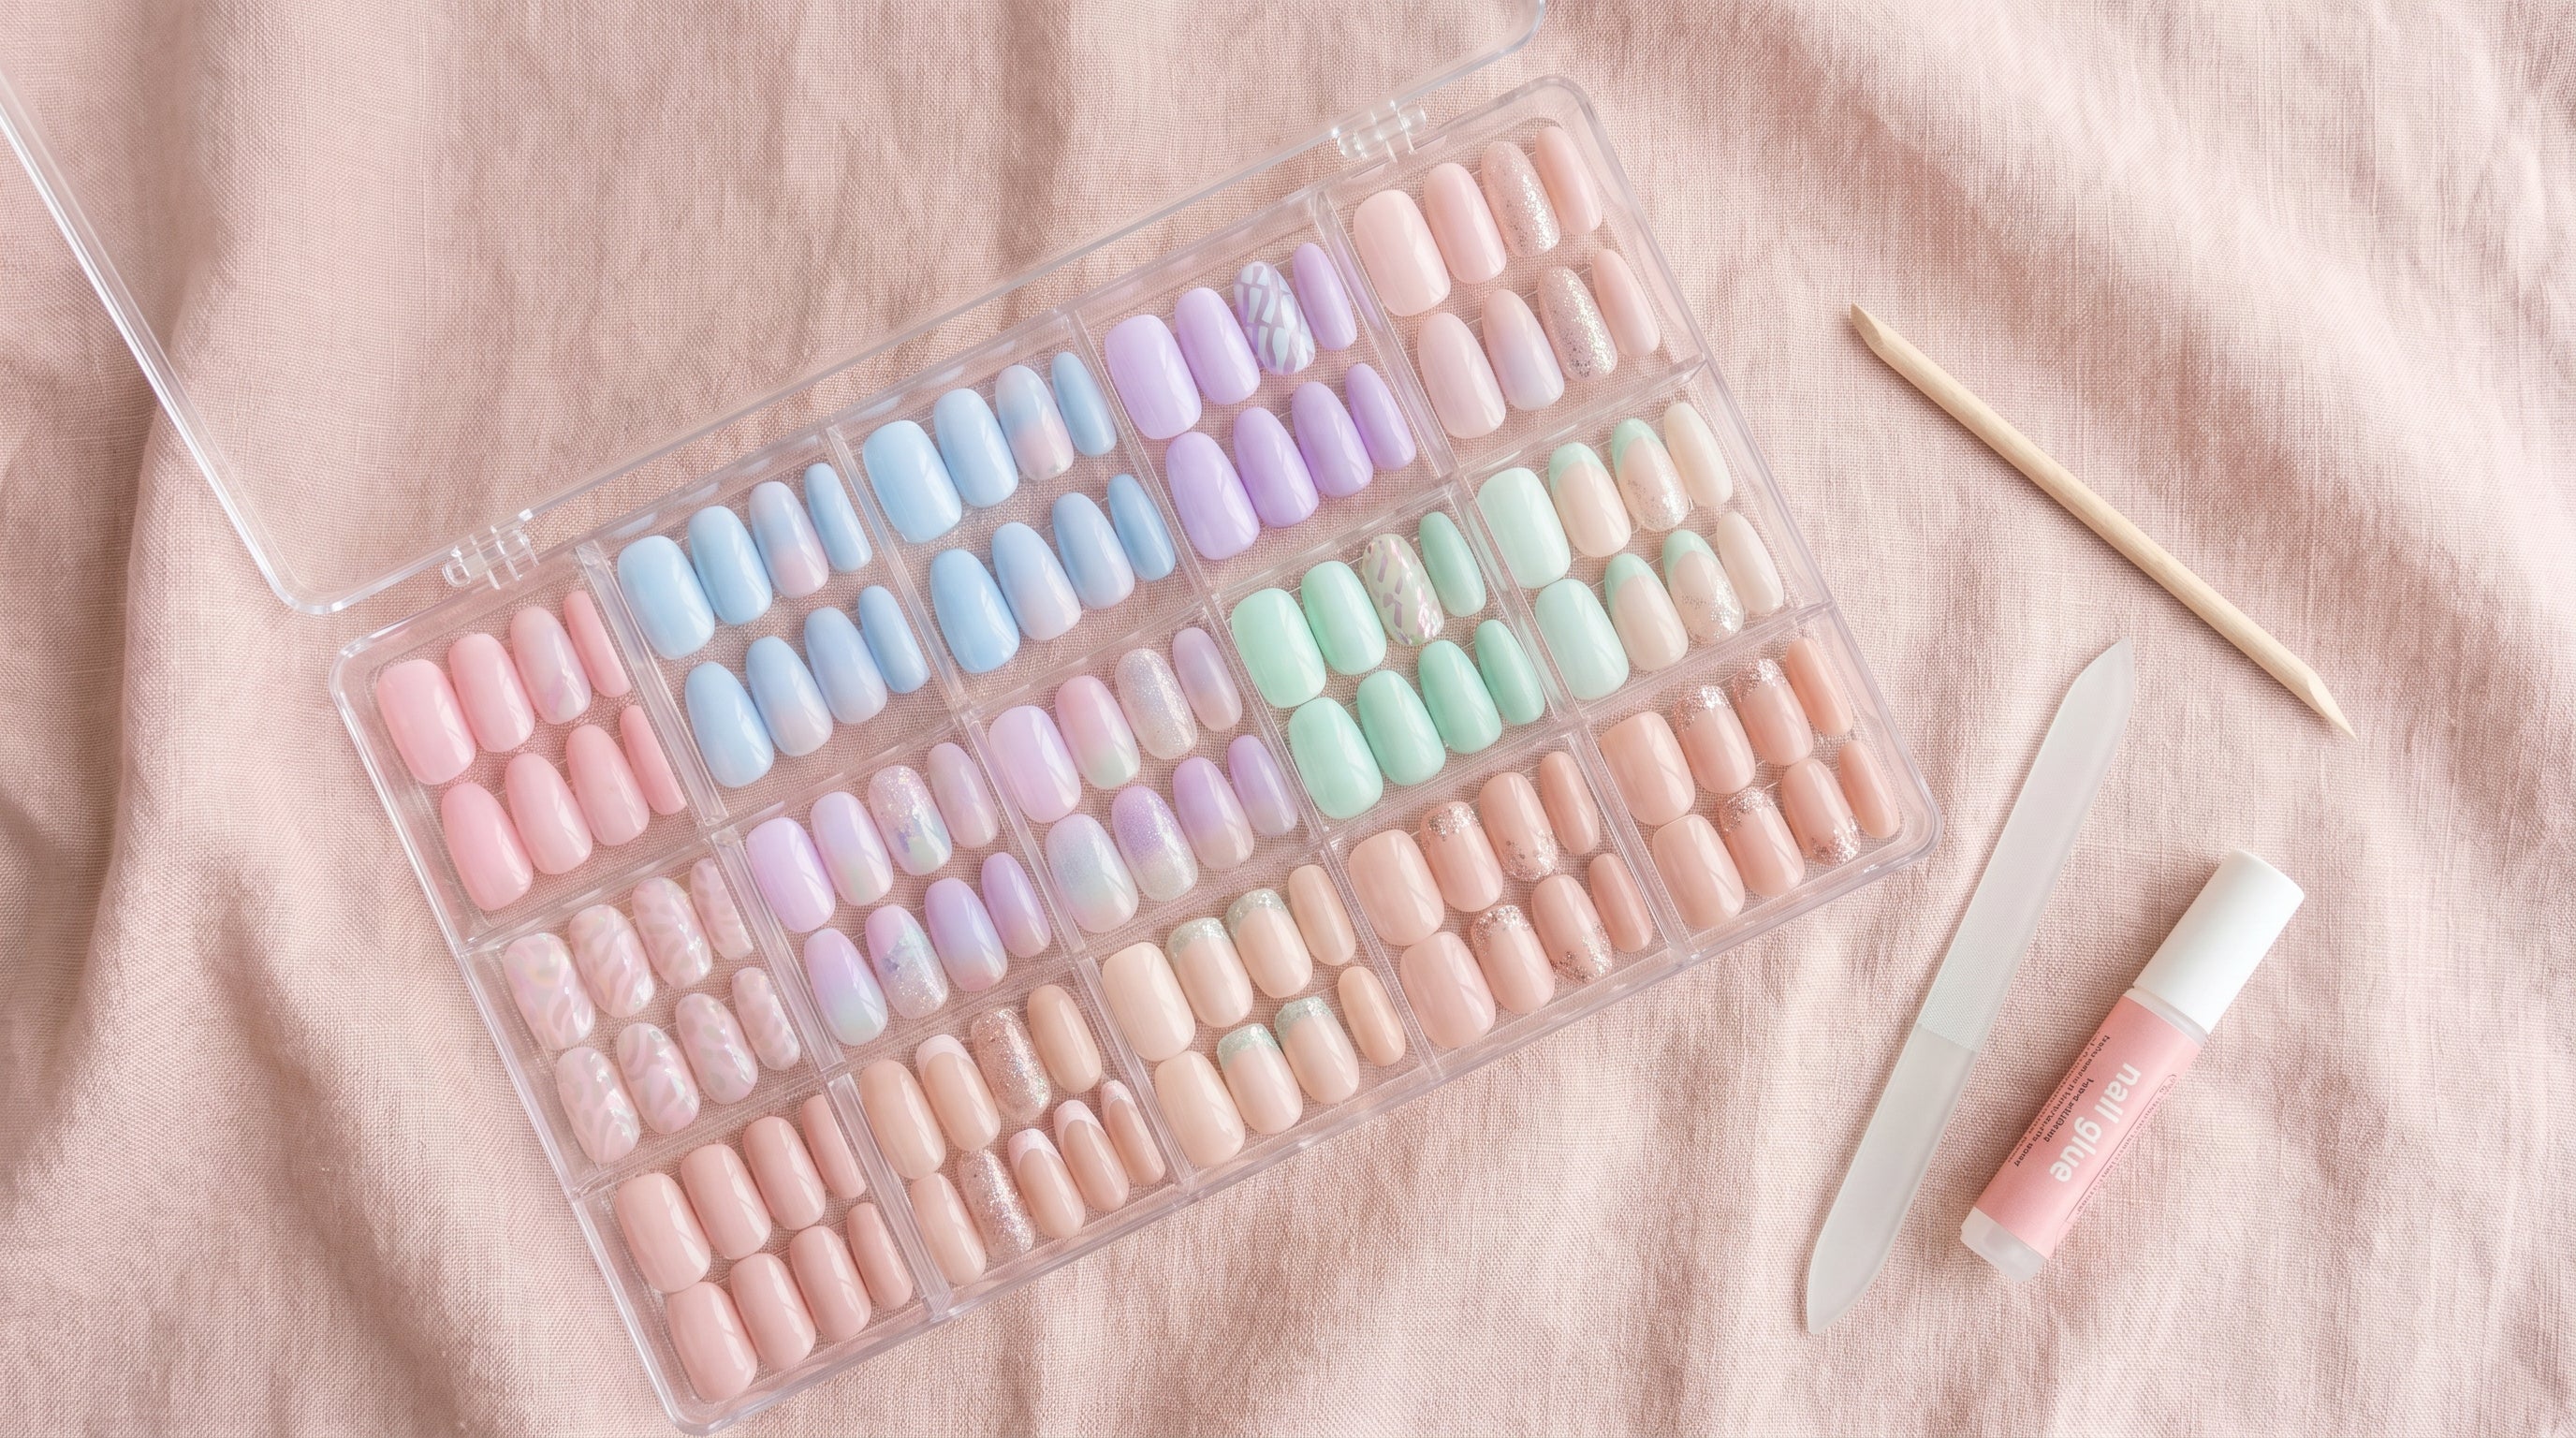
The right storage keeps your press-on nails in perfect condition for multiple uses.
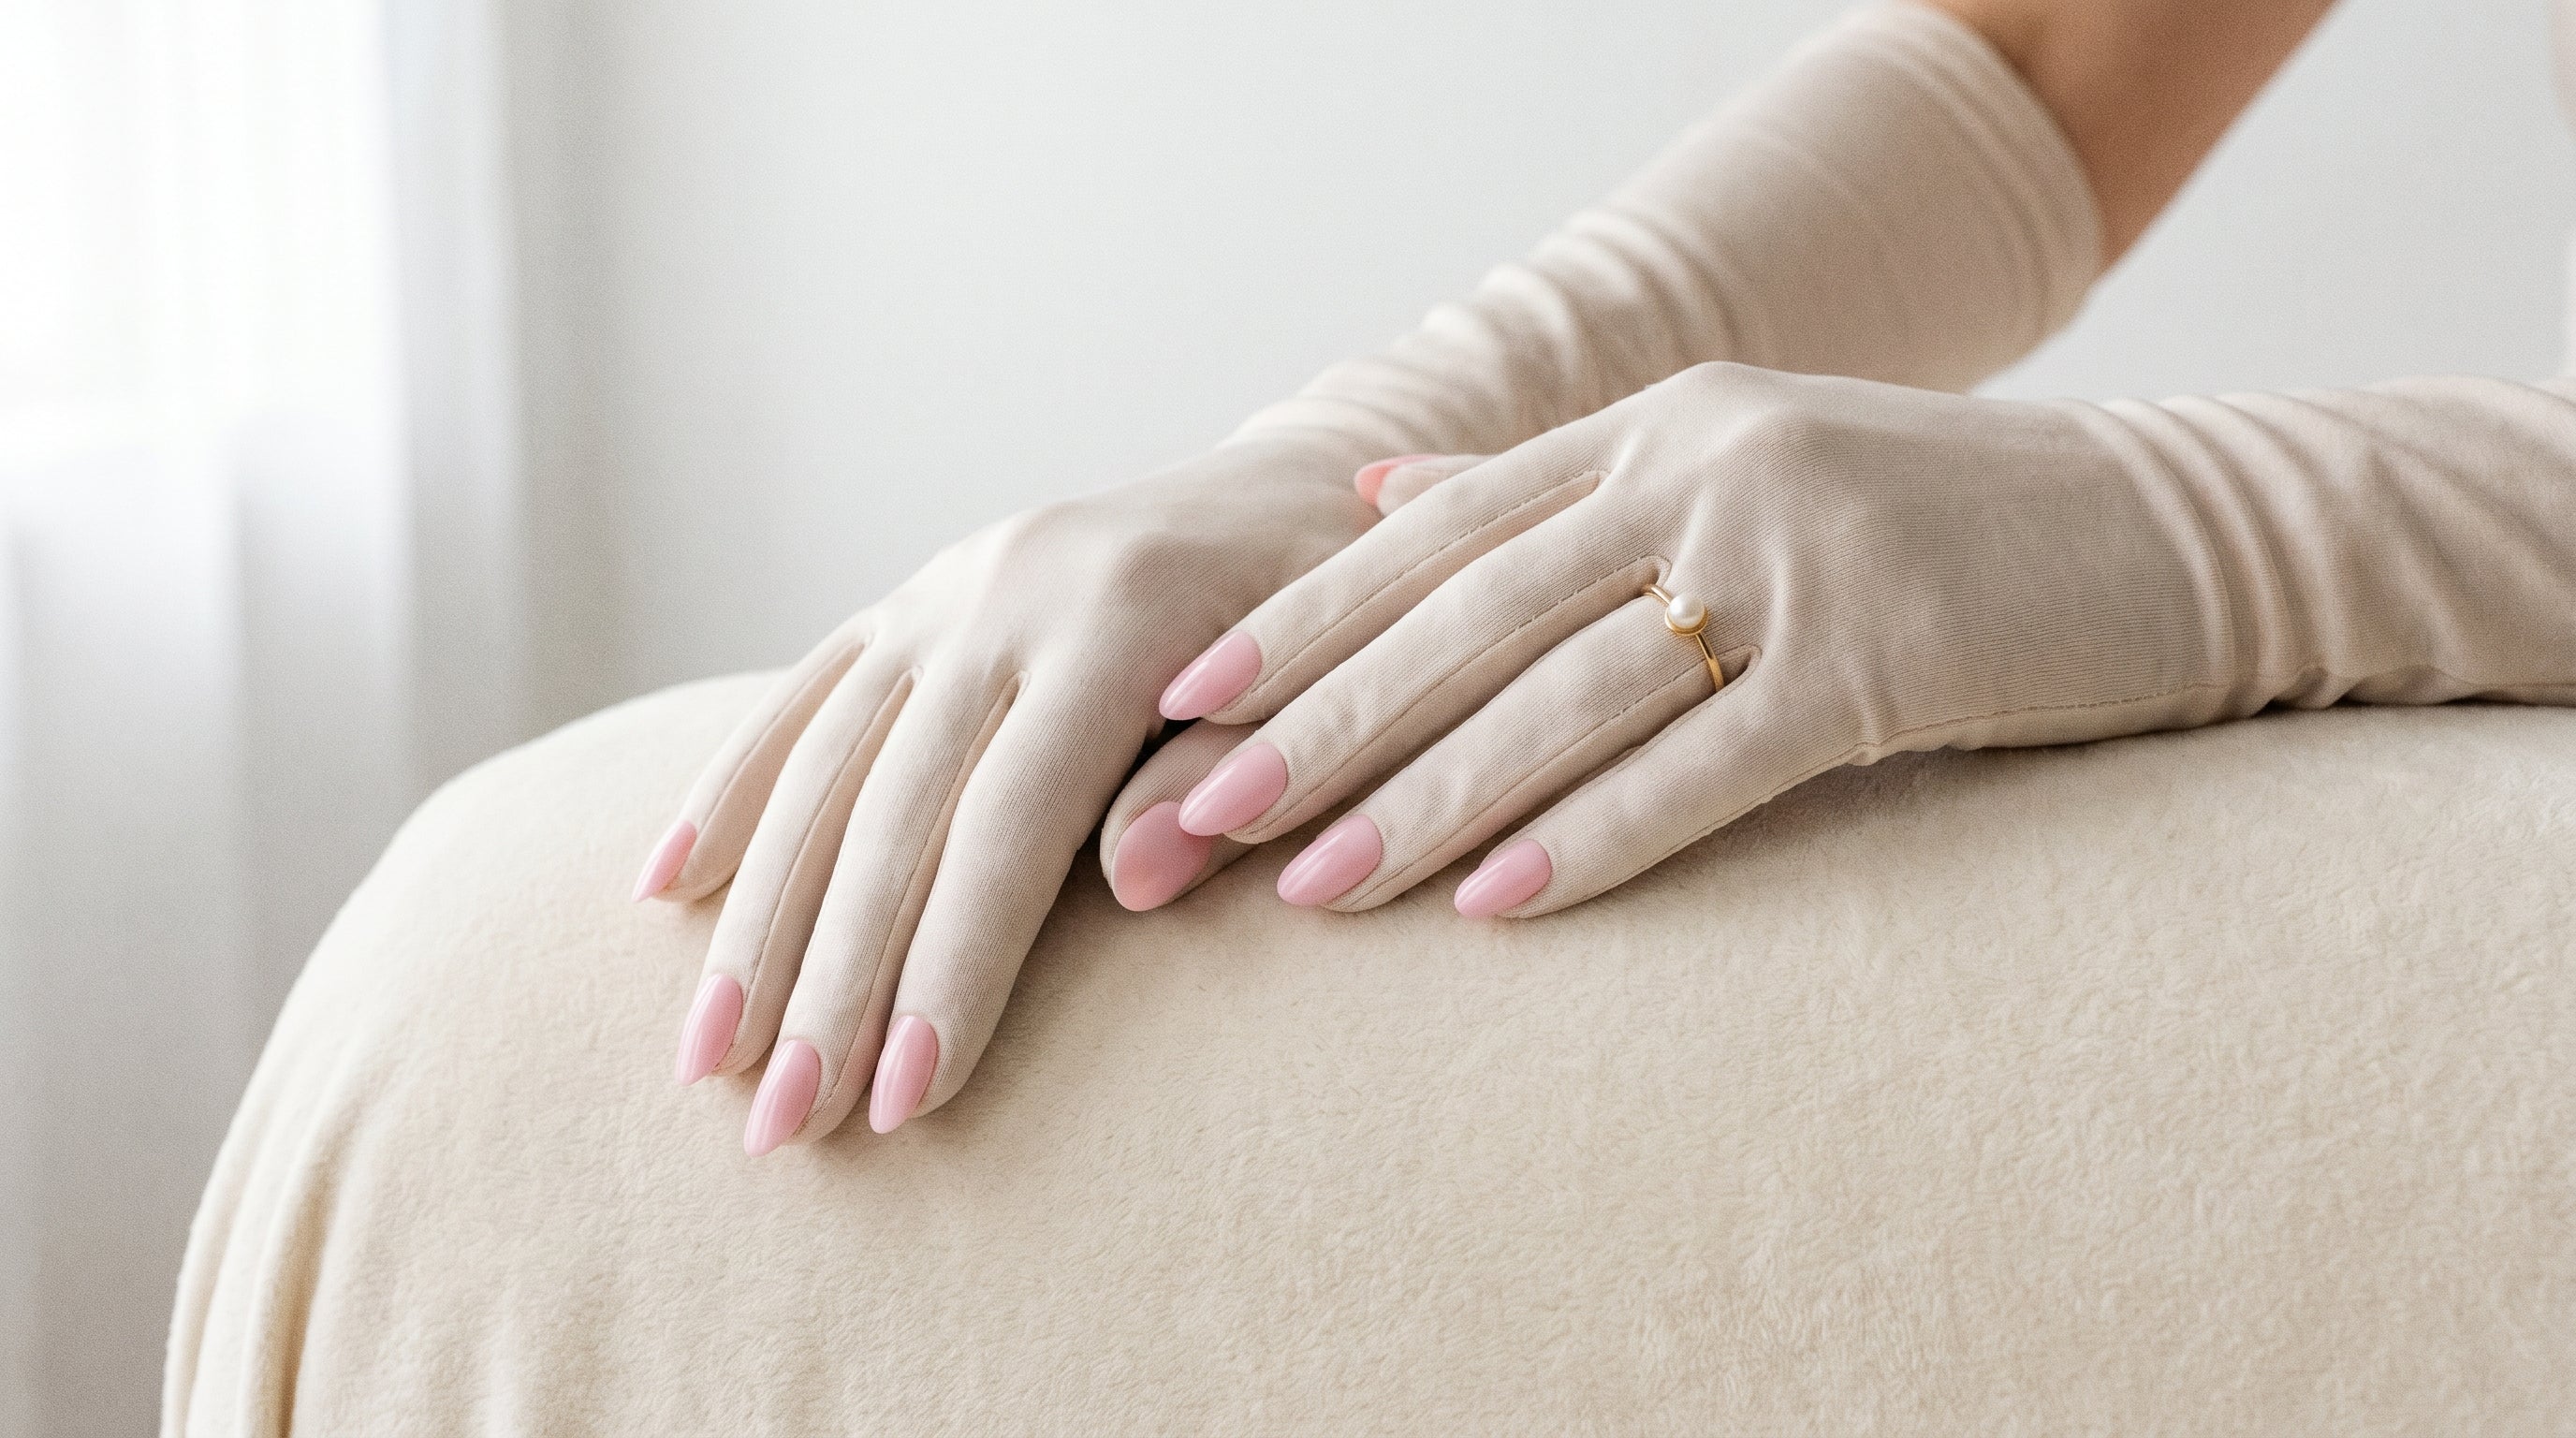
The difference between press-on nails that last a week and ones that pop off by noon comes down to prep, not glue. Learning how to apply press-on nails correctly is a skill that takes maybe 20 minutes to learn — and pays off every single time you do your nails.
Here's the full process, step by step.
Most people who've had a bad experience with press-on nails blame the product. Usually, it's the prep. A clean, oil-free, lightly buffed nail surface is the single biggest factor in how long your press-ons last. Skip it, and even the strongest nail glue won't save you.
Remove any existing polish with an acetone remover. Make sure there's no cuticle oil residue either — it feels lovely but destroys adhesion.
Before touching any glue, do your sizing. Hold each press-on nail next to your natural nail and find the best fit: the press-on should fully cover the width of your nail bed without touching the surrounding skin.
If you're between sizes, go smaller and gently file the sides to fit — you'll get better adhesion and a more natural look. Line up all your chosen nails in order (thumb to pinky) for each hand so you don't mix them up mid-application.
These steps aren't optional:
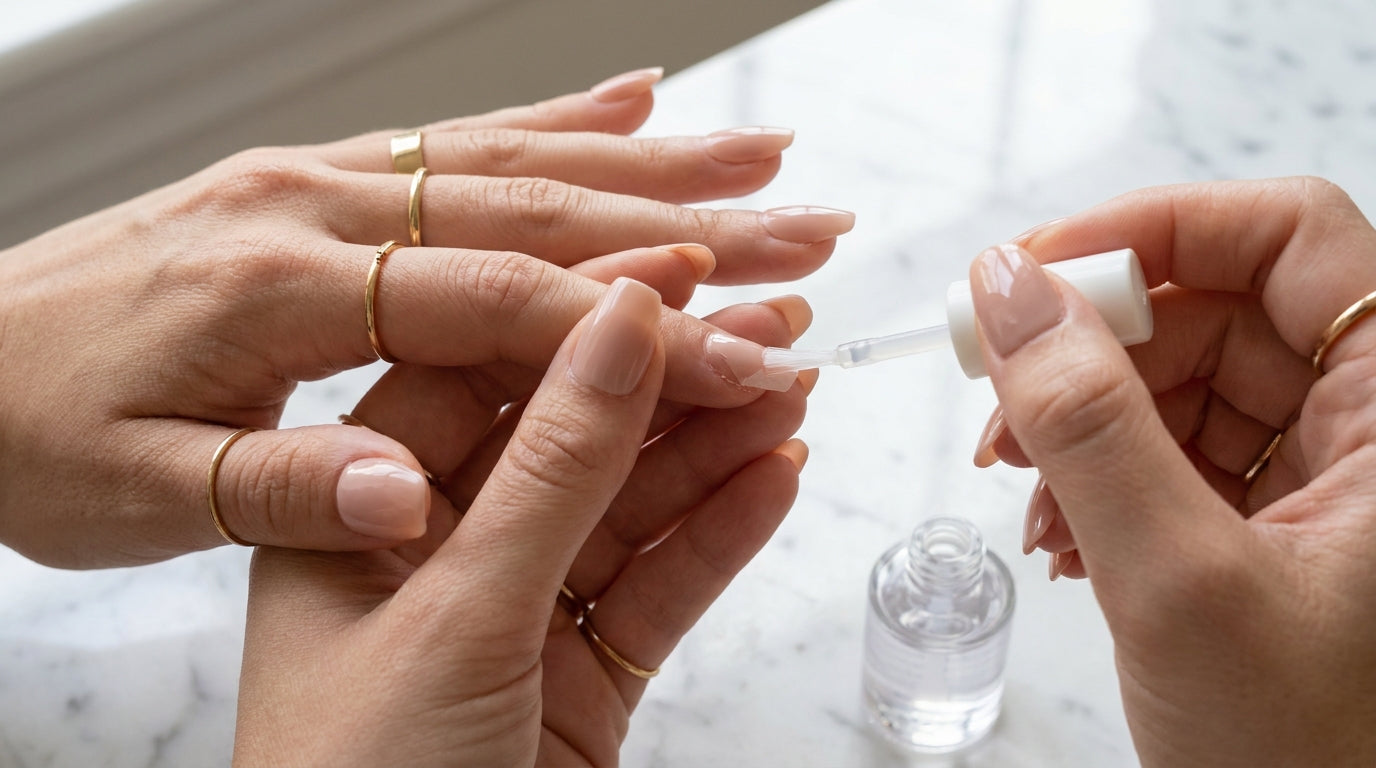
For maximum staying power, use nail glue. Apply a small drop to your natural nail, a small drop to the inside of the press-on, and press together firmly for 30–60 seconds. Wait until the glue looks clear and non-fluid before releasing.
For a temporary wear — one night out, a party, a quick refresh — adhesive tabs work well. They're much gentler on your natural nails and easy to remove. Use the thinnest tabs that fit; thick tabs can make the nail feel raised and look less natural.
Don't press the nail straight down. This is the technique tweak that makes everything click into place. Position the press-on at the cuticle line first, at a slight angle, then slowly rock it down toward the tip while pressing firmly.
This technique pushes out air pockets as you go. Air bubbles are the enemy — they look bad and they create weak spots where lifting starts.
Once placed, press down hard for a minimum of 30 seconds. Apply pressure to the center and both sides. If you're using glue, try not to use your hands for the first 5 minutes after finishing all nails. Glue reaches full cure in about 24 hours — the first few hours are when it's most vulnerable.
Avoid water for those first hours if you can. No dishes, no long showers, definitely no swimming. The drier the first 24 hours, the longer your nails will last.
Shape the length and edges with a nail file if needed. Seal with a glossy or matte topcoat based on the finish of your press-ons. Running a thin line of topcoat along the edge where the press-on meets your natural nail adds extra adhesion and gives a cleaner, more seamless finish.
Apply cuticle oil to the skin around your nails (not the nail surface) — this keeps your hands looking polished and completes the look.
With nail glue and proper prep, you can expect 1 to 2 weeks of wear. With adhesive tabs, think 1 to 5 days depending on your lifestyle. Read more in our guide on how long press-on nails last.
Want to reuse your press-ons? Check out our tips on how to remove press-on nails without damage, and how to reuse press-on nails properly.
Skipping the alcohol wipe — This is the #1 reason press-ons don't stick. Natural oils on your nail are invisible but completely undermine adhesion.
Choosing the wrong size — A nail that overhangs the sides will catch on everything and peel off quickly. When in doubt, size down and file.
Not waiting for the alcohol to dry — Wet alcohol actually interferes with adhesion. Give it 30 seconds.
Rushing the pressing — 10 seconds of pressure is not enough. Hold for 30–60 seconds per nail.
Getting nails wet too soon — Water is the slow enemy of nail glue. Keep them dry for the first few hours.
If you're using nail glue, yes — a light buff makes a noticeable difference in how well the glue grips. If you're using adhesive tabs for a short-term wear, it's less critical, but a clean, oil-free surface always helps regardless.
Absolutely. Press-ons are actually ideal for short nails because they give you the length and shape you want instantly. Check out our guide on the best press-on nails for short nails for specific tips.
Start at the cuticle edge and rock the nail forward toward the tip rather than pressing straight down. Even, steady pressure as you go removes air from underneath the nail as you place it.
Most nail glues work similarly — the brand matters less than the technique. Use a small amount (one drop per nail), spread it thinly, and give it full curing time. A little goes a long way; too much glue causes overflow and a messy edge.
Short showers are fine once the glue has cured (after the first few hours). Prolonged water exposure — long baths, swimming, dishwashing without gloves — breaks down adhesive over time. Wearing rubber gloves while doing dishes is one of the easiest ways to extend your wear.
Ready to put it into practice? Browse the full Popink collection — every set is designed for a perfect fit and a finish that genuinely looks salon-done. Whether you're going for something understated or full statement, there's a set for the occasion.
The right storage keeps your press-on nails in perfect condition for multiple uses.
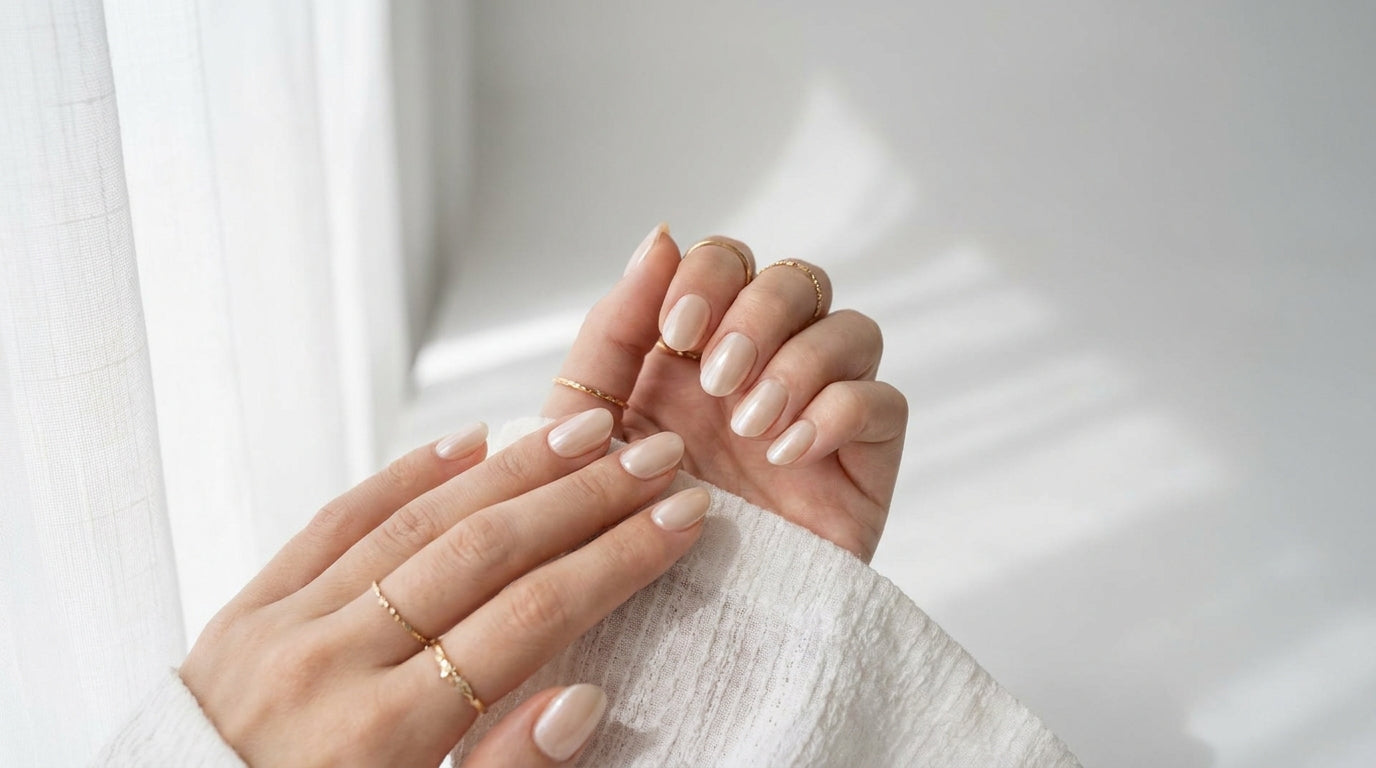
Clean girl nails are one of the biggest nail trends right now — and press-ons make them surprisingly easy to pull off.
A broken press-on nail is easier to fix than you think — the right approach has you sorted in minutes.