press-on nails
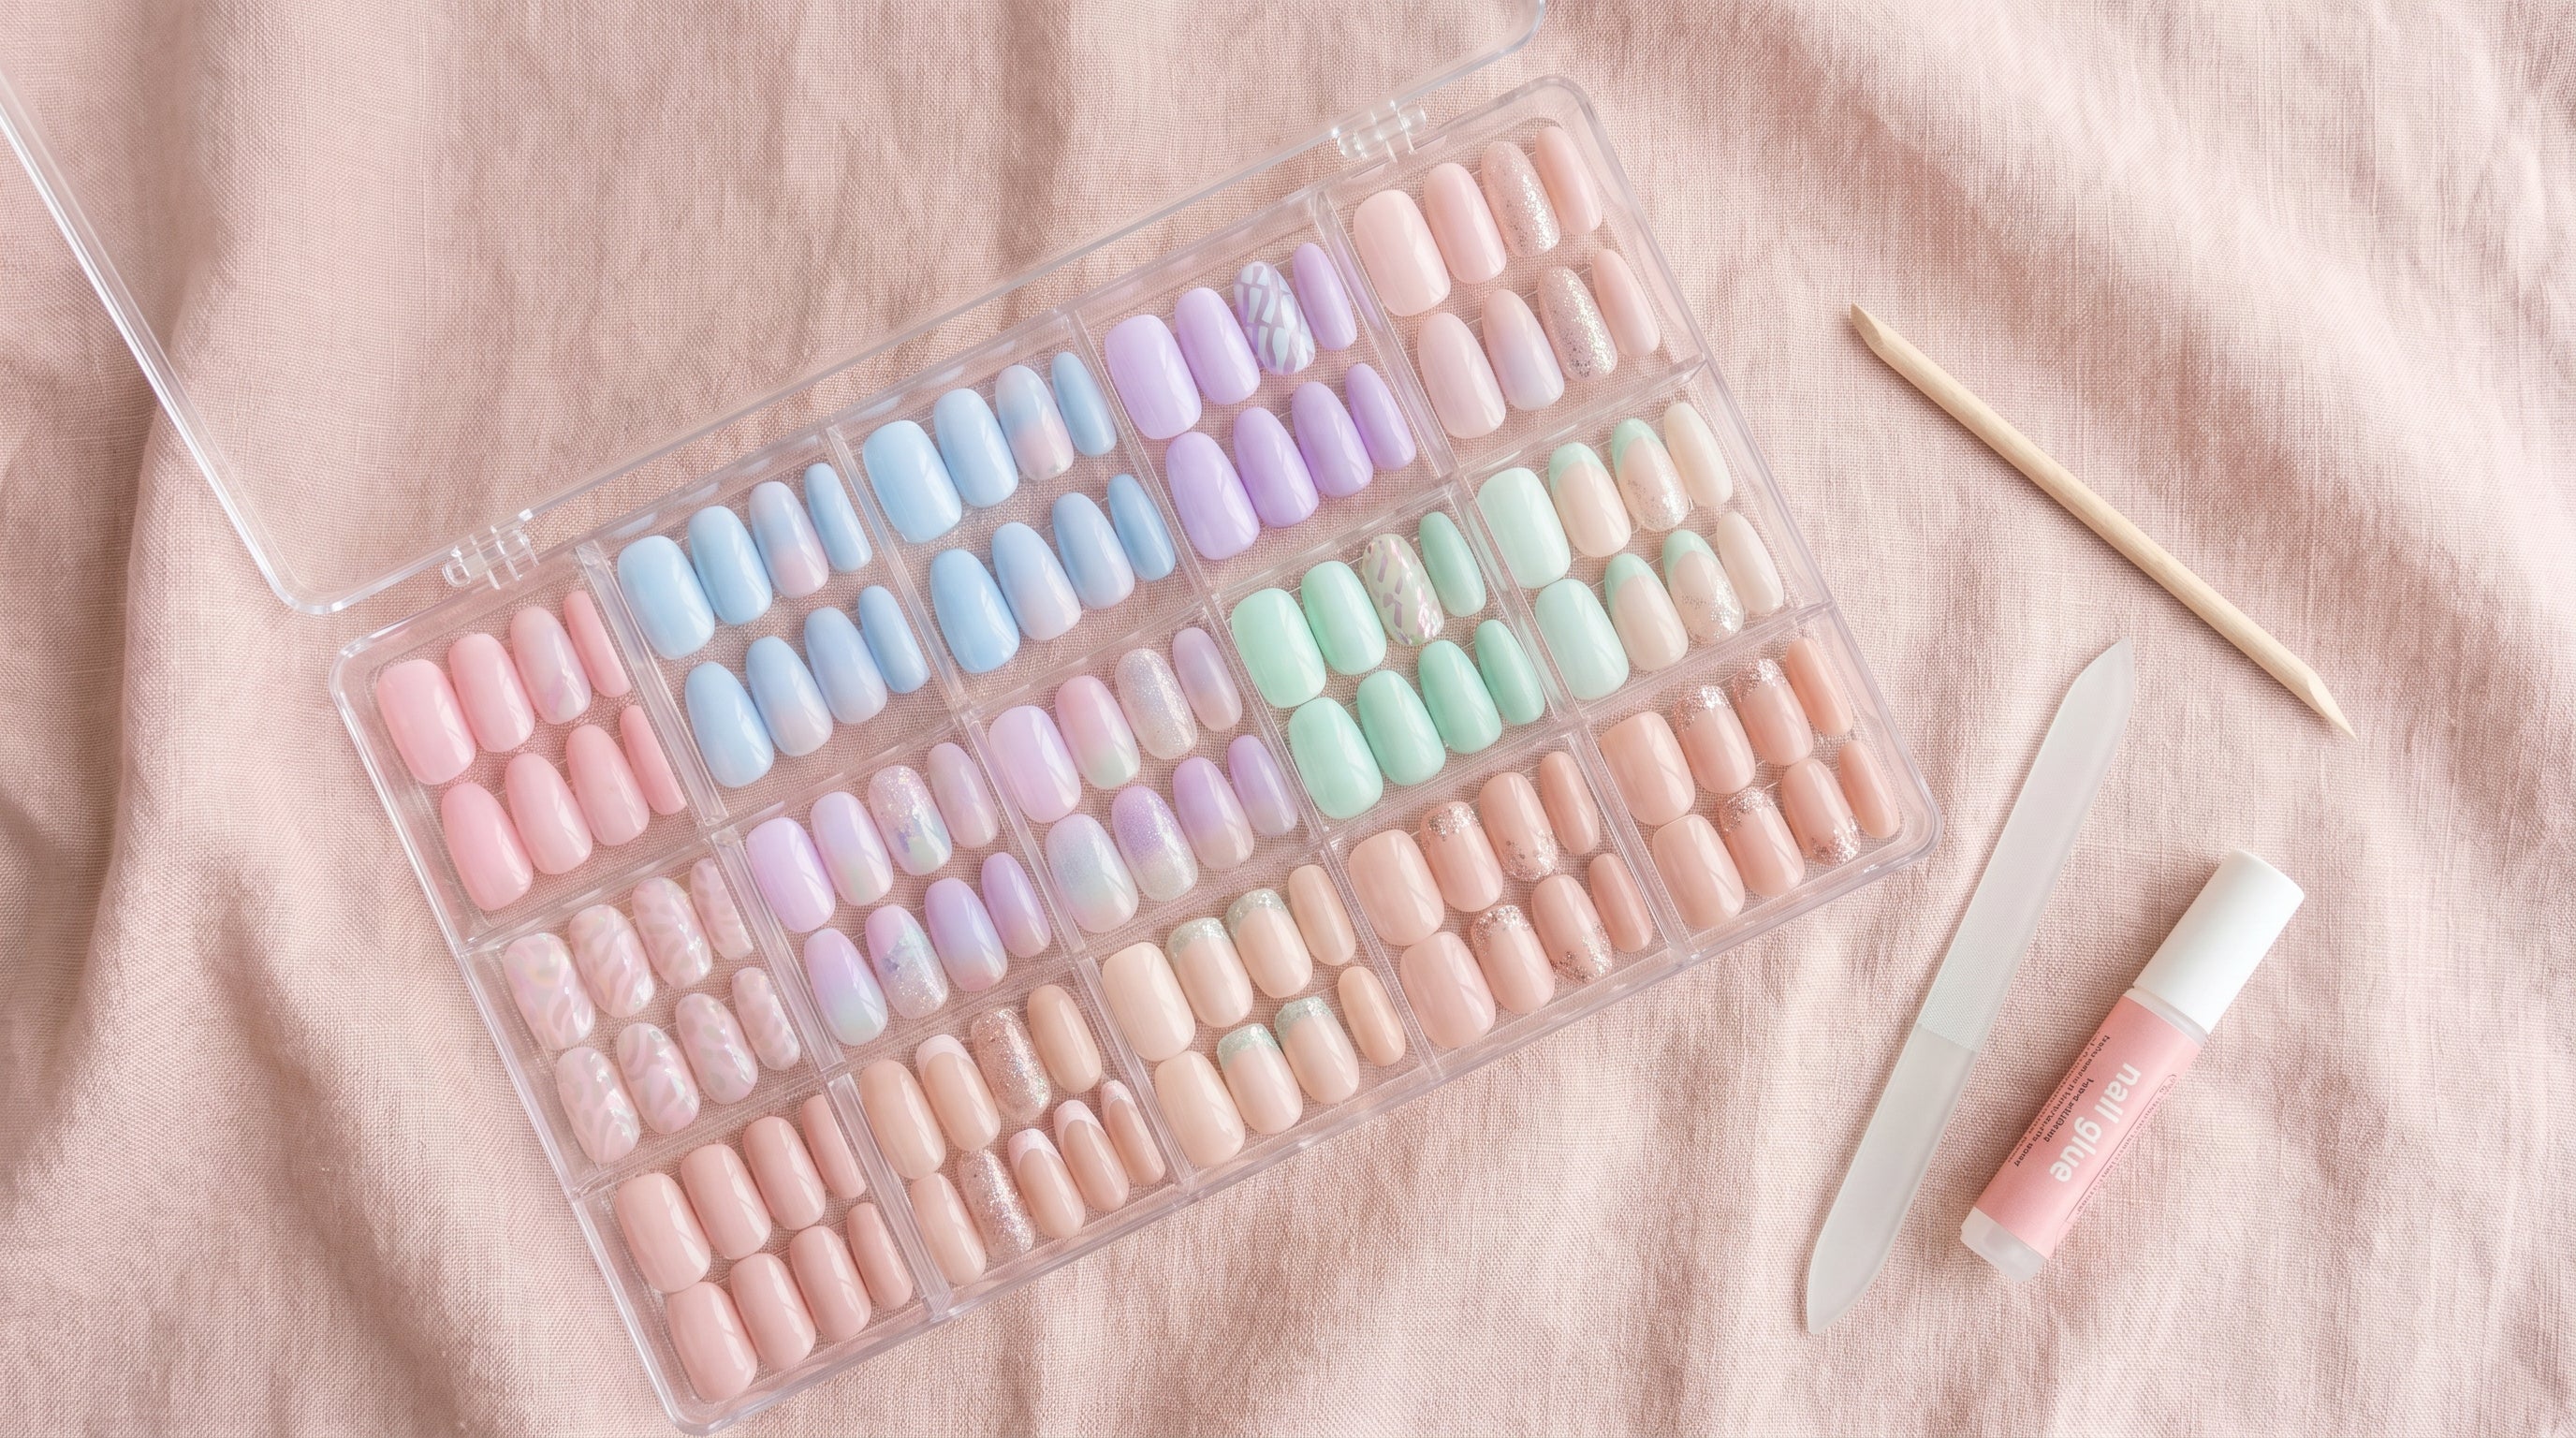
How to Store Press-On Nails: Keep Your Collection Organised and Ready to Use
The right storage keeps your press-on nails in perfect condition for multiple uses.
Press-on nails only look fake when they're applied wrong. With the right fit, clean prep, and a few finishing tricks, they're virtually indistinguishable from your own nails — or a salon visit.
Here's exactly how to get there.
A nail that's too wide or too narrow gives itself away instantly. That's the single biggest mistake most people make: grabbing a size that's "close enough" and hoping for the best.
Take the time to size each finger individually. The width of your nail bed — not the surrounding skin — is what you're matching. A properly fitted nail sits flush against your nail edges without lifting at the sides or leaving gaps.
Stuck between two sizes? Always go smaller. A nail that matches your nail bed precisely looks infinitely more natural than one hanging over the edge by a millimetre.
→ Full guide: How to size press-on nails correctly
Natural-looking nails start with a clean, smooth surface. This takes about five minutes:
Softer, rounded shapes are inherently less conspicuous than sharp squares or extreme stilettos. That doesn't mean you're limited to nude ovals — it just helps to match the shape to your natural nail length and hand proportions.
If your natural nails are short, an almond or oval shape reads as the most believable. Going longer? Make sure the proportions work for your fingers. Nails that are too long for your hands will always look like an add-on, no matter how well they're applied.
→ Related: Best nail shapes for short nails
Never rush the application. A crooked nail is far more noticeable than a perfect, even set.
Start at the cuticle end, not in the middle. Line up the base of the press-on with your cuticle line, then press down and forward in one smooth motion. Hold firm pressure for at least 30 seconds — thumb on top, index finger underneath.
Before moving to the next nail, check that it's fully sealed. No air bubbles, no lifted edges. That stubborn corner that won't quite sit flat? Deal with it now. You won't get another chance once the adhesive cures.
This is where most people gain an extra level of convincingness:
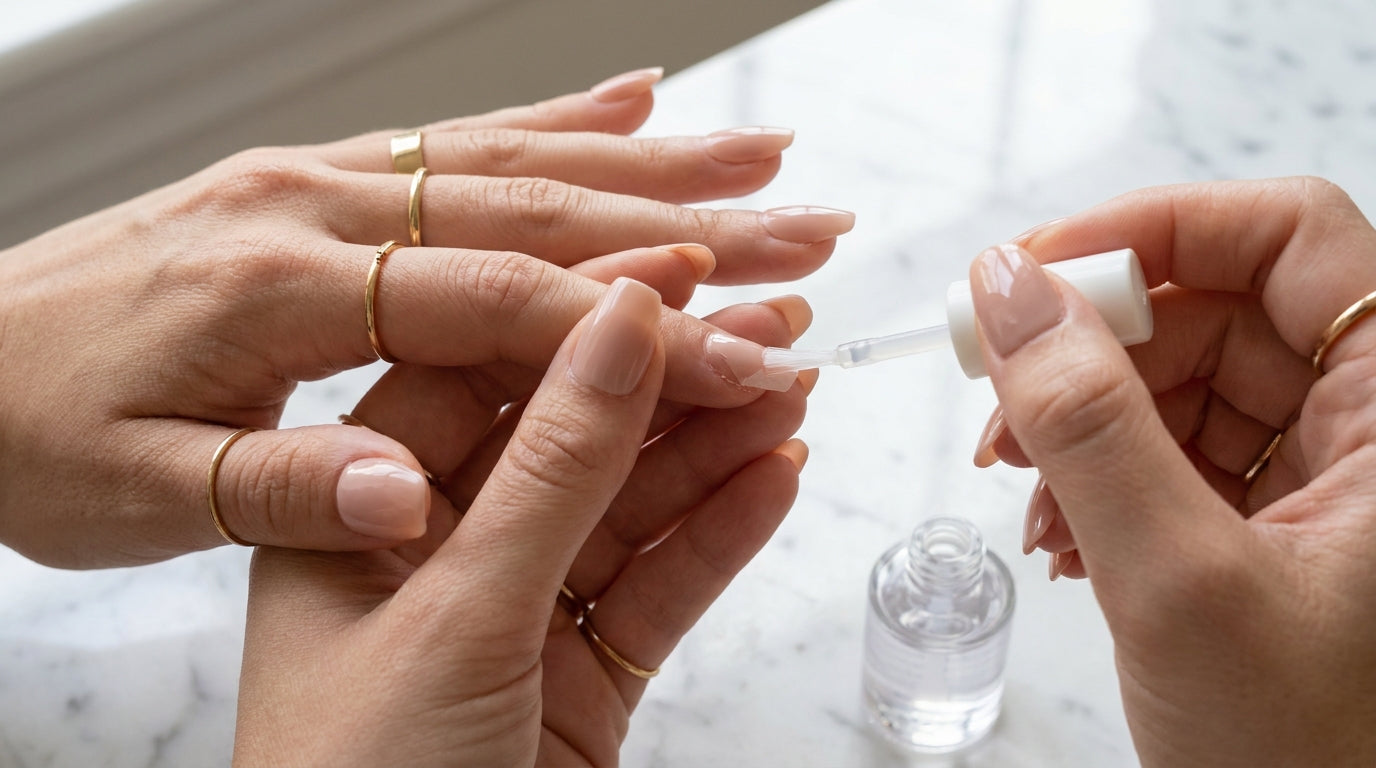
A layer of topcoat turns a plasticky press-on shine into proper nail lacquer. Apply a thin coat over the entire nail and just slightly over the free edge — this seals the tip and stops it from lifting.
Want a matte look? Use a matte topcoat. Matte nails tend to look even more natural than glossy ones, since real nails rarely have that high-shine finish.
Add a cuticle oil or cream around each nail. Soft, moisturised cuticles make any set look salon-fresh — it's the small detail that people notice subconsciously even if they can't say why.
After a day or two, you might notice a corner starting to lift slightly. Press it back down immediately with a tiny drop of nail glue — don't wait until it fully separates. Small repairs are invisible. A half-detached nail is not.
Wear gloves when washing dishes or cleaning. Not because your nails will fall off — but because prolonged water exposure gradually breaks down the bond, and you'll start to see it at the edges first.
→ More tips: How to make press-on nails last longer
A nude, a blush pink, or a classic red feels inherently familiar. Intricate nail art is gorgeous, but it also draws more attention to the nails — and with it, to any tiny imperfections in application.
If your goal is to have no one notice? Start with a single colour or a subtle design. Once you're confident in your application, go ahead and explore the more elaborate sets.
Yes, genuinely. Many press-ons have a similar thickness and finish to gel, and with a topcoat the visual difference is minimal. The main giveaway is the cuticle transition — make sure that edge is tight and smooth and most people won't be able to tell.
Almost always a sizing issue (too wide) or insufficient degreasing before application. Try going a size down, and make sure your nails are completely oil-free before you apply.
With good prep and nail glue, 1–2 weeks is very achievable. Using glue rather than adhesive tabs pushes you toward the longer end of that range.
If you remove them carefully — ideally after soaking — and clean off the old adhesive, most sets can be reused once or twice. Use adhesive tabs the second time for a less permanent bond.
Generally, yes — they're closer to everyday nail length. But really it comes down to proportion: a set that suits your fingers and hand shape will always look more natural than one that's arbitrarily long or short.
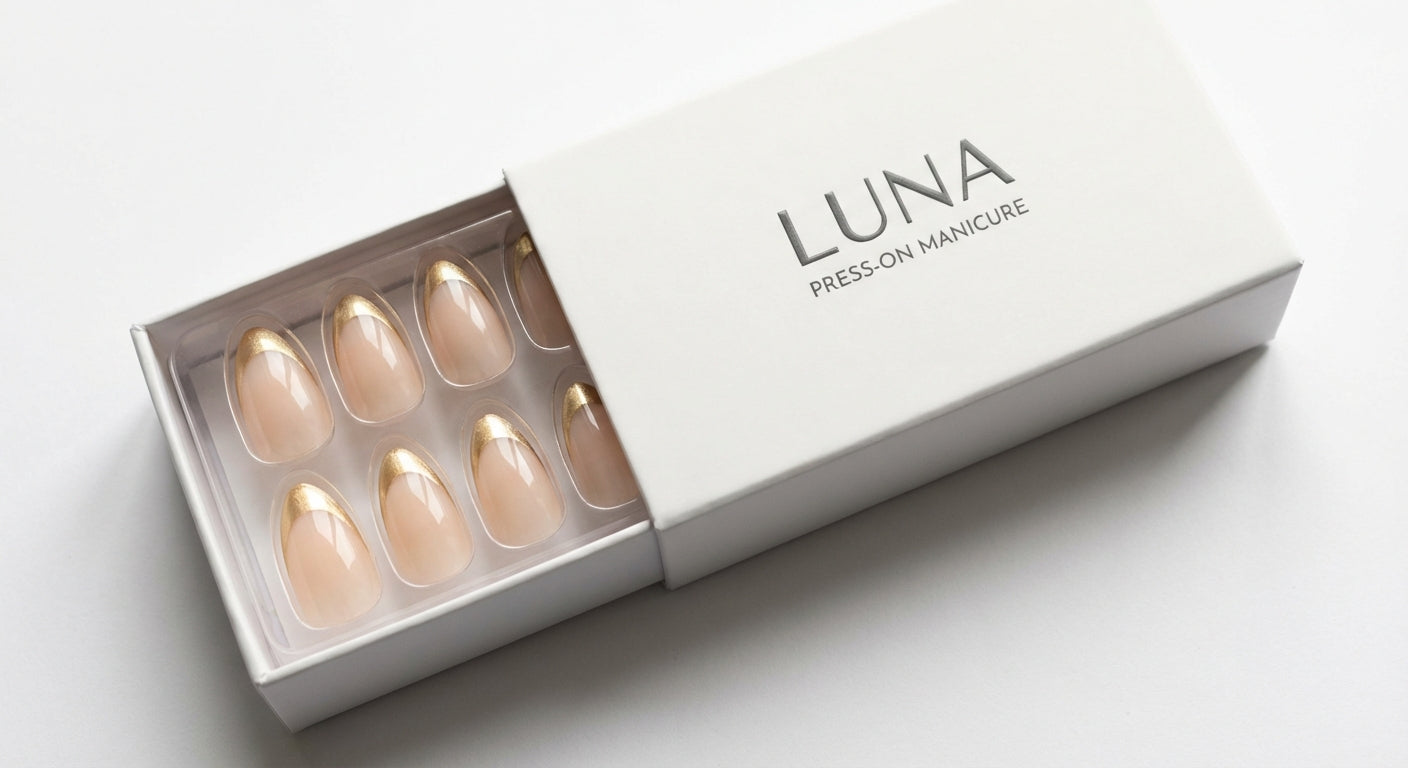
Looking for press-on nails that blend in seamlessly? Browse the Popink nude and natural collection — the perfect starting point if you want a subtle, convincing look.
The right storage keeps your press-on nails in perfect condition for multiple uses.
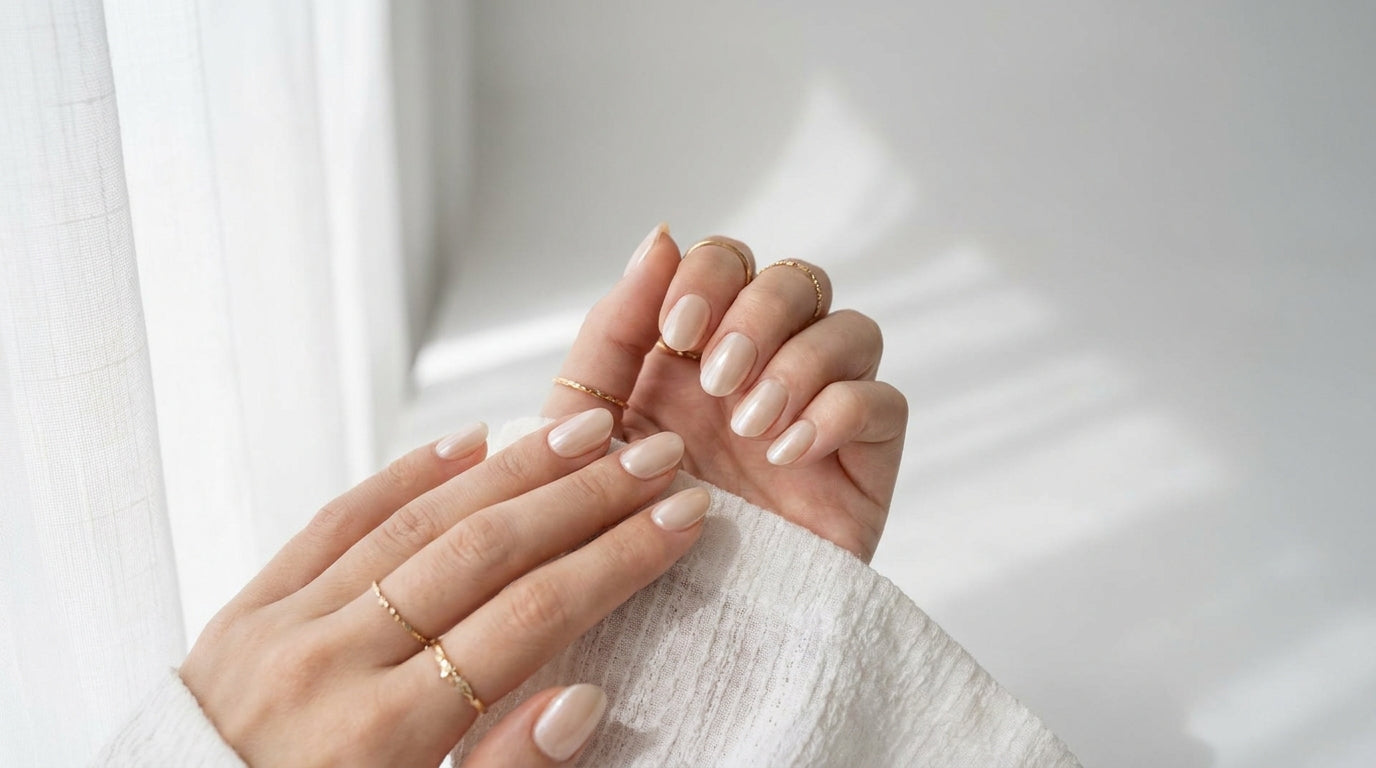
Clean girl nails are one of the biggest nail trends right now — and press-ons make them surprisingly easy to pull off.
A broken press-on nail is easier to fix than you think — the right approach has you sorted in minutes.