press-on nails
How to Store Press-On Nails: Keep Your Collection Organised and Ready to Use
The right storage keeps your press-on nails in perfect condition for multiple uses.
Press-on nails are the smartest way to get salon-quality nails without appointments, waiting times, or high costs. But if you've never used them before, you might wonder: how does it actually work?
Don't worry. This guide walks you through everything step by step — from preparation to removal.
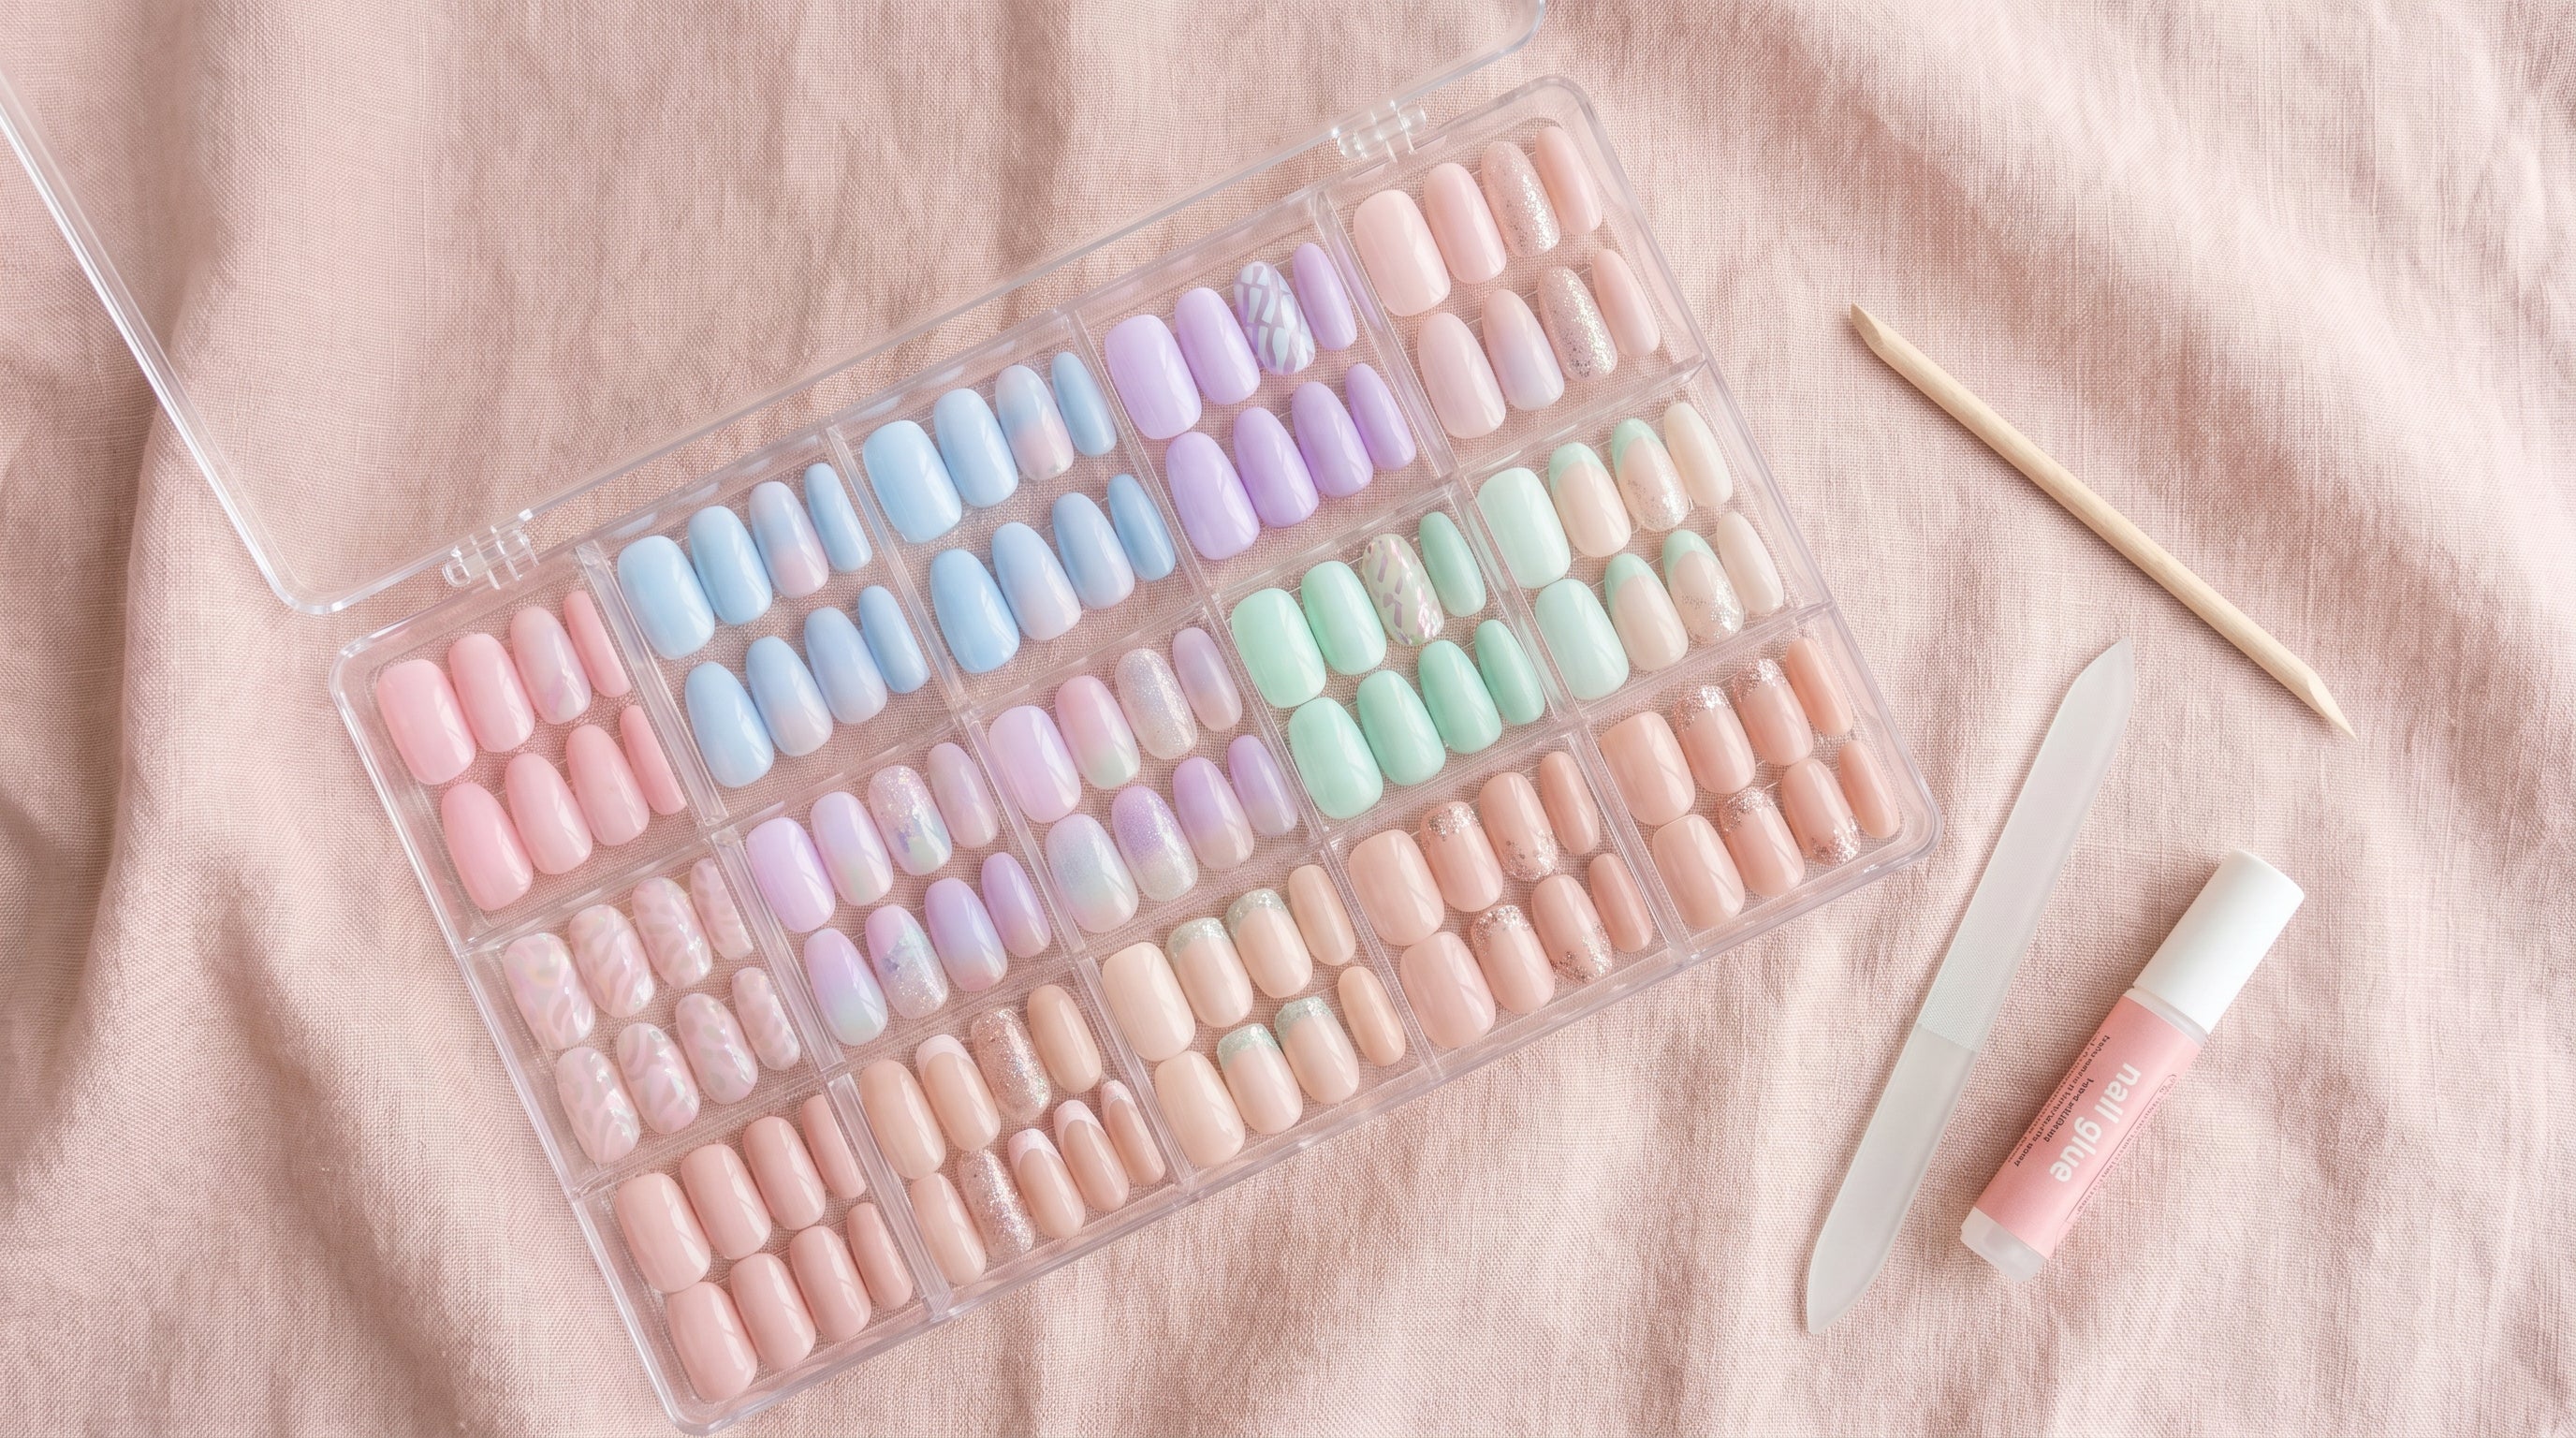
Press-on nails are ready-to-wear artificial nails you attach to your natural nails using adhesive tabs or nail glue. They come in countless shapes, lengths, and designs — from subtle nude to bold glitter.
The biggest advantage: you decide when to wear them, for how long, and you can remove them without damaging your natural nails.
Before you start, make sure you have the following:
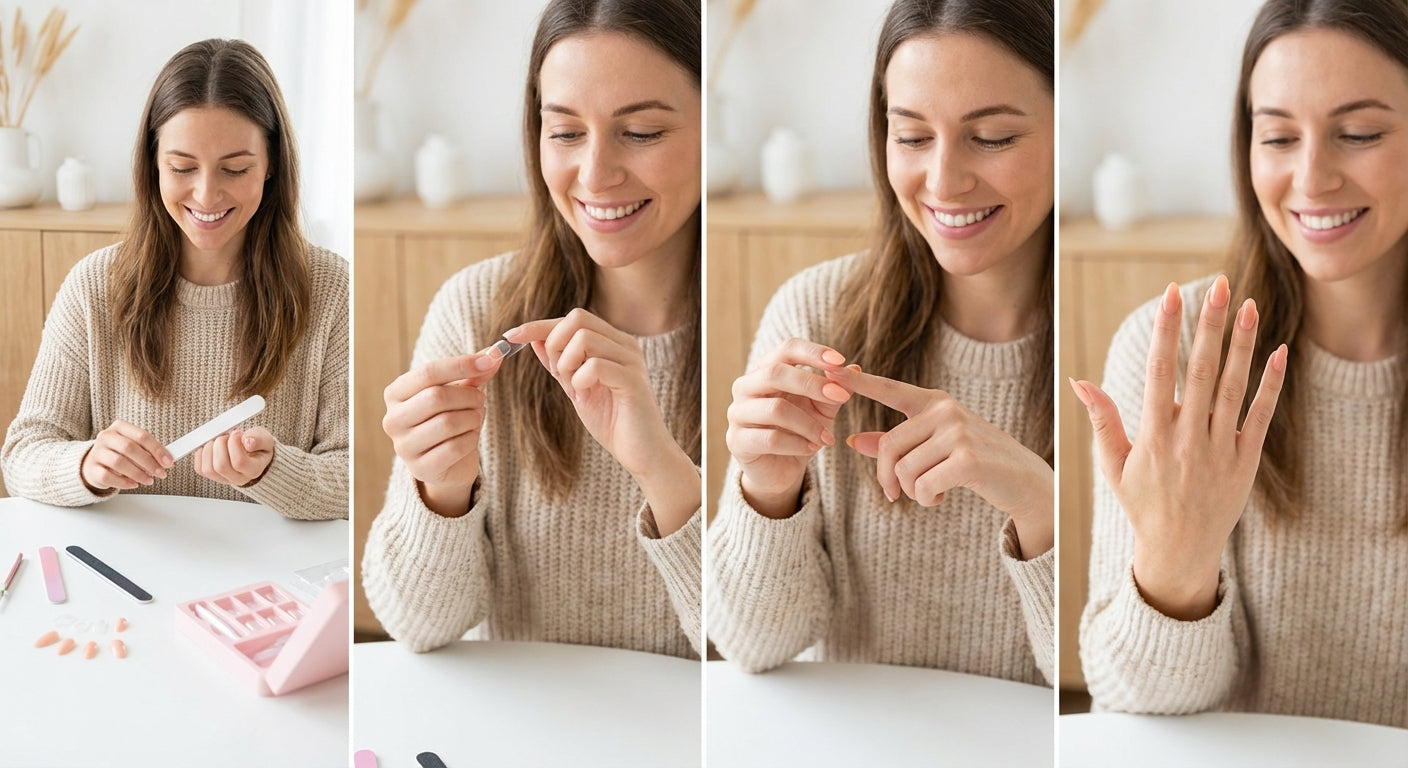
This is the most important step. Clean, oil-free nails grip much better.
1. Remove any existing nail polish
2. Wash your hands thoroughly
3. Gently push back your cuticles
4. Lightly buff each nail for a slightly rough surface
5. Wipe each nail with a pad soaked in nail cleanser or acetone
Tip: Don't apply hand cream right before — oils are the enemy of adhesion.
Every Popink kit comes with nails in multiple sizes. Hold each one against your natural nail and pick the size that covers the entire nail surface without touching the skin on the sides.
No perfect match? Go slightly narrower rather than wider — and gently file the bottom edge for a better fit if needed.
With adhesive tabs (recommended for everyday wear):
1. Peel the backing off an adhesive tab
2. Press it firmly onto your natural nail
3. Remove the protective film on top
4. Press the press-on nail from the cuticle toward the tip
5. Hold firmly for 10–15 seconds
With nail glue (for longer wear):
1. Apply a small drop of glue to your natural nail
2. Press the press-on directly without sliding it
3. Hold for 20–30 seconds while the glue dries
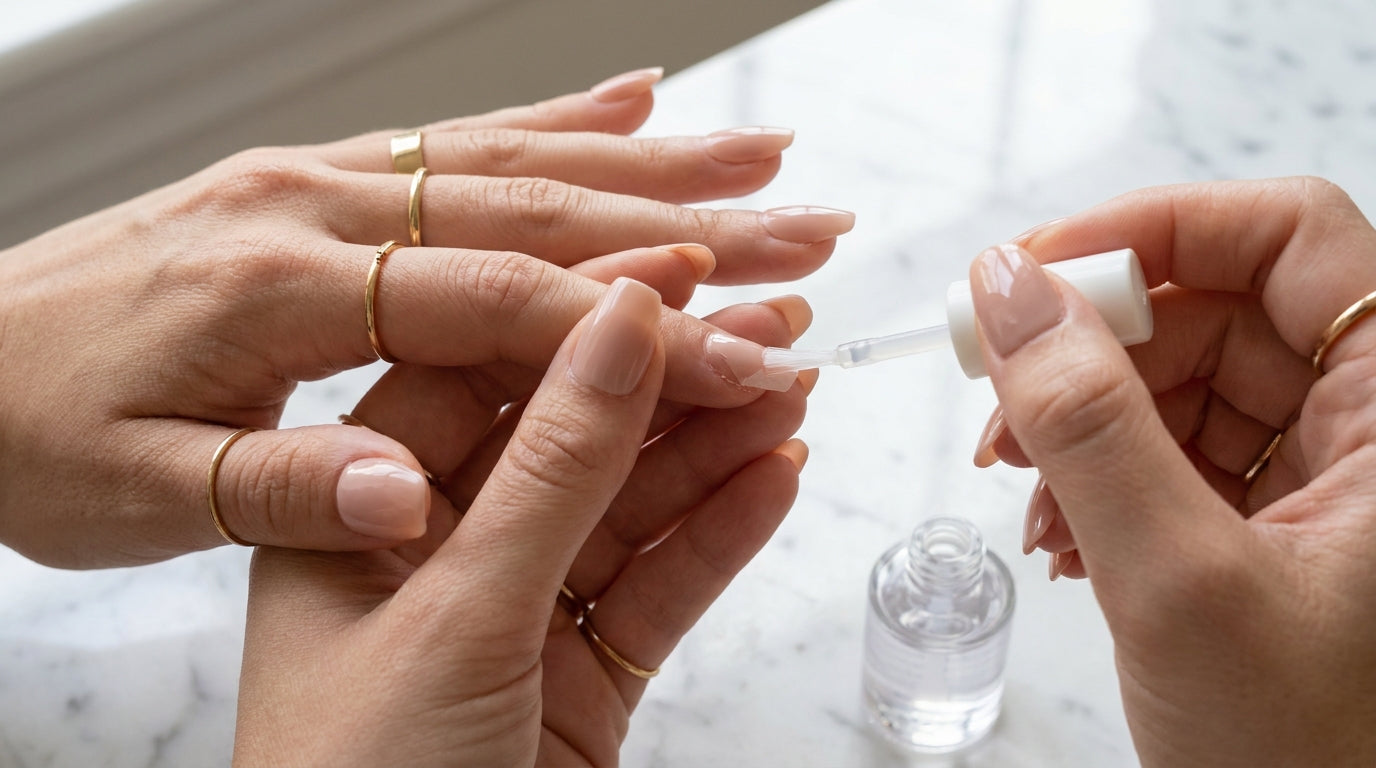
Once applied, you can still file or shape the nails as you like. Want them shorter? File gently from the sides toward the center — this prevents the nail from cracking.
Add a layer of topcoat for extra shine and longevity.
With adhesive tabs, most people wear press-ons for 3 to 7 days. With nail glue, this can extend to 1 to 2 weeks, depending on how hard you are on your hands.
Tips to make them last longer:
Never force nails off — this damages your natural nail.
The right way:
1. Soak your nails in warm water for 5–10 minutes
2. Gently slide a wooden stick or cuticle pusher under the edge
3. Ease the nail off with a gentle, steady motion
With nail glue, you can also use cuticle oil or acetone to soften the adhesive first.
Browse the full Popink collection and find the design that fits your style. From minimalist everyday sets to statement looks for special occasions — there's something for every mood.
The right storage keeps your press-on nails in perfect condition for multiple uses.
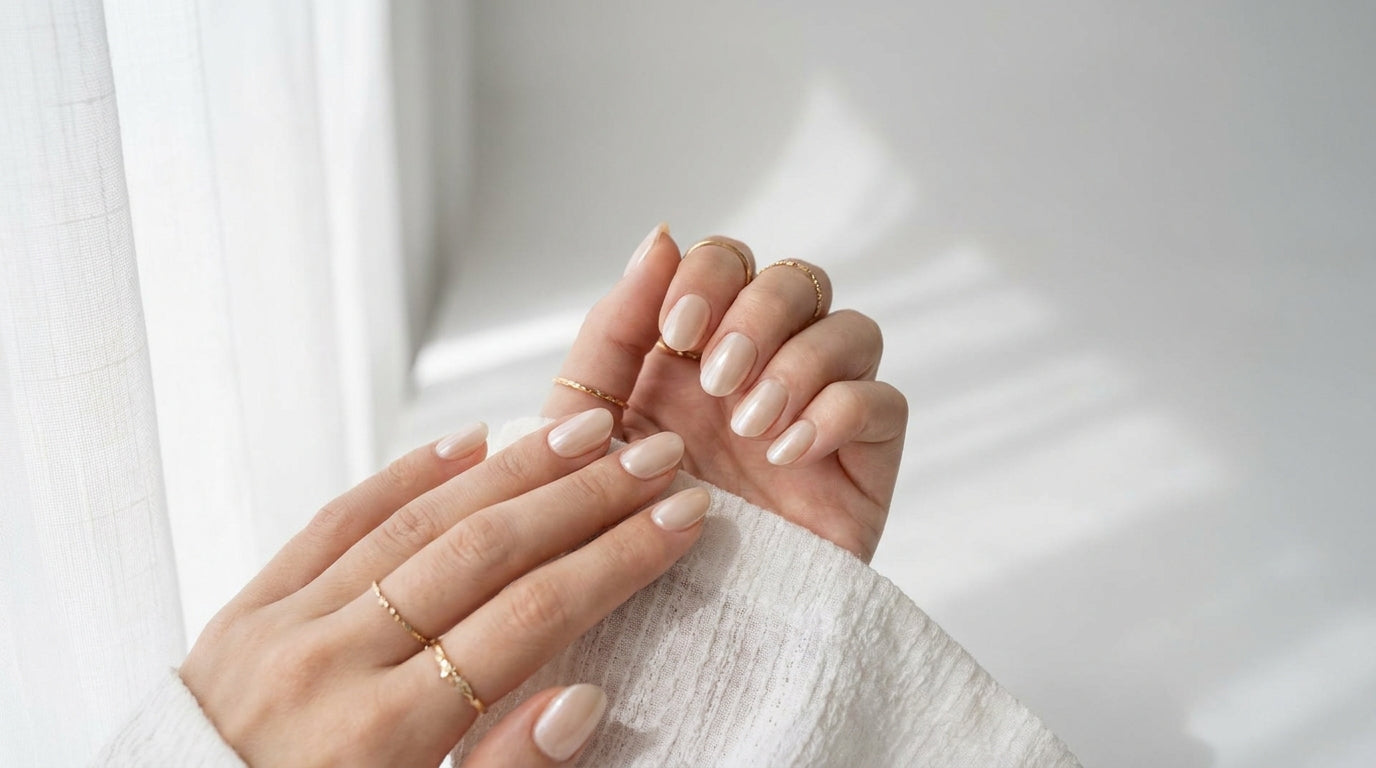
Clean girl nails are one of the biggest nail trends right now — and press-ons make them surprisingly easy to pull off.
A broken press-on nail is easier to fix than you think — the right approach has you sorted in minutes.