minimalist
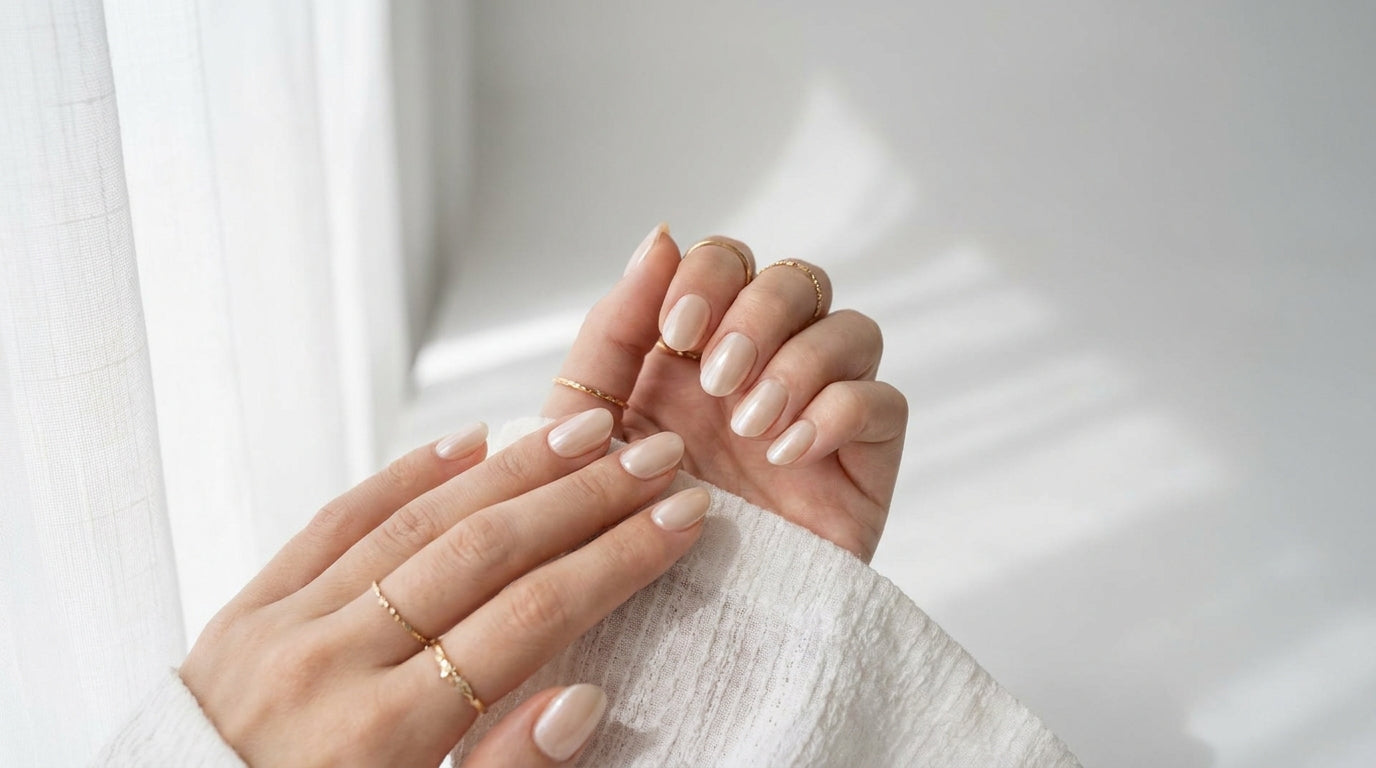
Minimalist nail art: the clean girl manicure explained
Clean girl nails are one of the biggest nail trends right now — and press-ons make them surprisingly easy to pull off.
Storing your press-on nails properly is what separates a set you use twice from one you use ten times. A little organisation goes a long way — the right storage keeps nails clean, dust-free, and in the exact shape you love. Here's everything you need to know.
Press-on nails are made from high-quality acrylic or ABS plastic, and most sets can be removed gently and reused several times — if they're stored correctly. Leave them loose in a makeup bag and you'll find them scratched, dusty, bent, or missing their best size.
The enemies of press-on nails are:
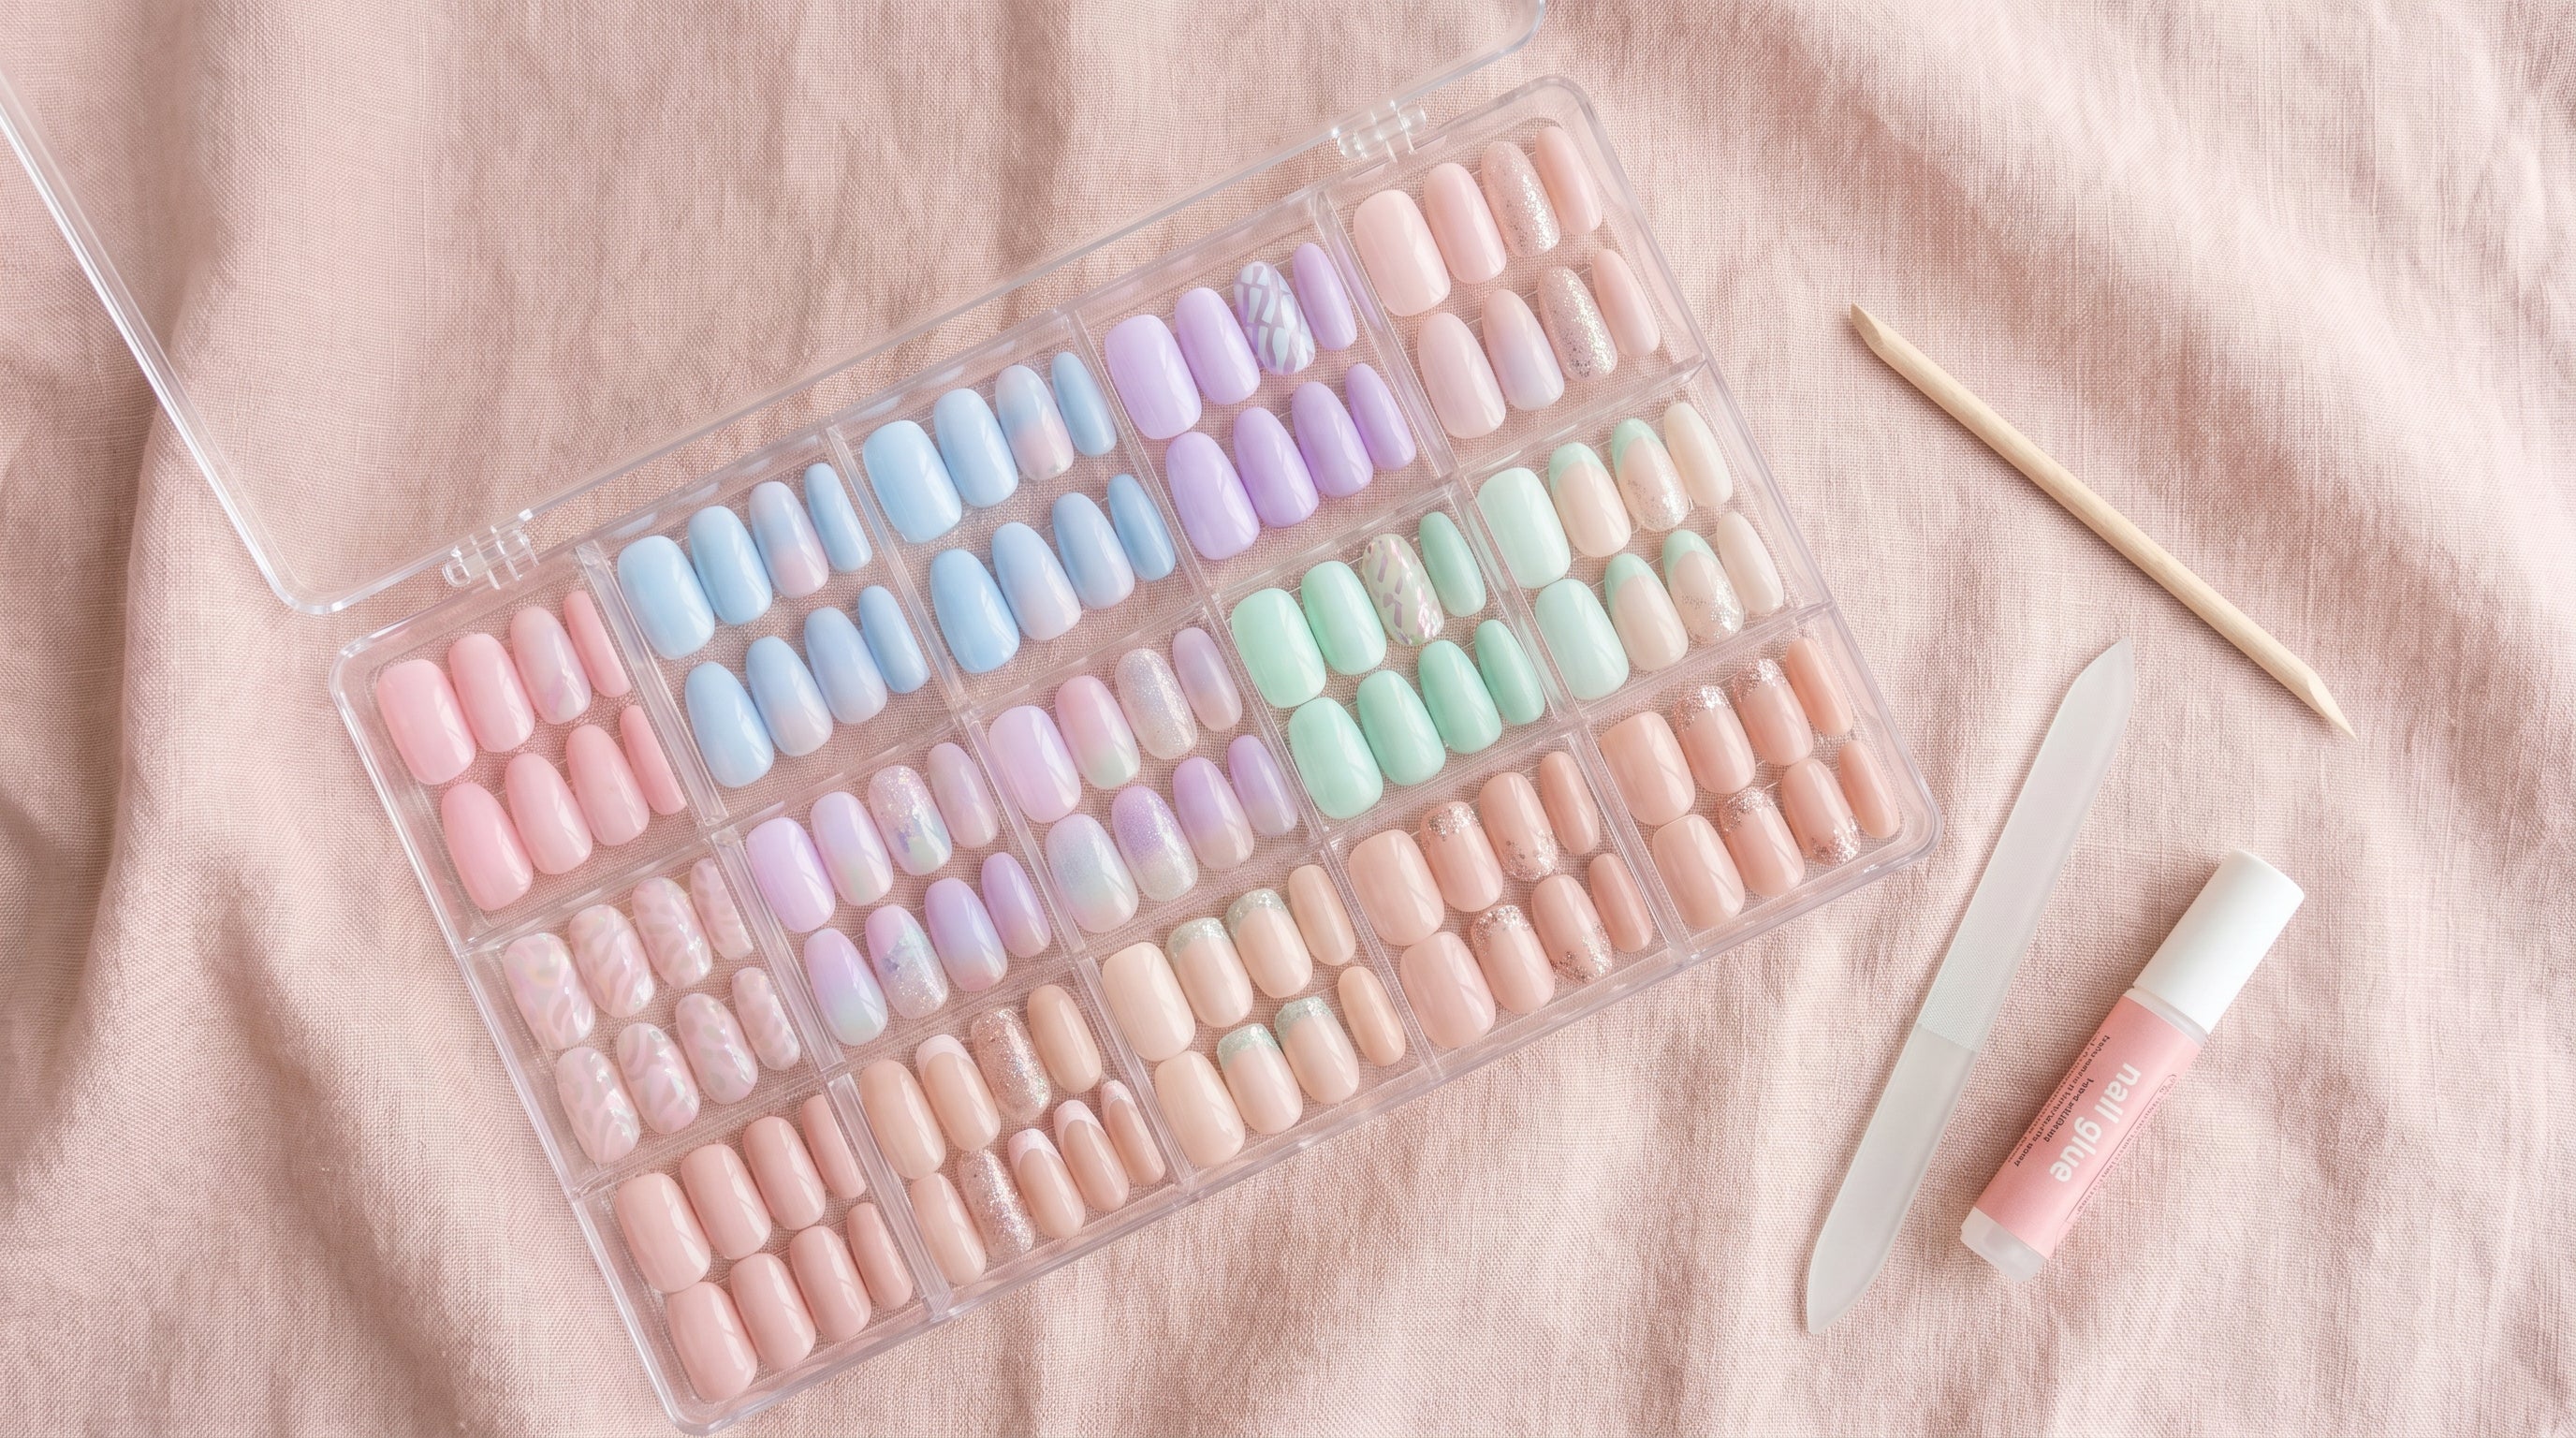
The gold standard. A multi-compartment acrylic box lets you sort sets by colour, shape, or occasion — and you can see exactly what you have at a glance. Look for boxes with individual slots or dividers so nails don't rattle around together.
Bonus tip: Label each compartment with a small sticker. "Work sets", "Party nails", "Daily naturals" — whatever makes sense for your collection.
Most press-on nail sets come in a branded tray that holds each size in its own slot. That tray is purpose-built for storage. Once you've removed your nails, wipe them clean, pop them back into the original tray, and seal the box. Easy, effective, zero extra cost.
At Popink, our sets come in sturdy trays designed exactly for this. Don't throw them away after the first use.
If you're travelling or keeping a spare set in your bag, a small zip pouch works perfectly. Add a tiny silica gel packet to absorb any moisture. Label the outside with the set name or colour so you're not digging around when you're already running late.
A newer option that's popular with collectors — small binder-style folders with nail-sized pockets or gel pages. Great if you have 10+ sets and want everything visible and catalogued. A bit overkill for a starter collection, but worth it if nails are your thing.
Storage only works if the nails are clean when they go back in. Here's the quick prep routine:
1. Remove adhesive residue. Use a nail file or a small wooden cuticle stick to gently scrape off any leftover glue or tab adhesive from the inside of the nail.
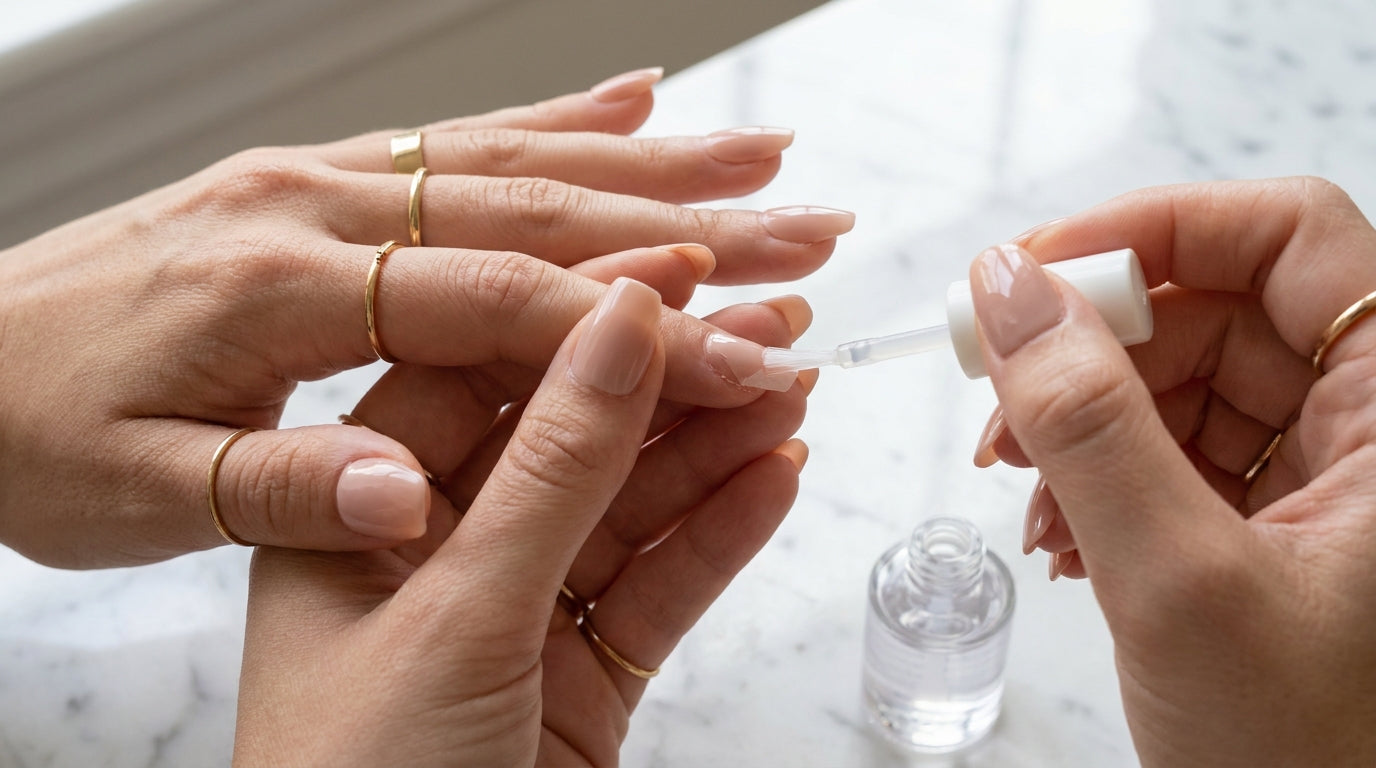
2. Clean the surface. Wipe both sides lightly with a cotton pad and some nail polish remover or isopropyl alcohol. This removes oils and any product buildup.
3. Let them air dry. Don't store nails while damp — give them 5 minutes before sealing.
4. Sort by size. Put them back in size order (usually 0–9 or XS–XL). Future you will be grateful.
If a nail has a crack or a chip in the design, set it aside — it's probably not worth reusing. But a clean nail with intact nail art? That can absolutely go back into rotation.
Once you have more than a handful of sets, a system pays off. A few approaches that work:
By occasion: Work/everyday, evening/party, seasonal, special events. This makes grabbing the right set effortless.
By colour family: Nudes and neutrals, pinks and reds, darks (navy, black, burgundy), brights and fun colours. Great if you match nails to outfits.
By shape: If you collect different shapes (coffin, almond, square, stiletto), group by shape so you always know what you're reaching for. See our nail shapes guide for a breakdown of the most popular options.
Hybrid: Use a primary category (colour or occasion) and a label for the secondary detail. Works well with a box that has both rows and compartments.
Do: A drawer or cupboard away from windows. A vanity shelf out of direct sun. A dedicated beauty box or jewellery case.
Don't: The bathroom windowsill (humidity + sunlight = double damage). A hot car glove compartment. On top of a radiator. Loose at the bottom of a bag.
Room temperature and low humidity is the sweet spot. Most homes are perfectly fine — you don't need to do anything special, just avoid the obvious problem spots.
A few extras worth doing when you take nails on the go:
Storage is half the equation. The other half is how you remove them in the first place. Ripping nails off damages both the nail and the press-on — a soak in warm water for a few minutes, or using a cuticle oil along the edges, lets them lift off cleanly and keeps them in great condition for next time.
If you want to go deep on reuse, we've covered exactly this in how to reuse press-on nails.
Ready to build a collection worth organising? Browse the full range at Popink.nl — from everyday naturals to statement sets for special occasions. Find your next favourite set and give it a proper home.
Clean girl nails are one of the biggest nail trends right now — and press-ons make them surprisingly easy to pull off.
A broken press-on nail is easier to fix than you think — the right approach has you sorted in minutes.

You don't have to choose between beautiful nails and an active lifestyle. Here's how to wear press-ons through workouts, yoga sessions, and more.