press-on nails
How to Store Press-On Nails: Keep Your Collection Organised and Ready to Use
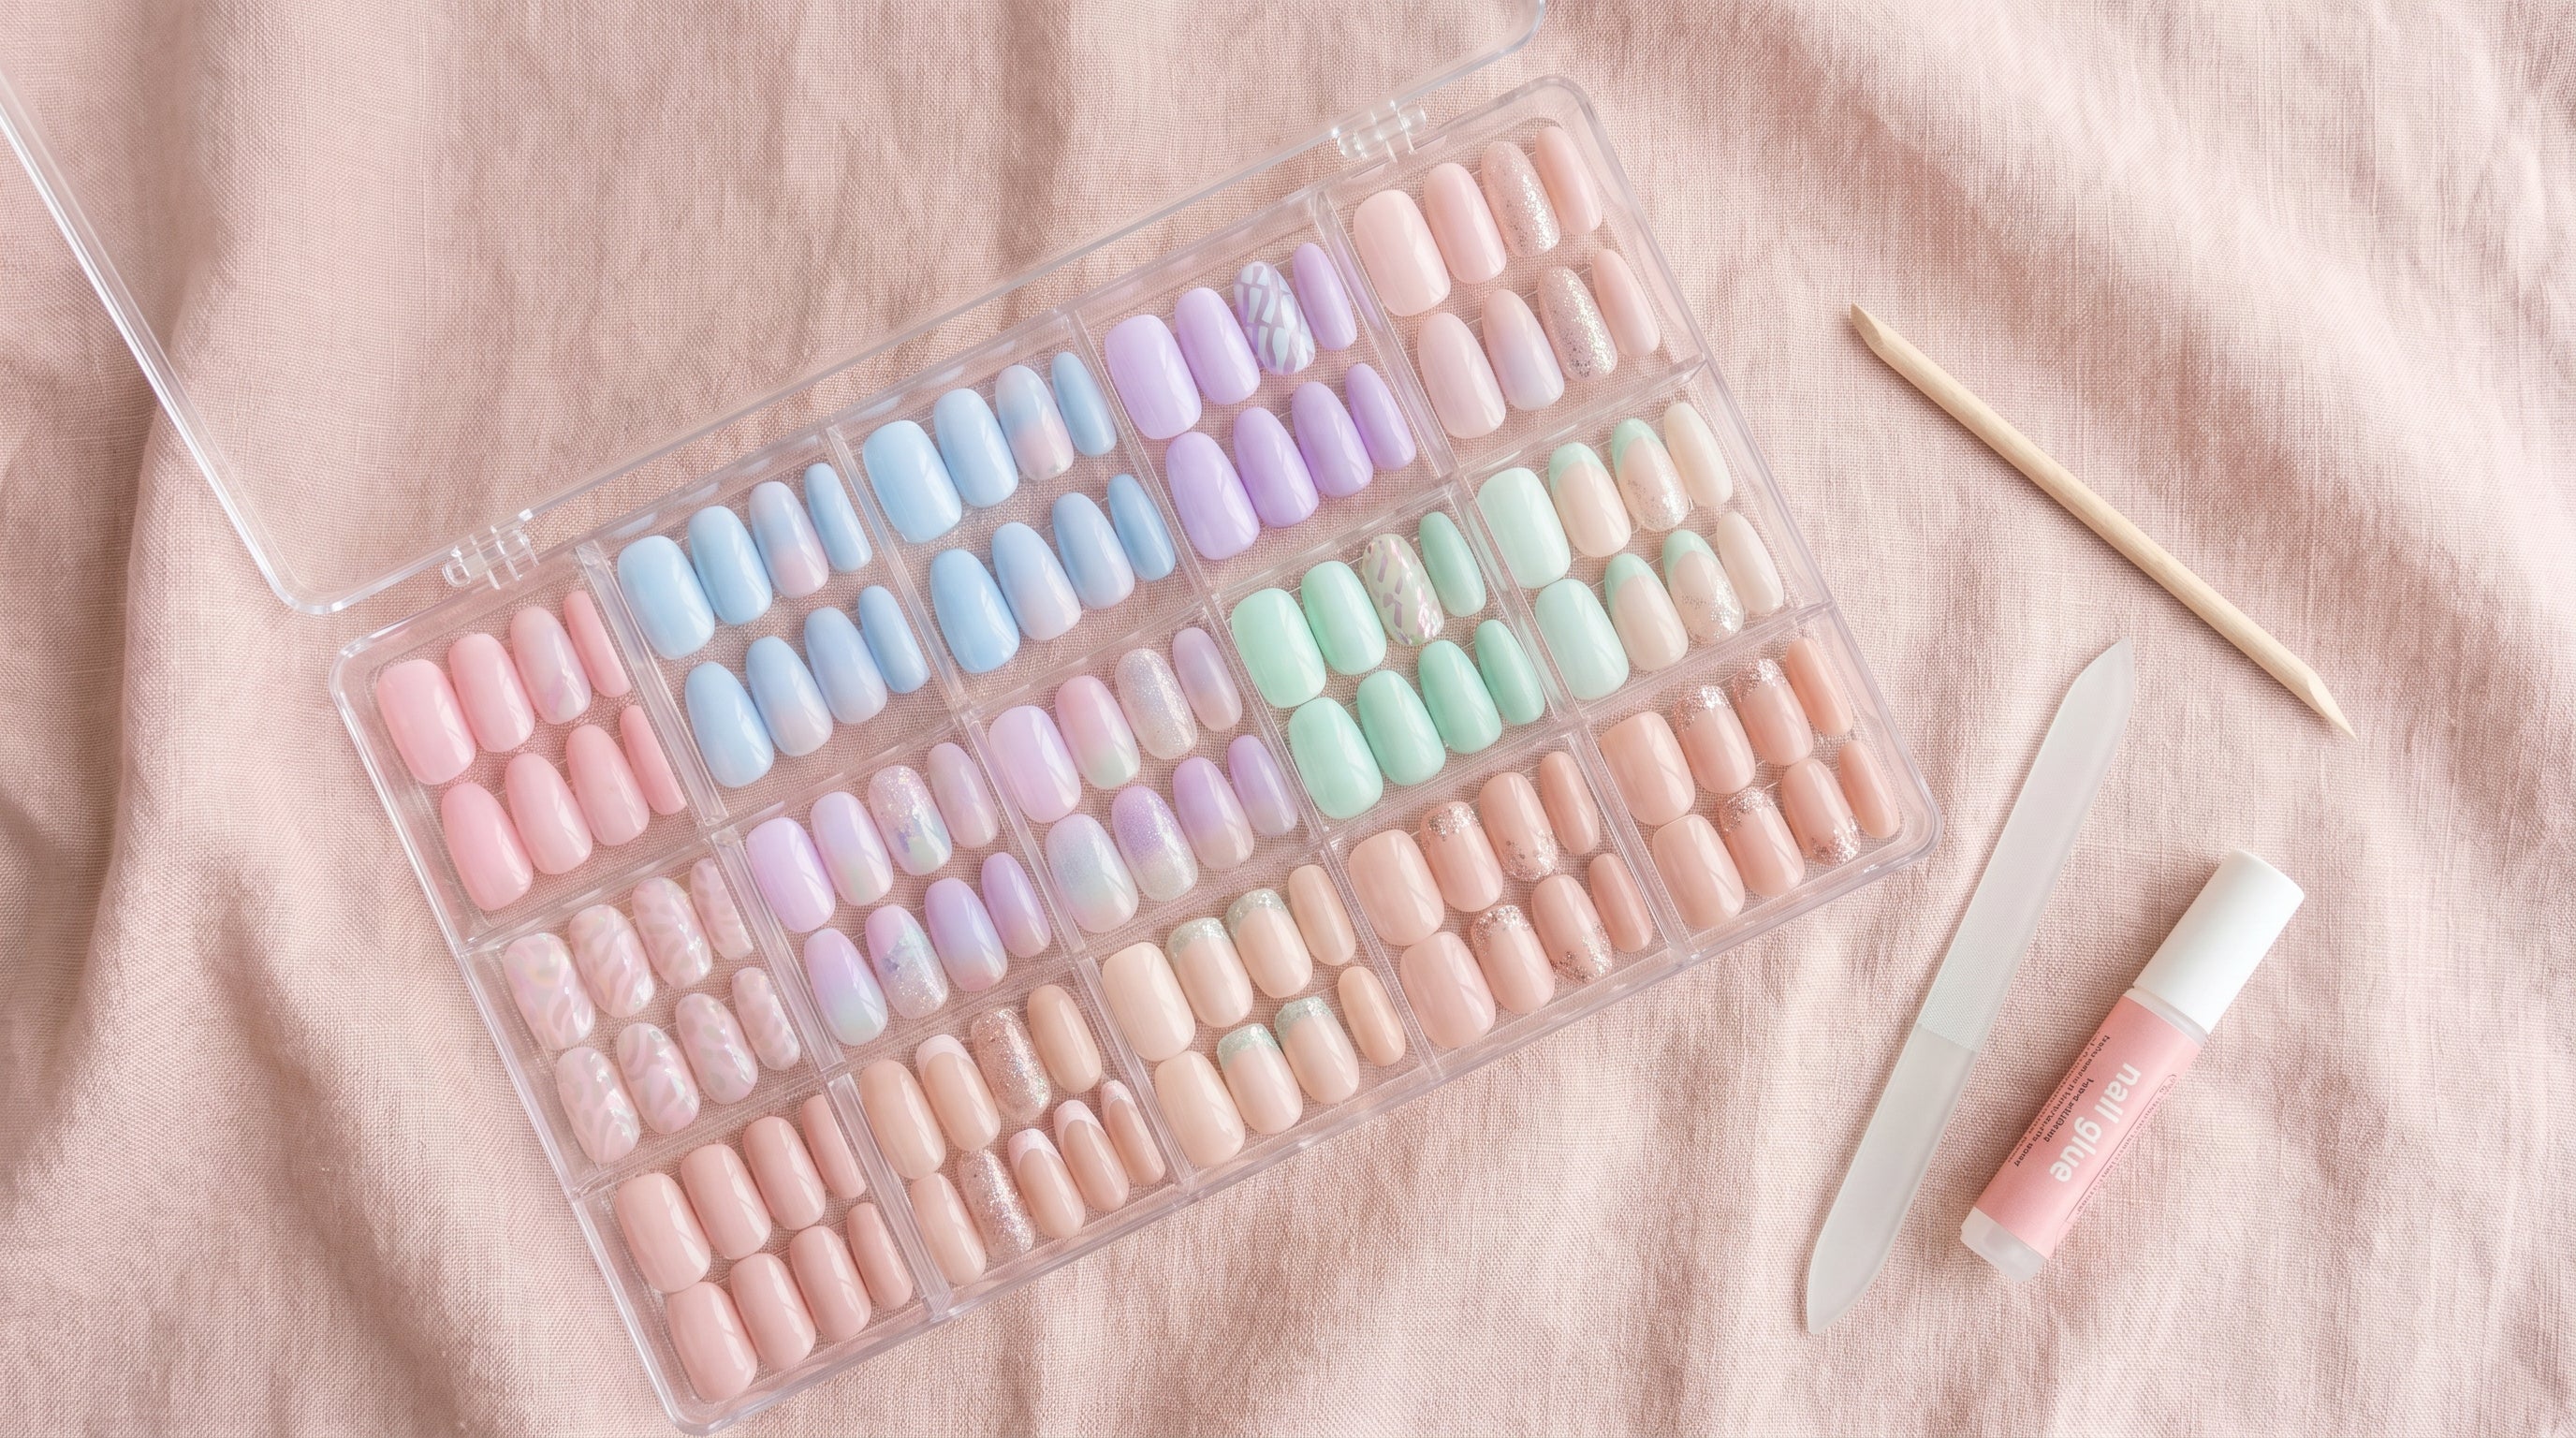
The right storage keeps your press-on nails in perfect condition for multiple uses.

Press-on nails are honestly the best travel beauty hack most people overlook. They take up almost no space, they look salon-quality from the moment you apply them, and if one pops off mid-trip? You fix it in two minutes flat. No frantic Googling for a nail salon in a foreign city, no ruined holiday vibes.
Whether you're heading to a beach resort, a European city break, or a destination wedding, here's how to keep your nails flawless the entire trip — with zero stress.
Let's be real: traditional manicures and travel don't mix well. Gel nails chip on suitcase zippers. Acrylics lift in chlorinated pool water. And booking a salon appointment right before your flight? That's one more thing on an already chaotic to-do list.
Press-on nails solve all of this. You apply them the night before departure (or even at the airport lounge — no judgement), they hold up through swimming, sightseeing, and sunscreen application, and you can carry a full backup set in a pouch the size of a credit card.
Plus, if you're someone who likes matching your nails to your outfits or destination — think tropical brights for Bali, classic nudes for Paris — press-ons let you switch looks mid-trip without any damage to your natural nails.
You don't need much. The beauty of press-ons for travel is how minimal the kit is. Here's what to throw in your toiletry bag:
Timing matters more than you'd think. Apply too early and you risk lifting before the fun starts. Too late and you're fumbling with glue at the departure gate.
The sweet spot is the evening before you leave. This gives the glue time to fully cure overnight and lets you do any final adjustments when you're relaxed, not rushing.
If your trip is longer than a week, consider this strategy:
1. Apply a fresh set the night before departure
2. Pack a second set (or the same set if you prefer consistency)
3. Around day 5–7, swap to the fresh set for the back half of the trip
This way you always look polished and you're never dealing with lifting or grown-out nails in your holiday photos.
Press-on nails handle vacation activities better than you'd expect, but a few adjustments help them last:
Chlorine and salt water can weaken adhesive over time. Apply your nails with glue rather than adhesive tabs if you're planning water activities — glue creates a much stronger, water-resistant bond. After swimming, pat your nails dry rather than rubbing them.
Oils can break down nail adhesive. When applying sunscreen, try to avoid working it under the edges of your press-ons. Apply sunscreen to your hands last, and use the backs of your hands to spread it on your body — your nail edges will thank you.
Sand is surprisingly abrasive. If you're building sandcastles or digging around, be a little mindful of your nail edges. That said, well-applied press-ons with glue are tough — normal beach behaviour won't cause issues.
Things happen. A nail catches on a bag strap. You get a little too enthusiastic opening a coconut. Here's how to handle common travel nail emergencies:
A nail pops off completely: Clean both surfaces, reapply glue, press firmly for 30 seconds. Done. This is the entire repair process and it takes less time than ordering a coffee.
A nail is lifting at one edge: Don't peel it off. Add a tiny drop of glue under the lifted edge, press down, and hold. The seal will be as good as new.
You lost a nail and can't find it: This is why you packed spares. Apply the replacement, file it to match the others if needed.
Your nails look great but your natural nails have grown out: If you see a visible gap at the cuticle after a week, gently remove the set using the safe removal method, prep your nails, and reapply. Fresh application always looks better than trying to push them back.
What you put on your nails depends on where you're going and what you're doing. Here are some solid picks:
Even on holiday, showing your natural nails a little love goes a long way. Between sets — or on rest days if you take a break:
Short answer: no. Press-on nails themselves are completely fine through airport security anywhere in the world. They won't set off metal detectors and nobody is going to question them.
Nail glue is the only thing to be mindful of. It's a liquid, so pack it in your clear liquids bag if you're carrying it in hand luggage. A standard nail glue tube is well under the 100ml limit, so it's never a problem. Adhesive tabs are solid and don't count as liquids at all.
With glue application and proper prep, a single set can realistically last 7–10 days. For a full two-week trip, pack a second set and swap halfway through. You'll look freshly manicured for every phase of the holiday.
Glue for any trip involving water or heat. Adhesive tabs are great for a quick one-day look (a dinner or event), but they don't hold up as well against sweat, sunscreen, and swimming. For reliable wear on holiday, glue wins.
Yes! Nail glue is permitted in hand luggage as long as it's in your clear liquids bag and under 100ml — which every standard nail glue tube is. You can also pack it in checked luggage with no restrictions.
First: don't panic. It's a tiny piece of plastic — it happens. Apply a replacement from your travel kit when you're back on shore. To reduce the risk, make sure your nails are fully dehydrated and clean before application, and use quality glue.
A small ziplock bag or the original packaging works perfectly. Keep them in a hard-sided pouch or your toiletry bag so they don't get crushed. If you've pre-sized them, stick them to a piece of tape in order for easy grab-and-go application.
Ready to build your perfect travel nail kit? Browse Popink's press-on nail sets and pick your holiday look — whether you need beach-ready brights, city-chic nudes, or something extra for that special occasion abroad. Your nails, your trip, zero salon stress.
The right storage keeps your press-on nails in perfect condition for multiple uses.
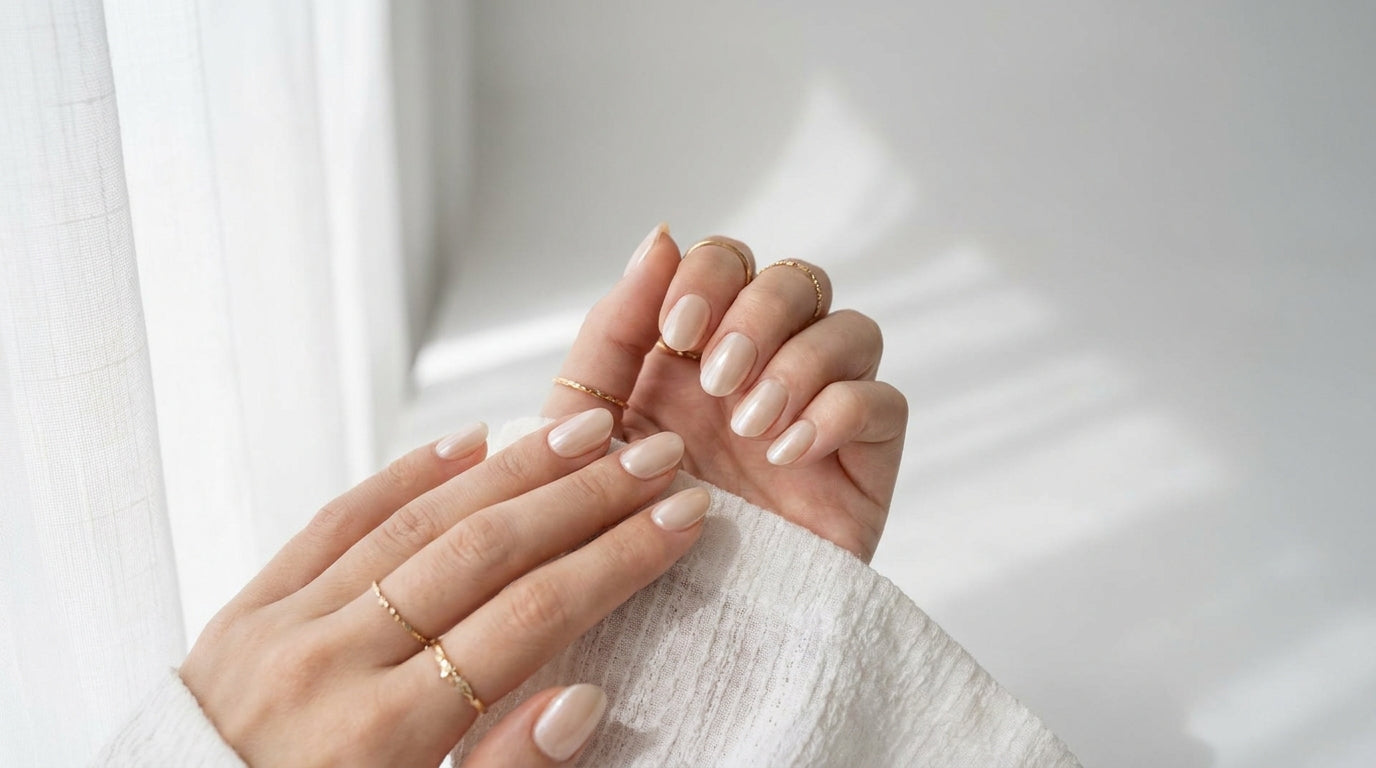
Clean girl nails are one of the biggest nail trends right now — and press-ons make them surprisingly easy to pull off.
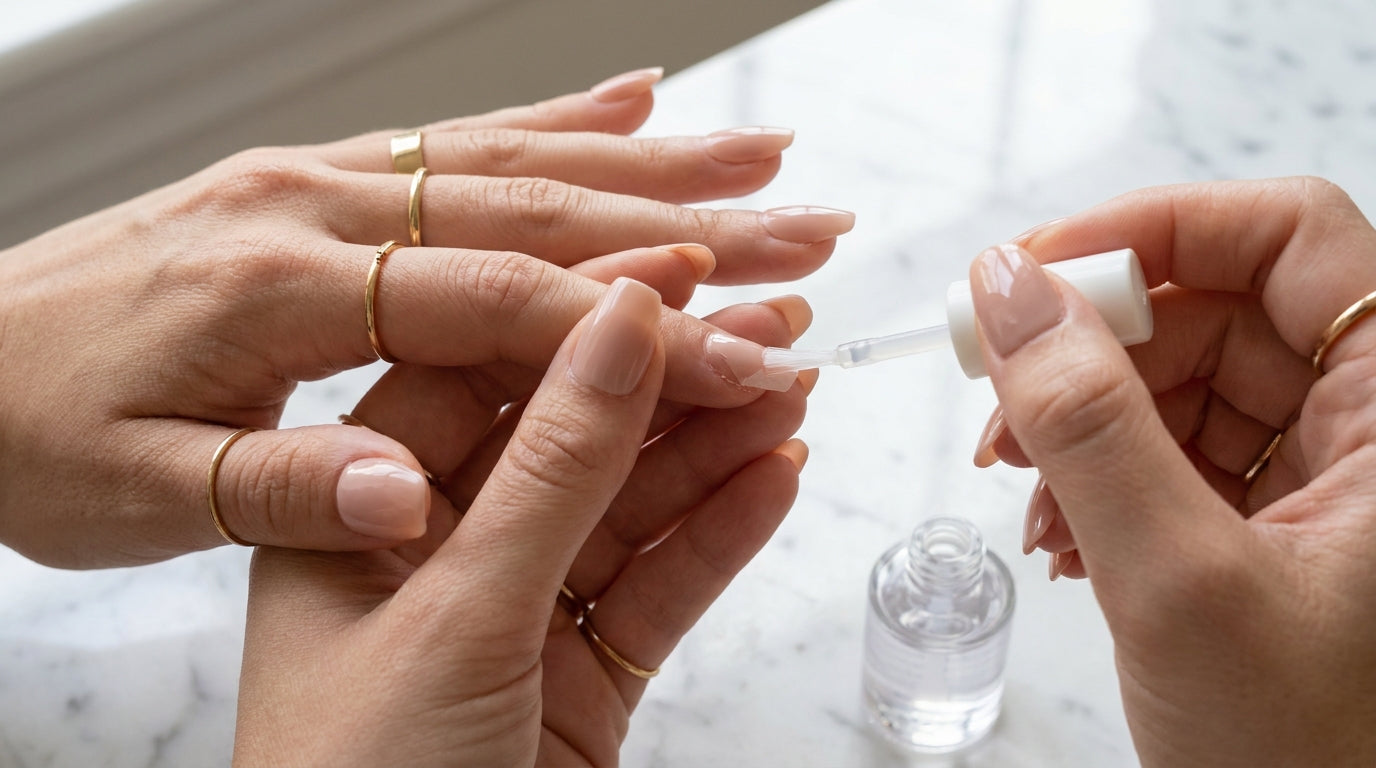
A broken press-on nail is easier to fix than you think — the right approach has you sorted in minutes.