press-on nails
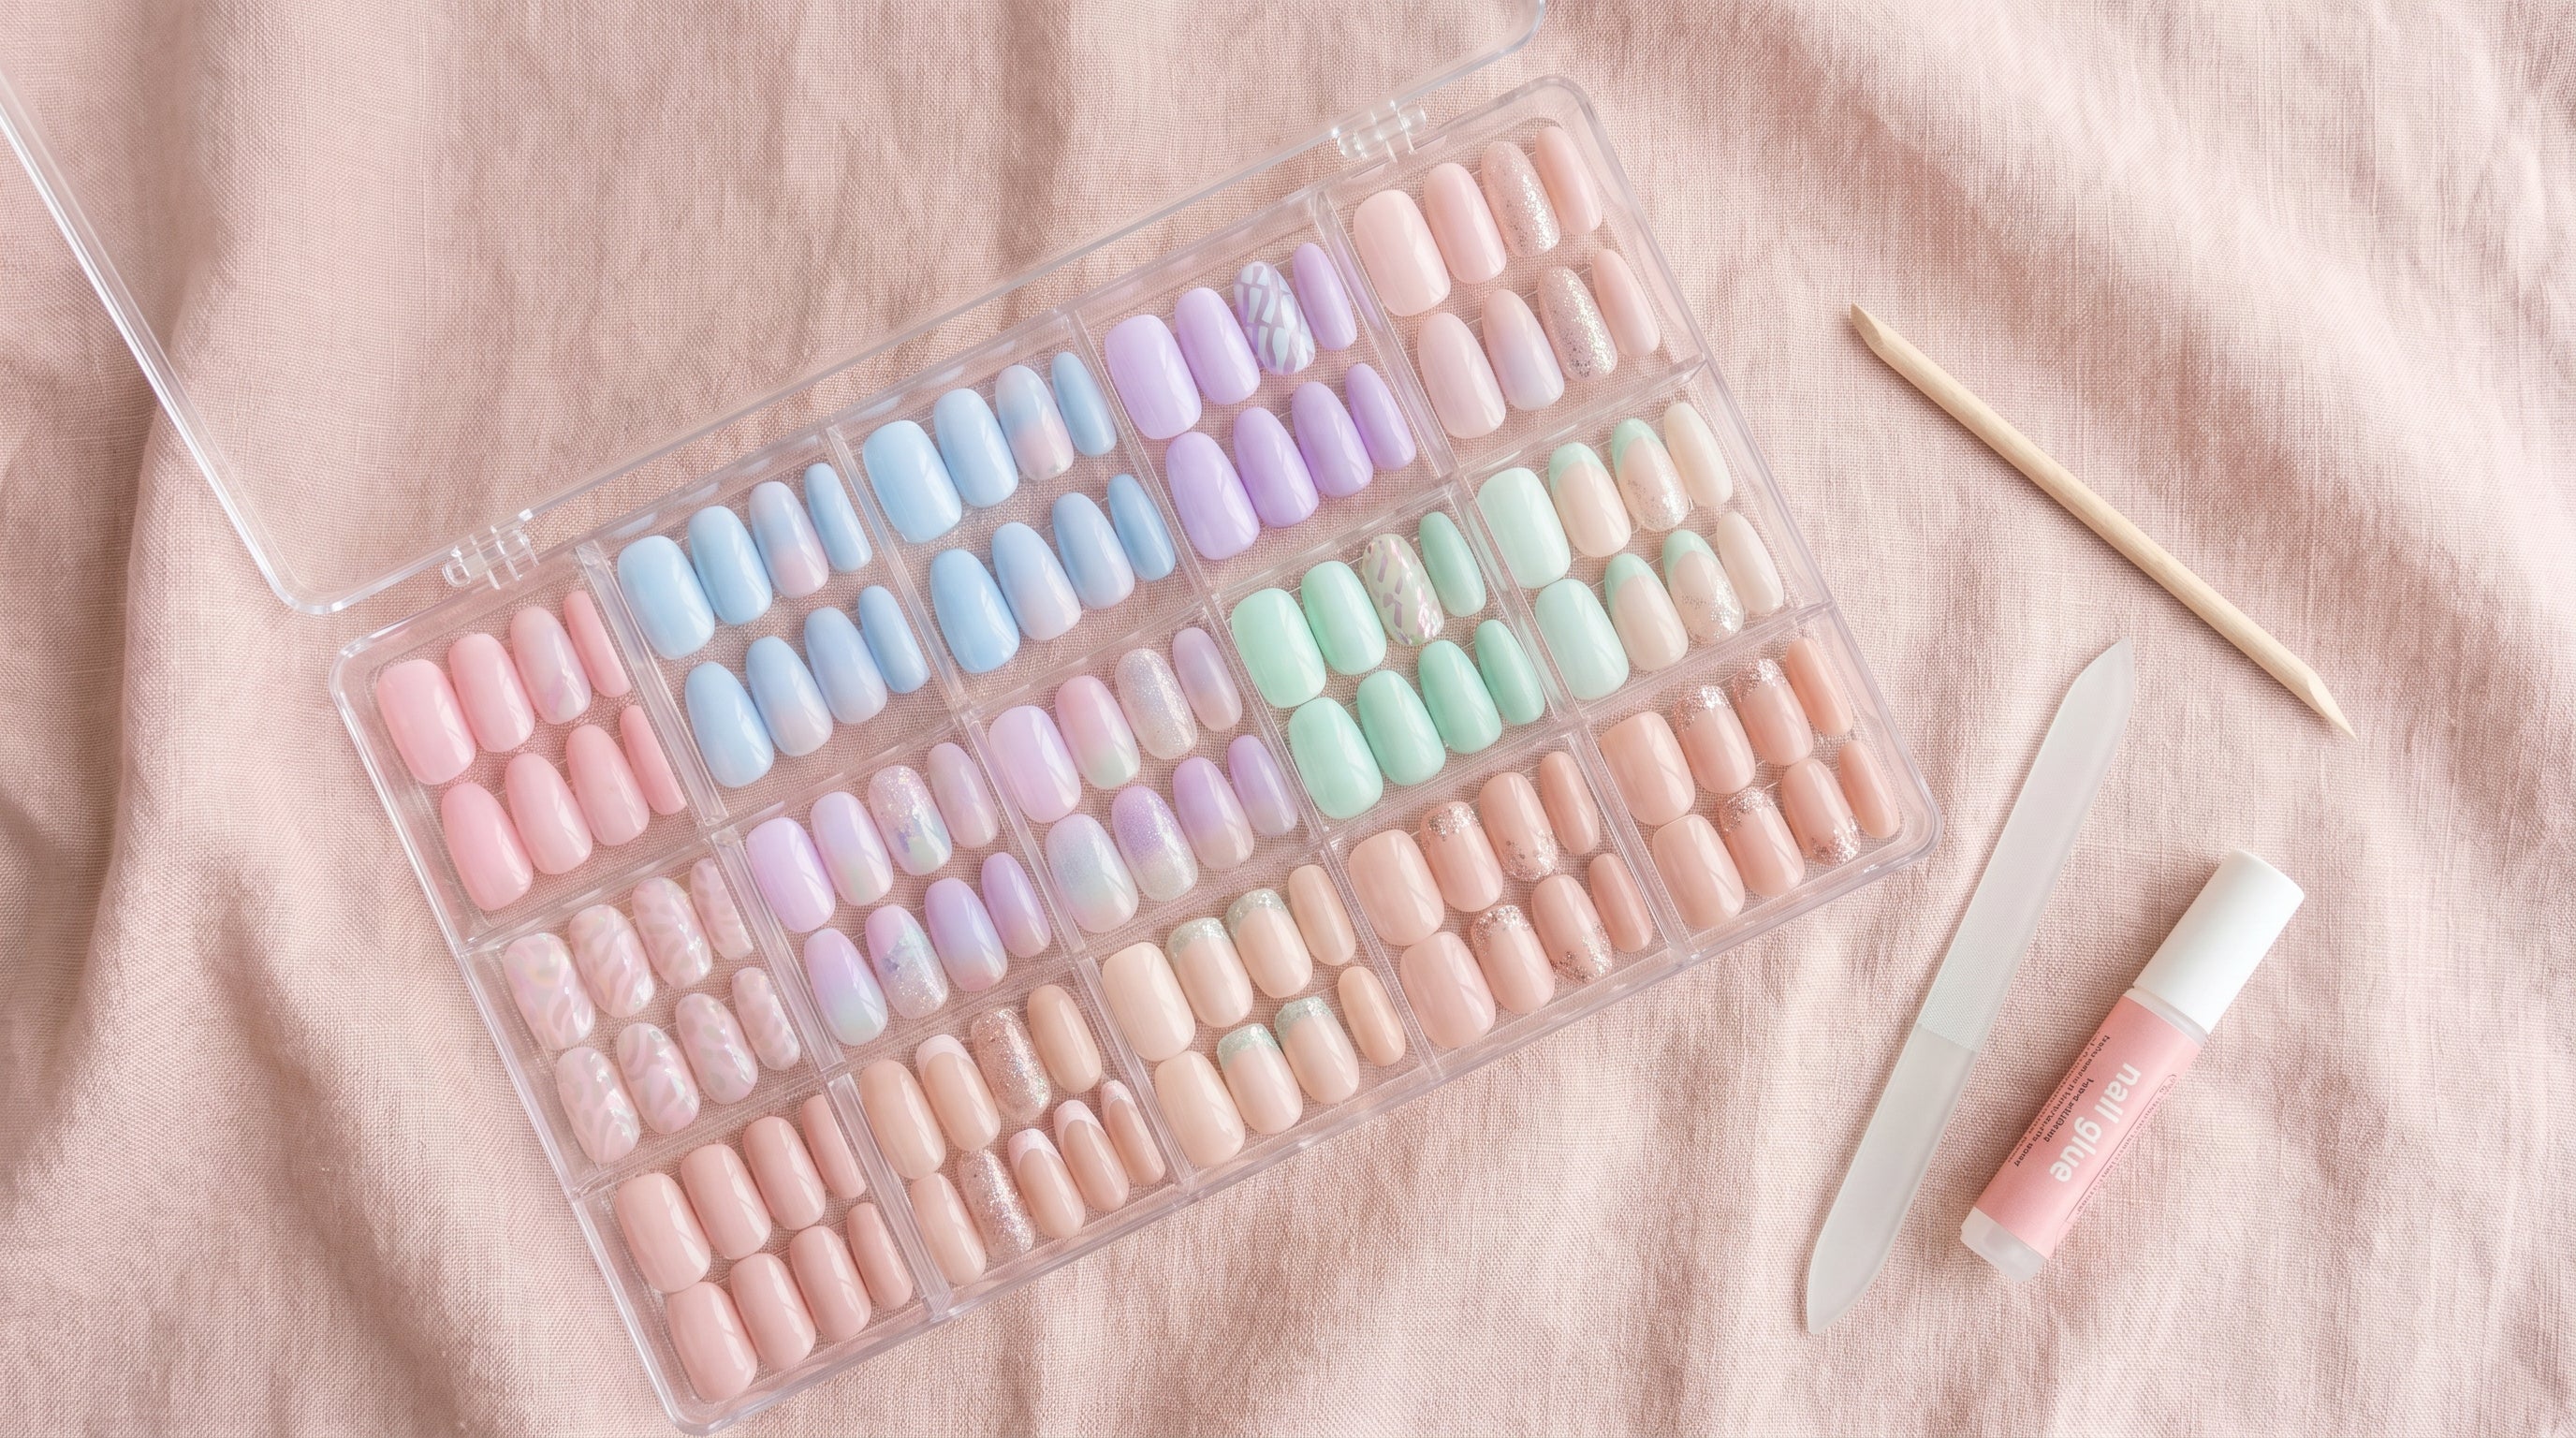
How to Store Press-On Nails: Keep Your Collection Organised and Ready to Use
The right storage keeps your press-on nails in perfect condition for multiple uses.
Press-on nails are amazing — quick to apply, beautiful results. But sooner or later, the moment comes when you want to take them off. Do it wrong, and you risk damaging your natural nails. Do it right, and your nails will be just as strong as before — plus you can reuse your press-ons.
In this guide you'll find everything about the safest ways to remove press-on nails, which method works best with which adhesive, and how to care for your nails afterwards.
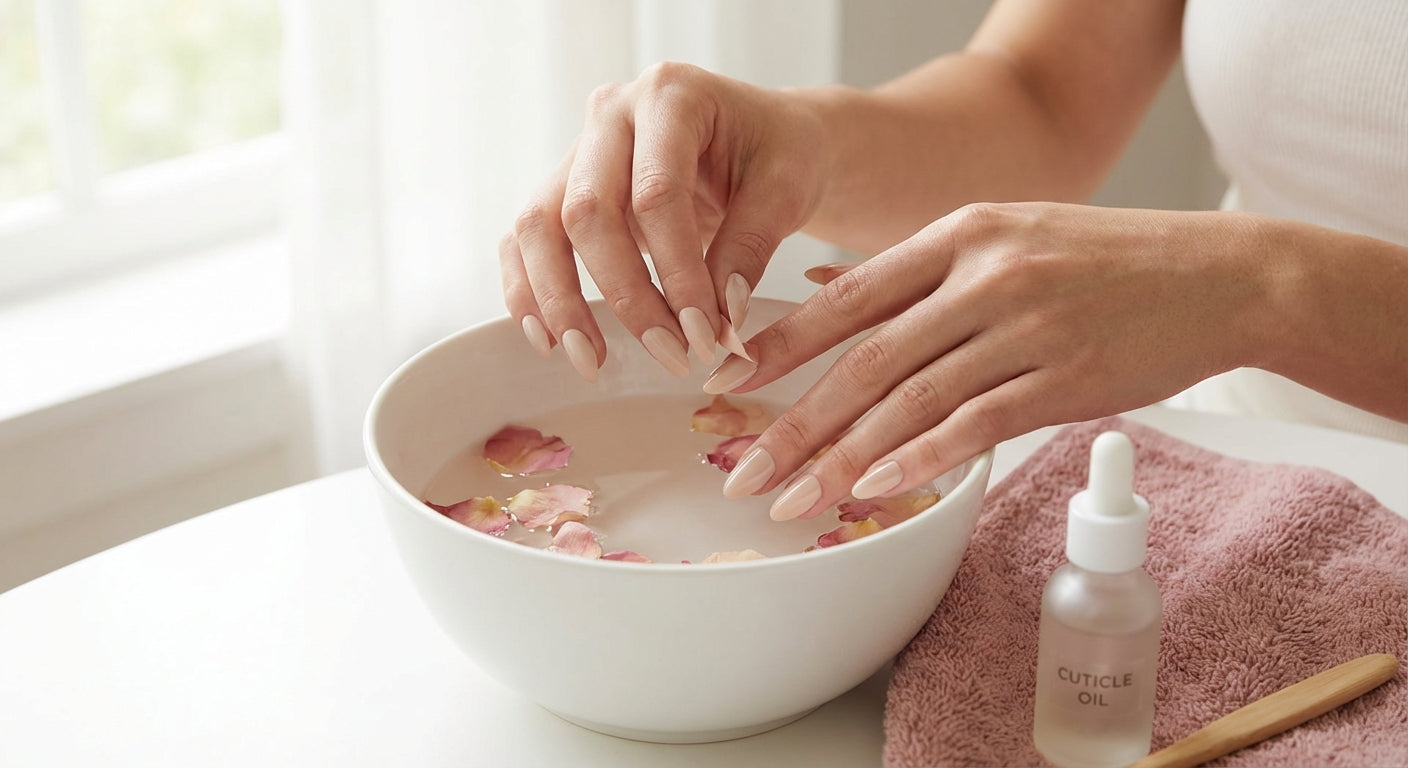
Press-on nails are secured with nail glue or adhesive tabs. If you just pull them off, you risk peeling away the top layer of your natural nail. That leaves nails thin, brittle, and sensitive. By soaking the nails first, you remove them without force — and without damage.
This is the most nail-friendly approach and works best with adhesive tabs or light glue.
What you need:
1. Fill a bowl with warm water — as warm as feels comfortable.
2. Soak your fingers for 10 to 15 minutes. The water softens the adhesive.
3. Gently try to loosen the nails from the side using a wooden cuticle stick (orange stick). No force!
4. Is the nail still stuck? Soak for another 5 minutes.
5. Work from the sides toward the middle — never pull straight upward.
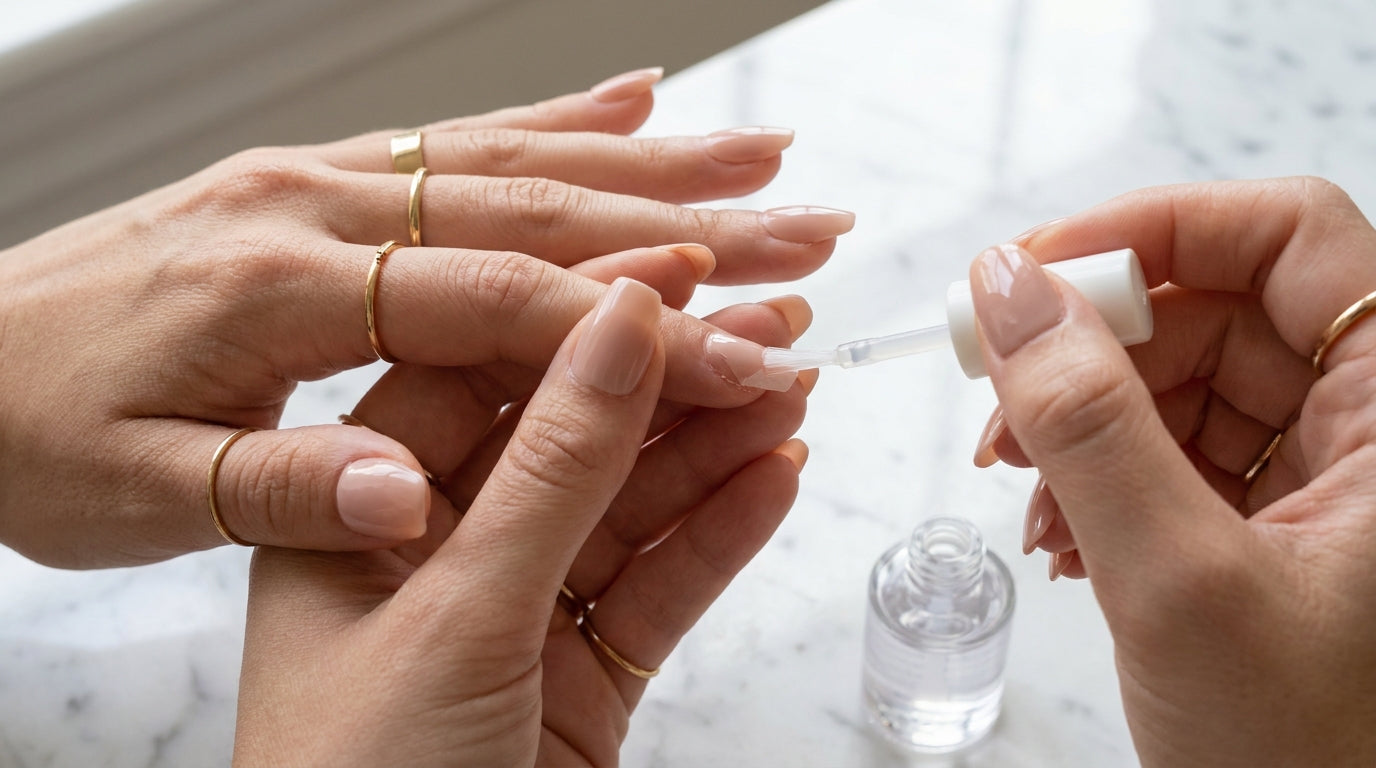
6. Massage cuticle oil into your nails afterwards to rehydrate them.
Tip: Add a few drops of olive oil to the water. It helps dissolve the adhesive faster and leaves your skin feeling soft.
Acetone works quickly and is ideal for stronger nail glue. Use it with care though — it can dry out your skin and nails.
What you need:
1. Lightly file the shiny top layer of the press-on. This helps the acetone penetrate.
2. Pour some acetone into a bowl and dip your fingertips in, or:
- Soak a cotton pad in acetone
- Place it on the nail
- Wrap in aluminium foil
- Leave for 10 to 15 minutes
3. The glue will soften. Gently push the press-on nail downward with an orange stick — slide it off, don't lift it up.
4. Never use your natural nail as a tool to scrape off remaining glue.
5. Wash your hands thoroughly and apply generous amounts of cuticle oil and hand cream.
Caution: Do not use acetone on broken or irritated skin. Keep it away from open flames — it is flammable.
There are also gentler nail removers based on ethyl acetate. They work slightly slower than acetone but are kinder to your nails.
| Method | Time | Best For |
|---|---|---|
| Warm water | 15–20 min | Adhesive tabs, light glue |
| Acetone | 10–15 min | Strong nail glue |
| Mild remover | 15–20 min | Sensitive nails |
Your nails may need a moment to breathe after wearing press-ons — not because press-ons are harmful, but because the adhesive has been covering the outer layer for a while. Here's what to do afterwards:
1. File smooth
Any rough edges? Gently file them smooth with a fine-grit nail file. Always file in one direction — never back and forth.
2. Apply cuticle oil
Massage cuticle oil (such as jojoba or almond oil) into your nail beds and cuticles. Do this daily for best results.
3. Moisturise your hands
A rich hand cream seals in hydration and protects the skin around your nails.
4. Give your nails a break
If you've worn press-ons for a long stretch, give your nails one or two days without. That's all they need.
Yes! That's one of the biggest advantages of Popink press-ons over cheaper alternatives. As long as you remove them carefully, they can be worn multiple times.
How to store them properly:
❌ Yanking them off → always soak first
❌ Using boiling water → it damages your skin
❌ Scraping with a metal tool → use a wooden stick only
❌ Applying acetone all over your hand → target the nail, not the skin
❌ Skipping hydration afterwards → cuticle oil is your best friend
Now that you know how to remove press-ons safely, you can wear any set with complete confidence — knowing your nails will be just as strong and healthy when they come off.
Wondering what to try next? Browse our collection for the latest designs — from subtle nudes to bold nail art.
Questions or having trouble with removal? Send us a message on Instagram or via chat. We're happy to help.
The right storage keeps your press-on nails in perfect condition for multiple uses.
A broken press-on nail is easier to fix than you think — the right approach has you sorted in minutes.
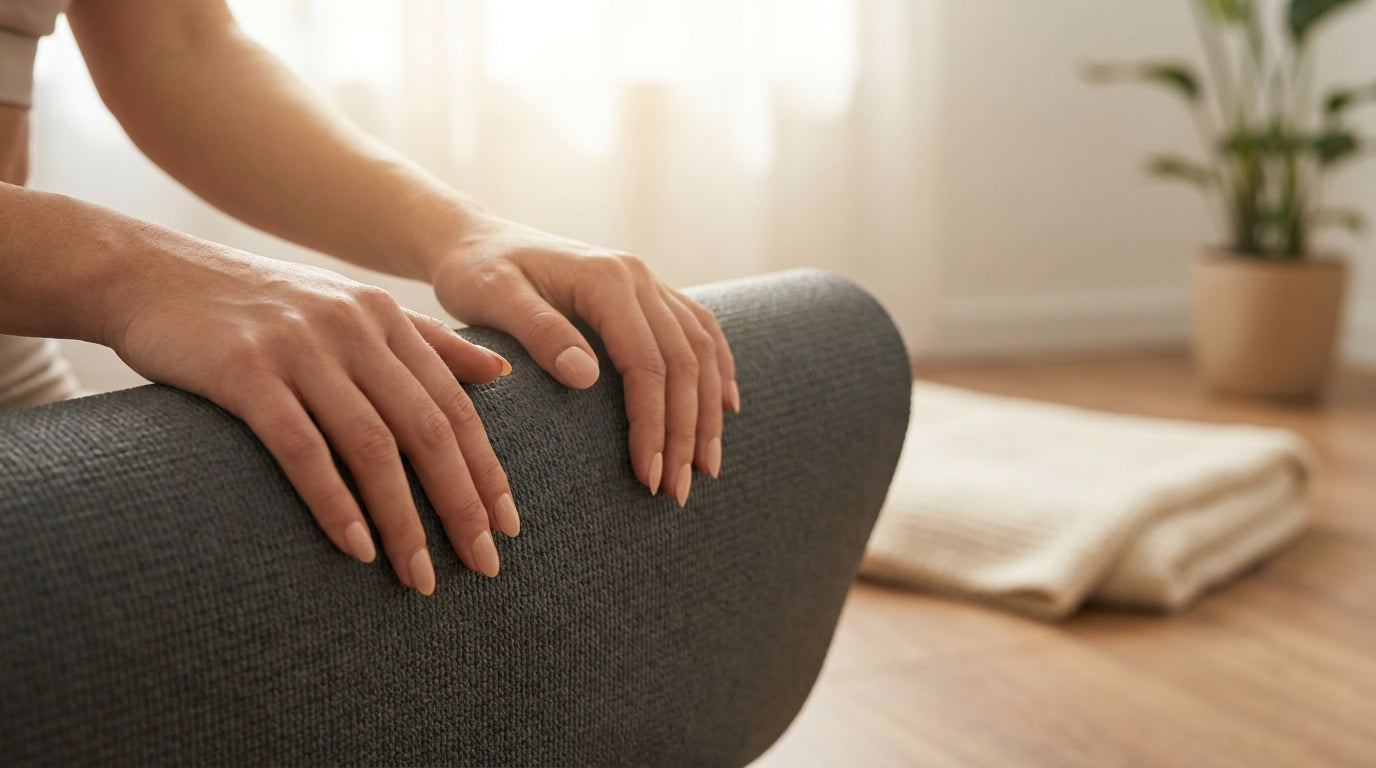
You don't have to choose between beautiful nails and an active lifestyle. Here's how to wear press-ons through workouts, yoga sessions, and more.