press-on nails
How to Store Press-On Nails: Keep Your Collection Organised and Ready to Use
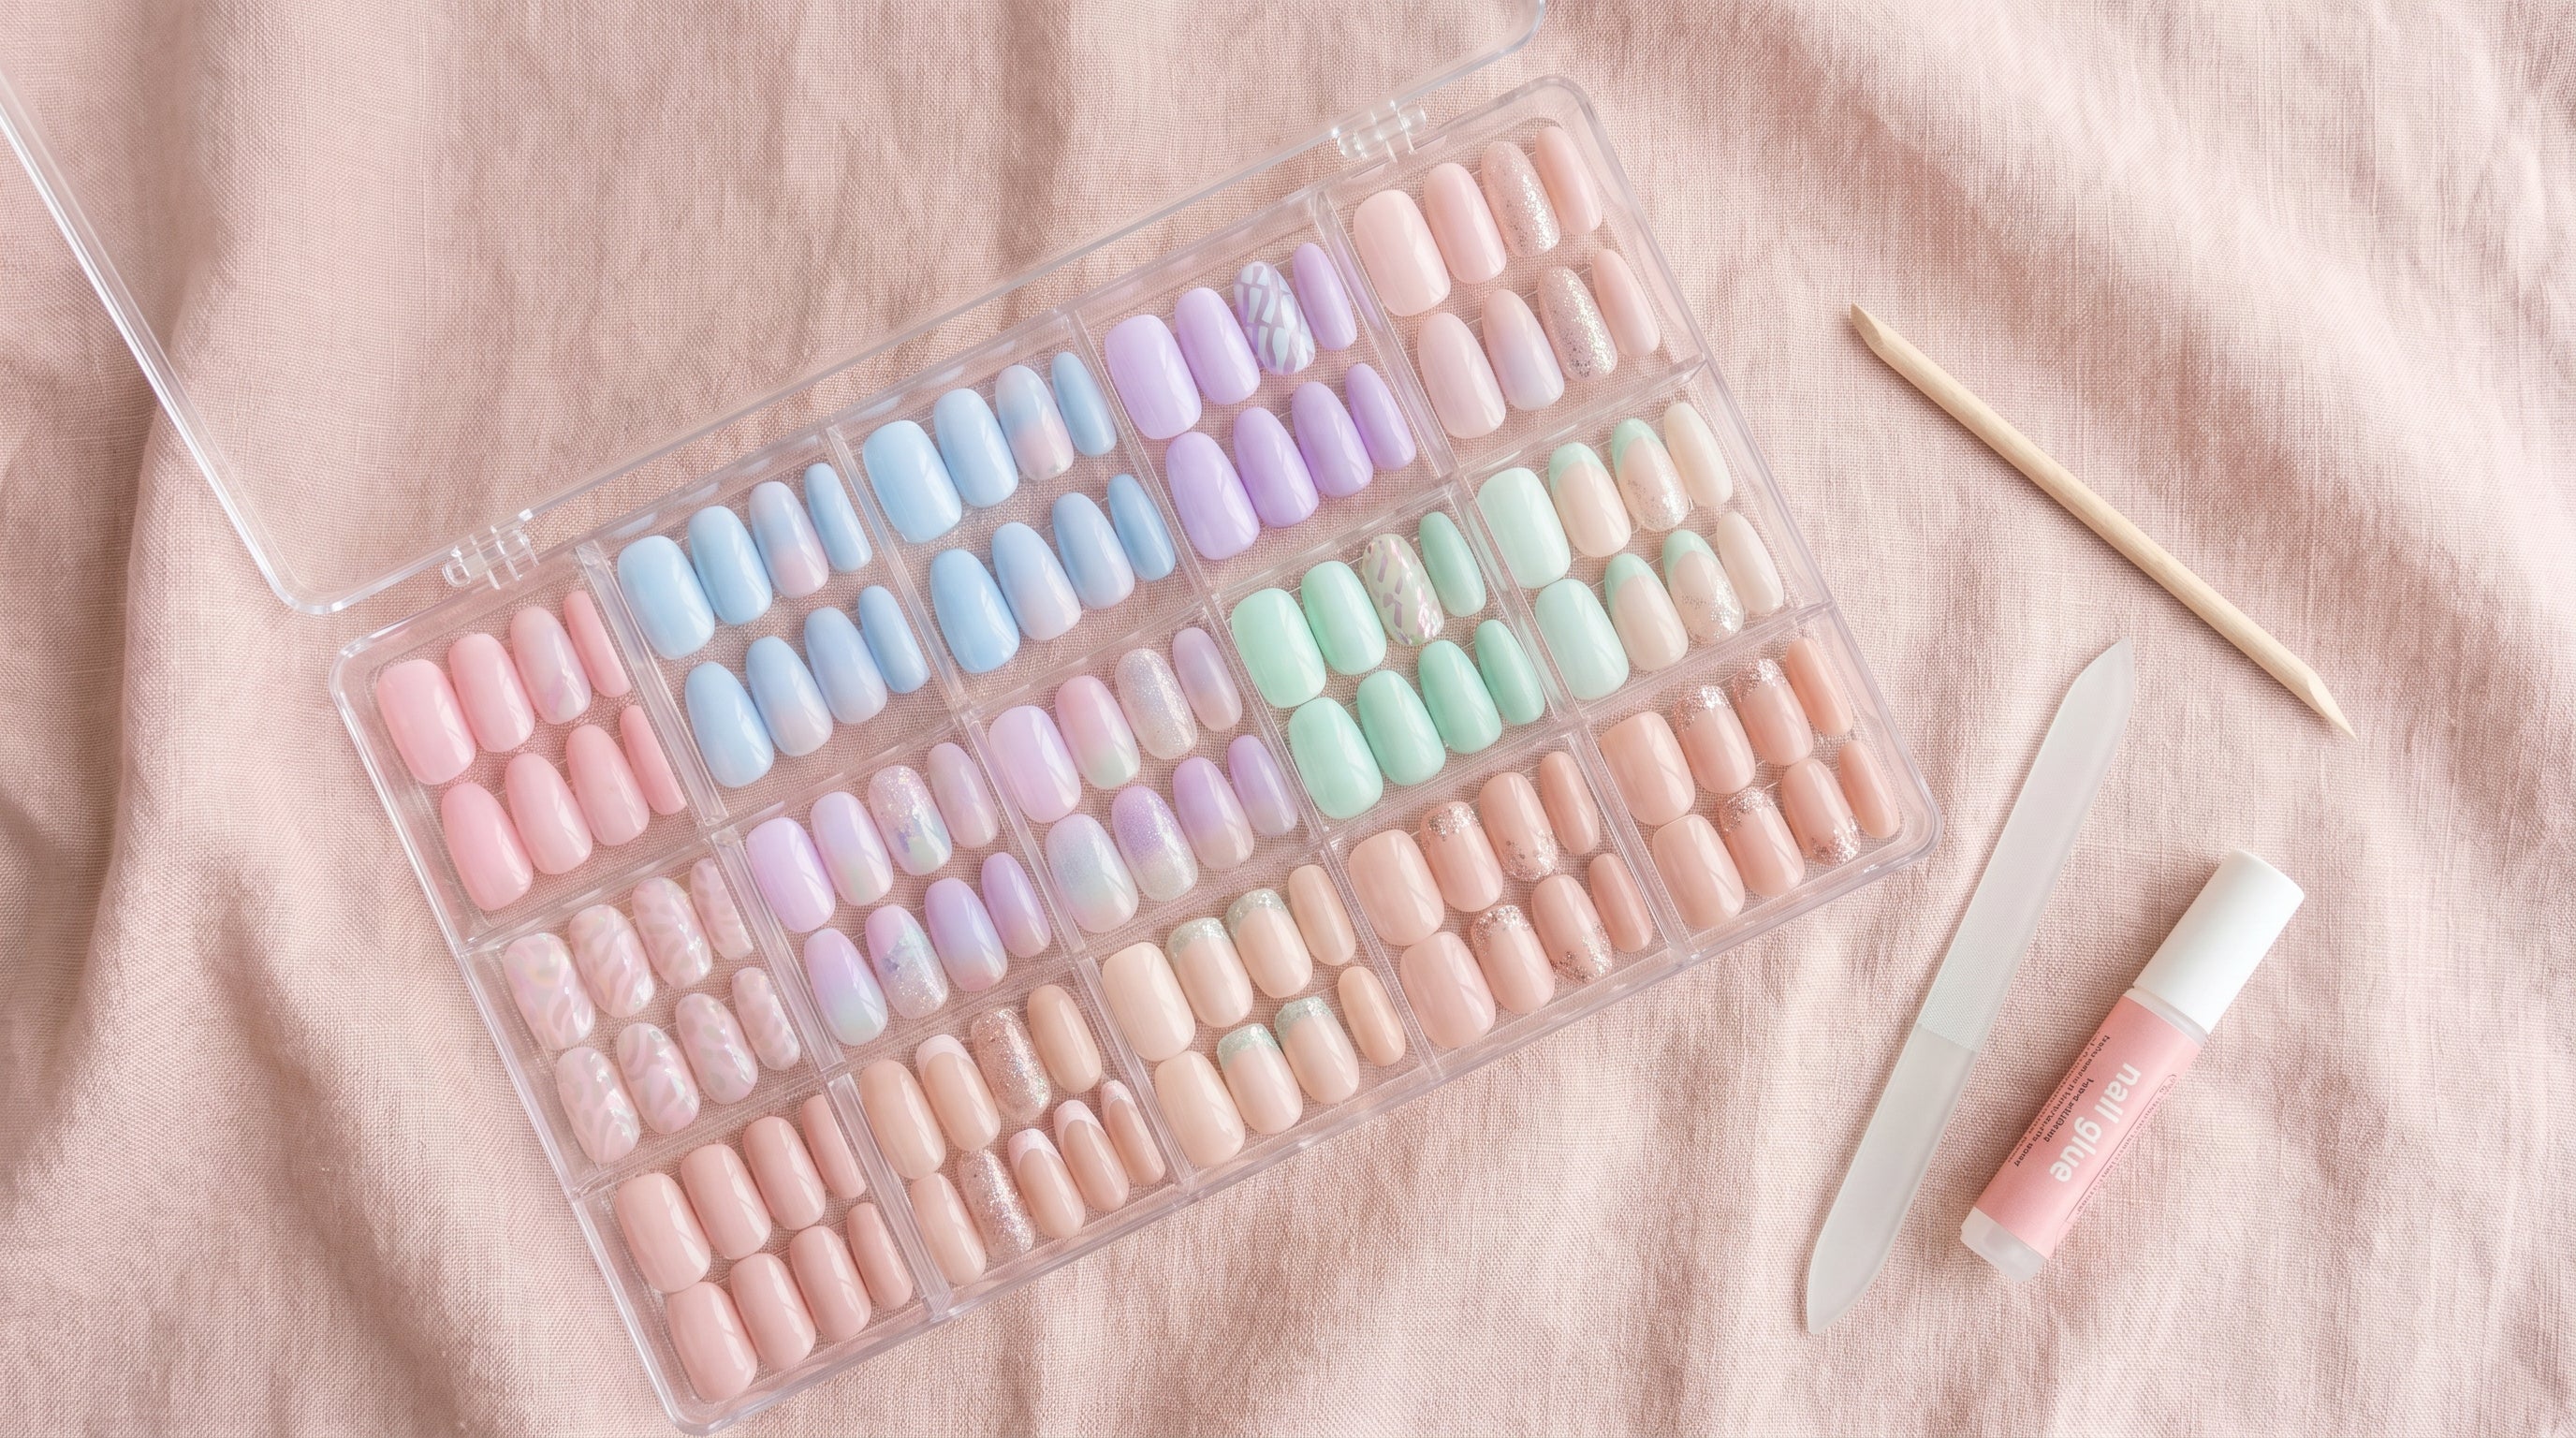
The right storage keeps your press-on nails in perfect condition for multiple uses.

You can absolutely file press-on nails — and it's the smartest way to turn a set that's almost right into one that fits perfectly.
Whether you want to shorten the length, smooth sharp edges, or completely reshape them into an almond or coffin: the right technique makes it easy. Here's everything you need to know.
Yes, and you should when needed. Press-ons are made from ABS plastic or acrylic — both materials that file down cleanly. If a nail isn't sitting quite right, filing is far better than forcing it.
What you shouldn't do: use a nail clipper as your only tool, or try to drill through them. A file gives you control; clippers risk cracking.
This is the golden rule: always file before you glue or tab the nail on. You have far more control, and you won't risk accidentally peeling it off mid-file.
Hold the nail against your finger and gauge how much you want to remove. Make a mental note of where you're aiming — or use a marker dot if you want to be precise.
Don't saw back and forth — that weakens the material. File in one direction only, from the side edge toward the center. Work slowly and check your progress every few strokes.
After shortening, the edges will often feel sharp or rough. Lightly file them smooth with a gentle curved motion. A buffer block afterward gives a clean, salon-like finish.
Not sure which shape suits your hand? Check our nail shapes guide for a breakdown by hand and finger type.
Before applying, lay the filed nail on top of your natural nail (no glue yet) to check the fit. It should cover your nail bed from side to side — not hanging over the edges. Too wide? File the sides a touch more. Too narrow? You've got the wrong size — our sizing guide will help you find the right match.
Yes, but be careful. Hold the nail firmly and use light pressure — too much force can loosen it. Only use a fine file after the nail is on, never a coarse one. And don't file right after getting the nails wet — wait until they're fully dry.
It's not ideal — clippers can crack the plastic, especially on wider press-ons. If you need to remove a lot of length, clipping carefully first and then filing smooth is acceptable. But always finish with a file. Never clip as the final step.
The best press-on set starts with the right fit. Browse the Popink collection to find nails that match your natural nail shape — then a little filing is all it takes to make them look like they were made for you.
The right storage keeps your press-on nails in perfect condition for multiple uses.
Clean girl nails are one of the biggest nail trends right now — and press-ons make them surprisingly easy to pull off.
A broken press-on nail is easier to fix than you think — the right approach has you sorted in minutes.