press-on nails
How to Store Press-On Nails: Keep Your Collection Organised and Ready to Use
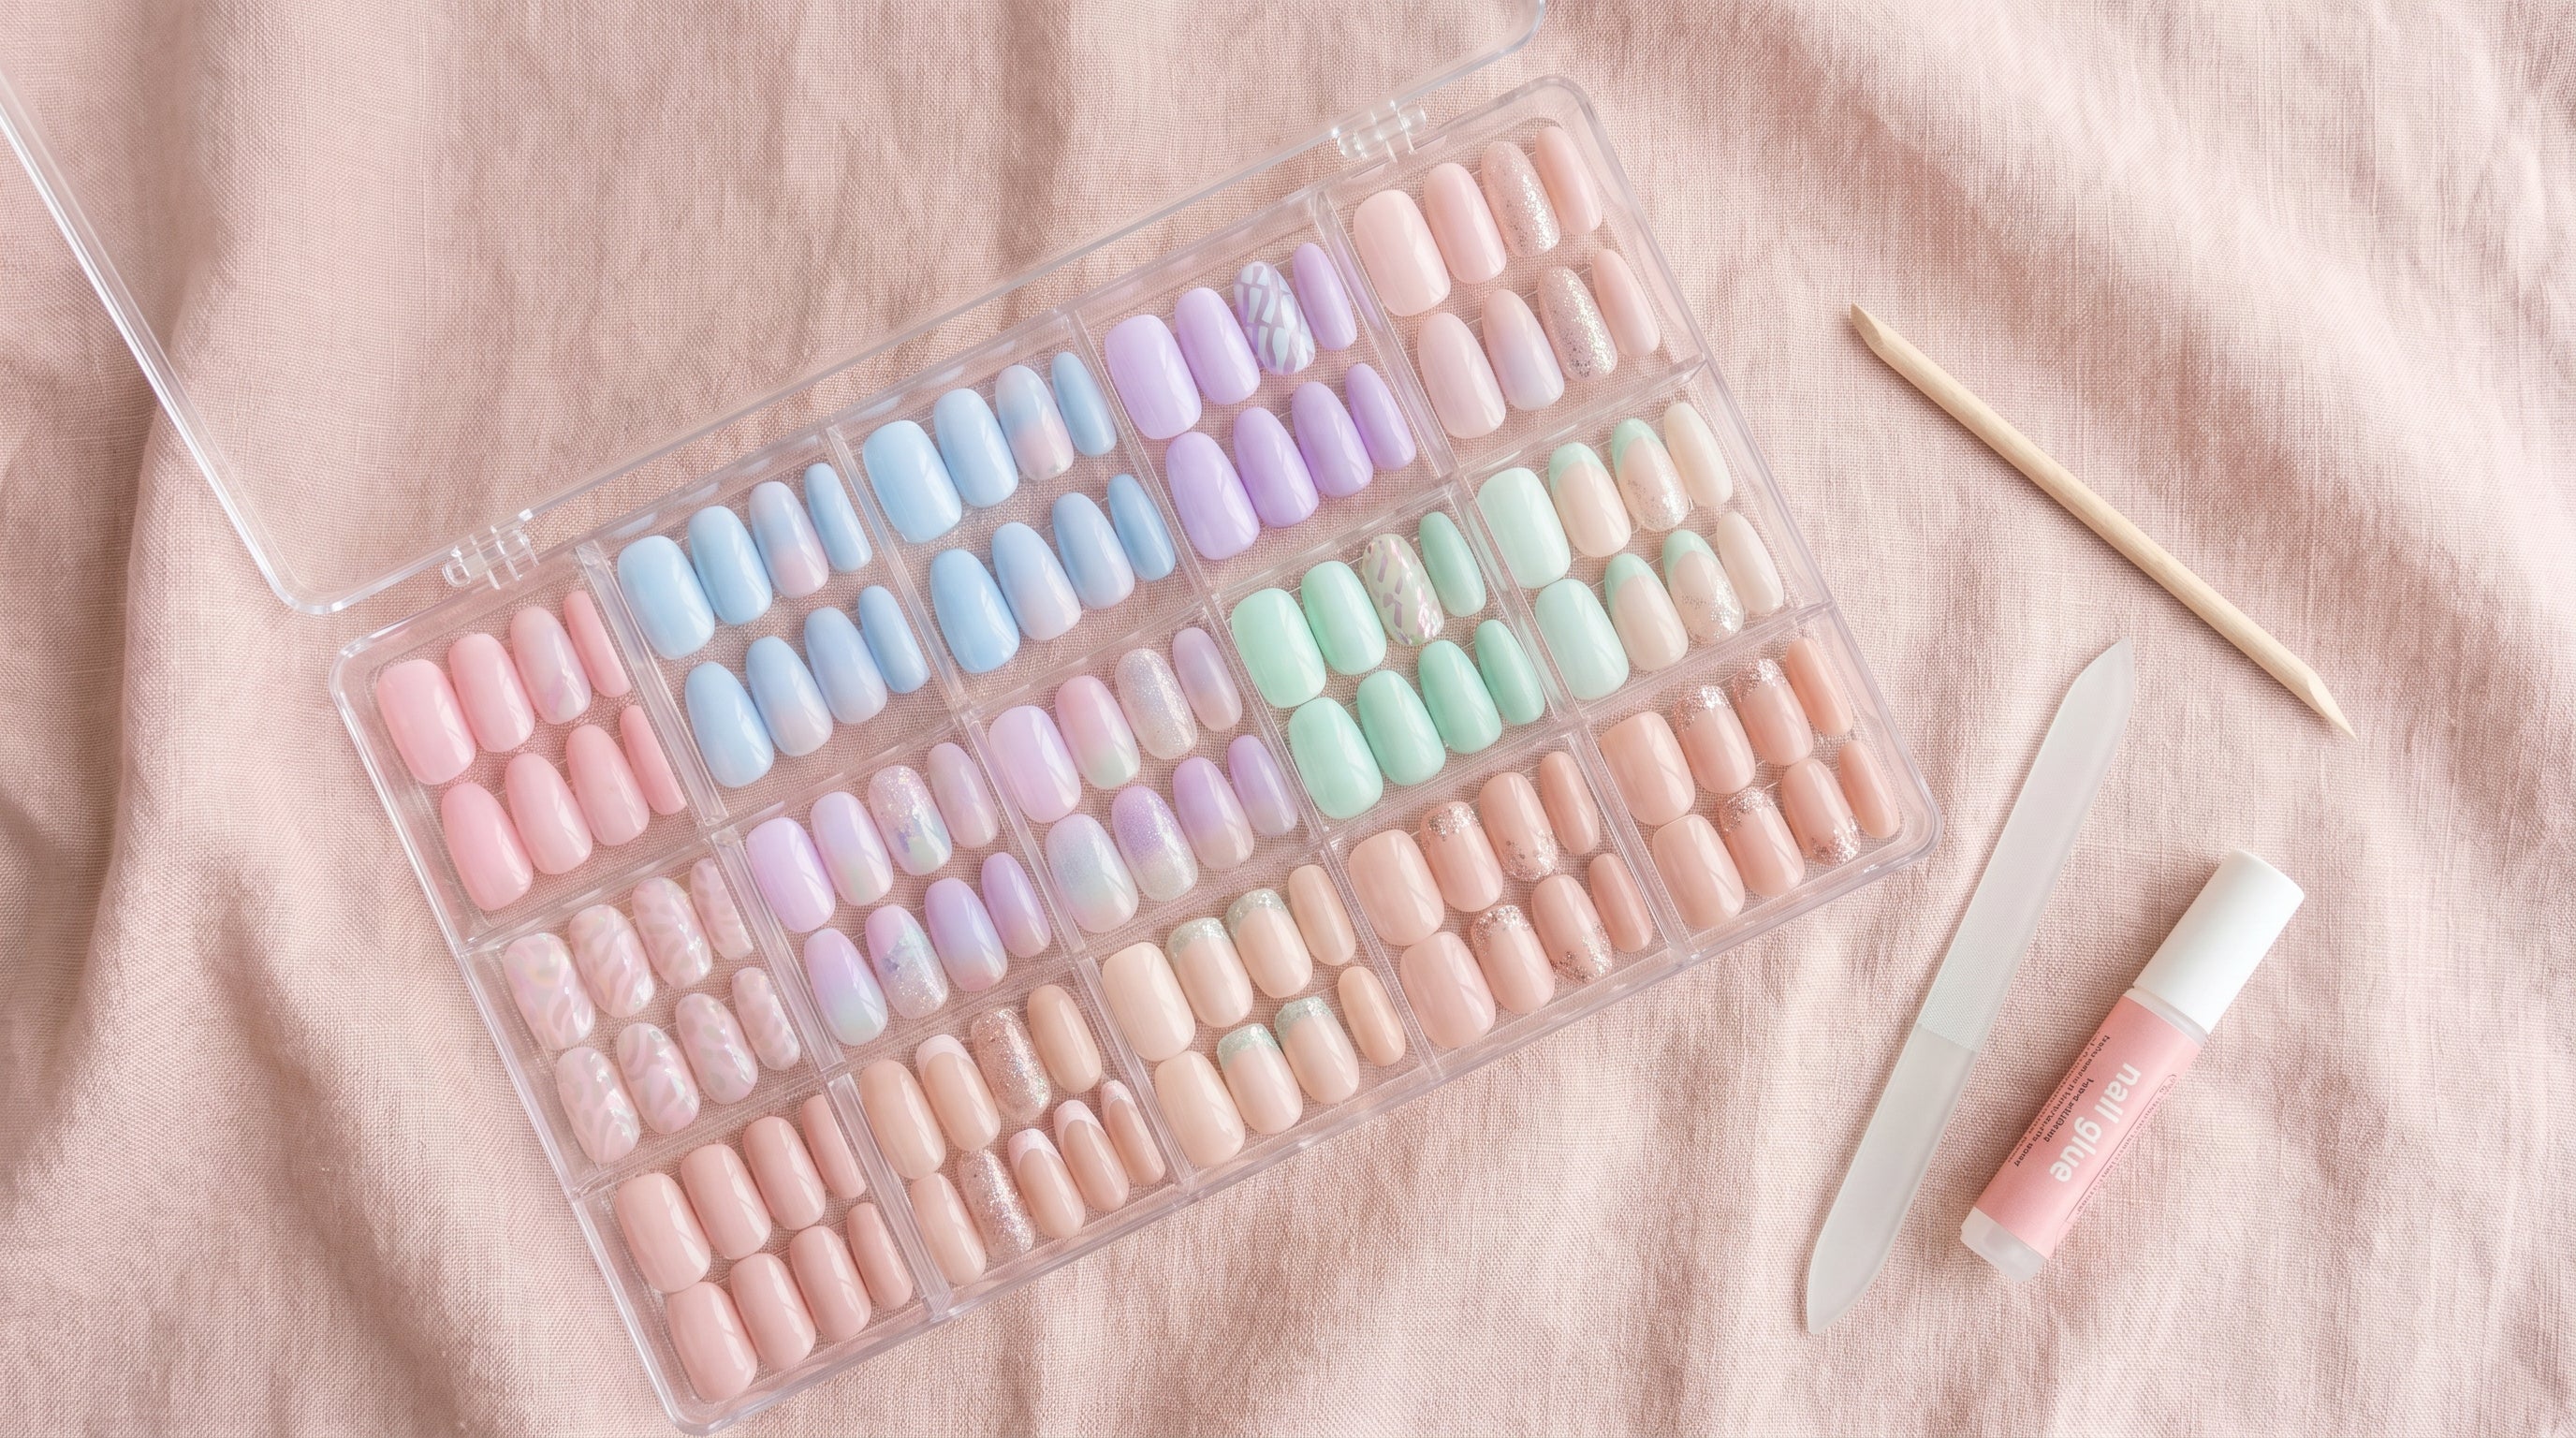
The right storage keeps your press-on nails in perfect condition for multiple uses.
Press-on nails are one of the fastest ways to get salon-quality nails at home — when applied correctly. Most beginners run into the same short list of problems: nails that lift after a day, air bubbles trapped underneath, or a result that just looks fake. The good news is that all of these issues are easy to prevent once you know where things go wrong.
Here's what trips up most first-timers, and what to do instead.
This is the number one reason press-on nails lift early. Adhesive — whether glue or gel tabs — simply won't bond to oily or damp surfaces.
What to do instead:
Nails that are too narrow look unnatural. Nails that are too wide lift at the sides. Getting the right size is the single biggest factor in achieving a natural look.
Measure your nail bed from edge to edge at its widest point. Pick a press-on that matches or sits just slightly narrower — never wider. When you're between two sizes, go smaller.
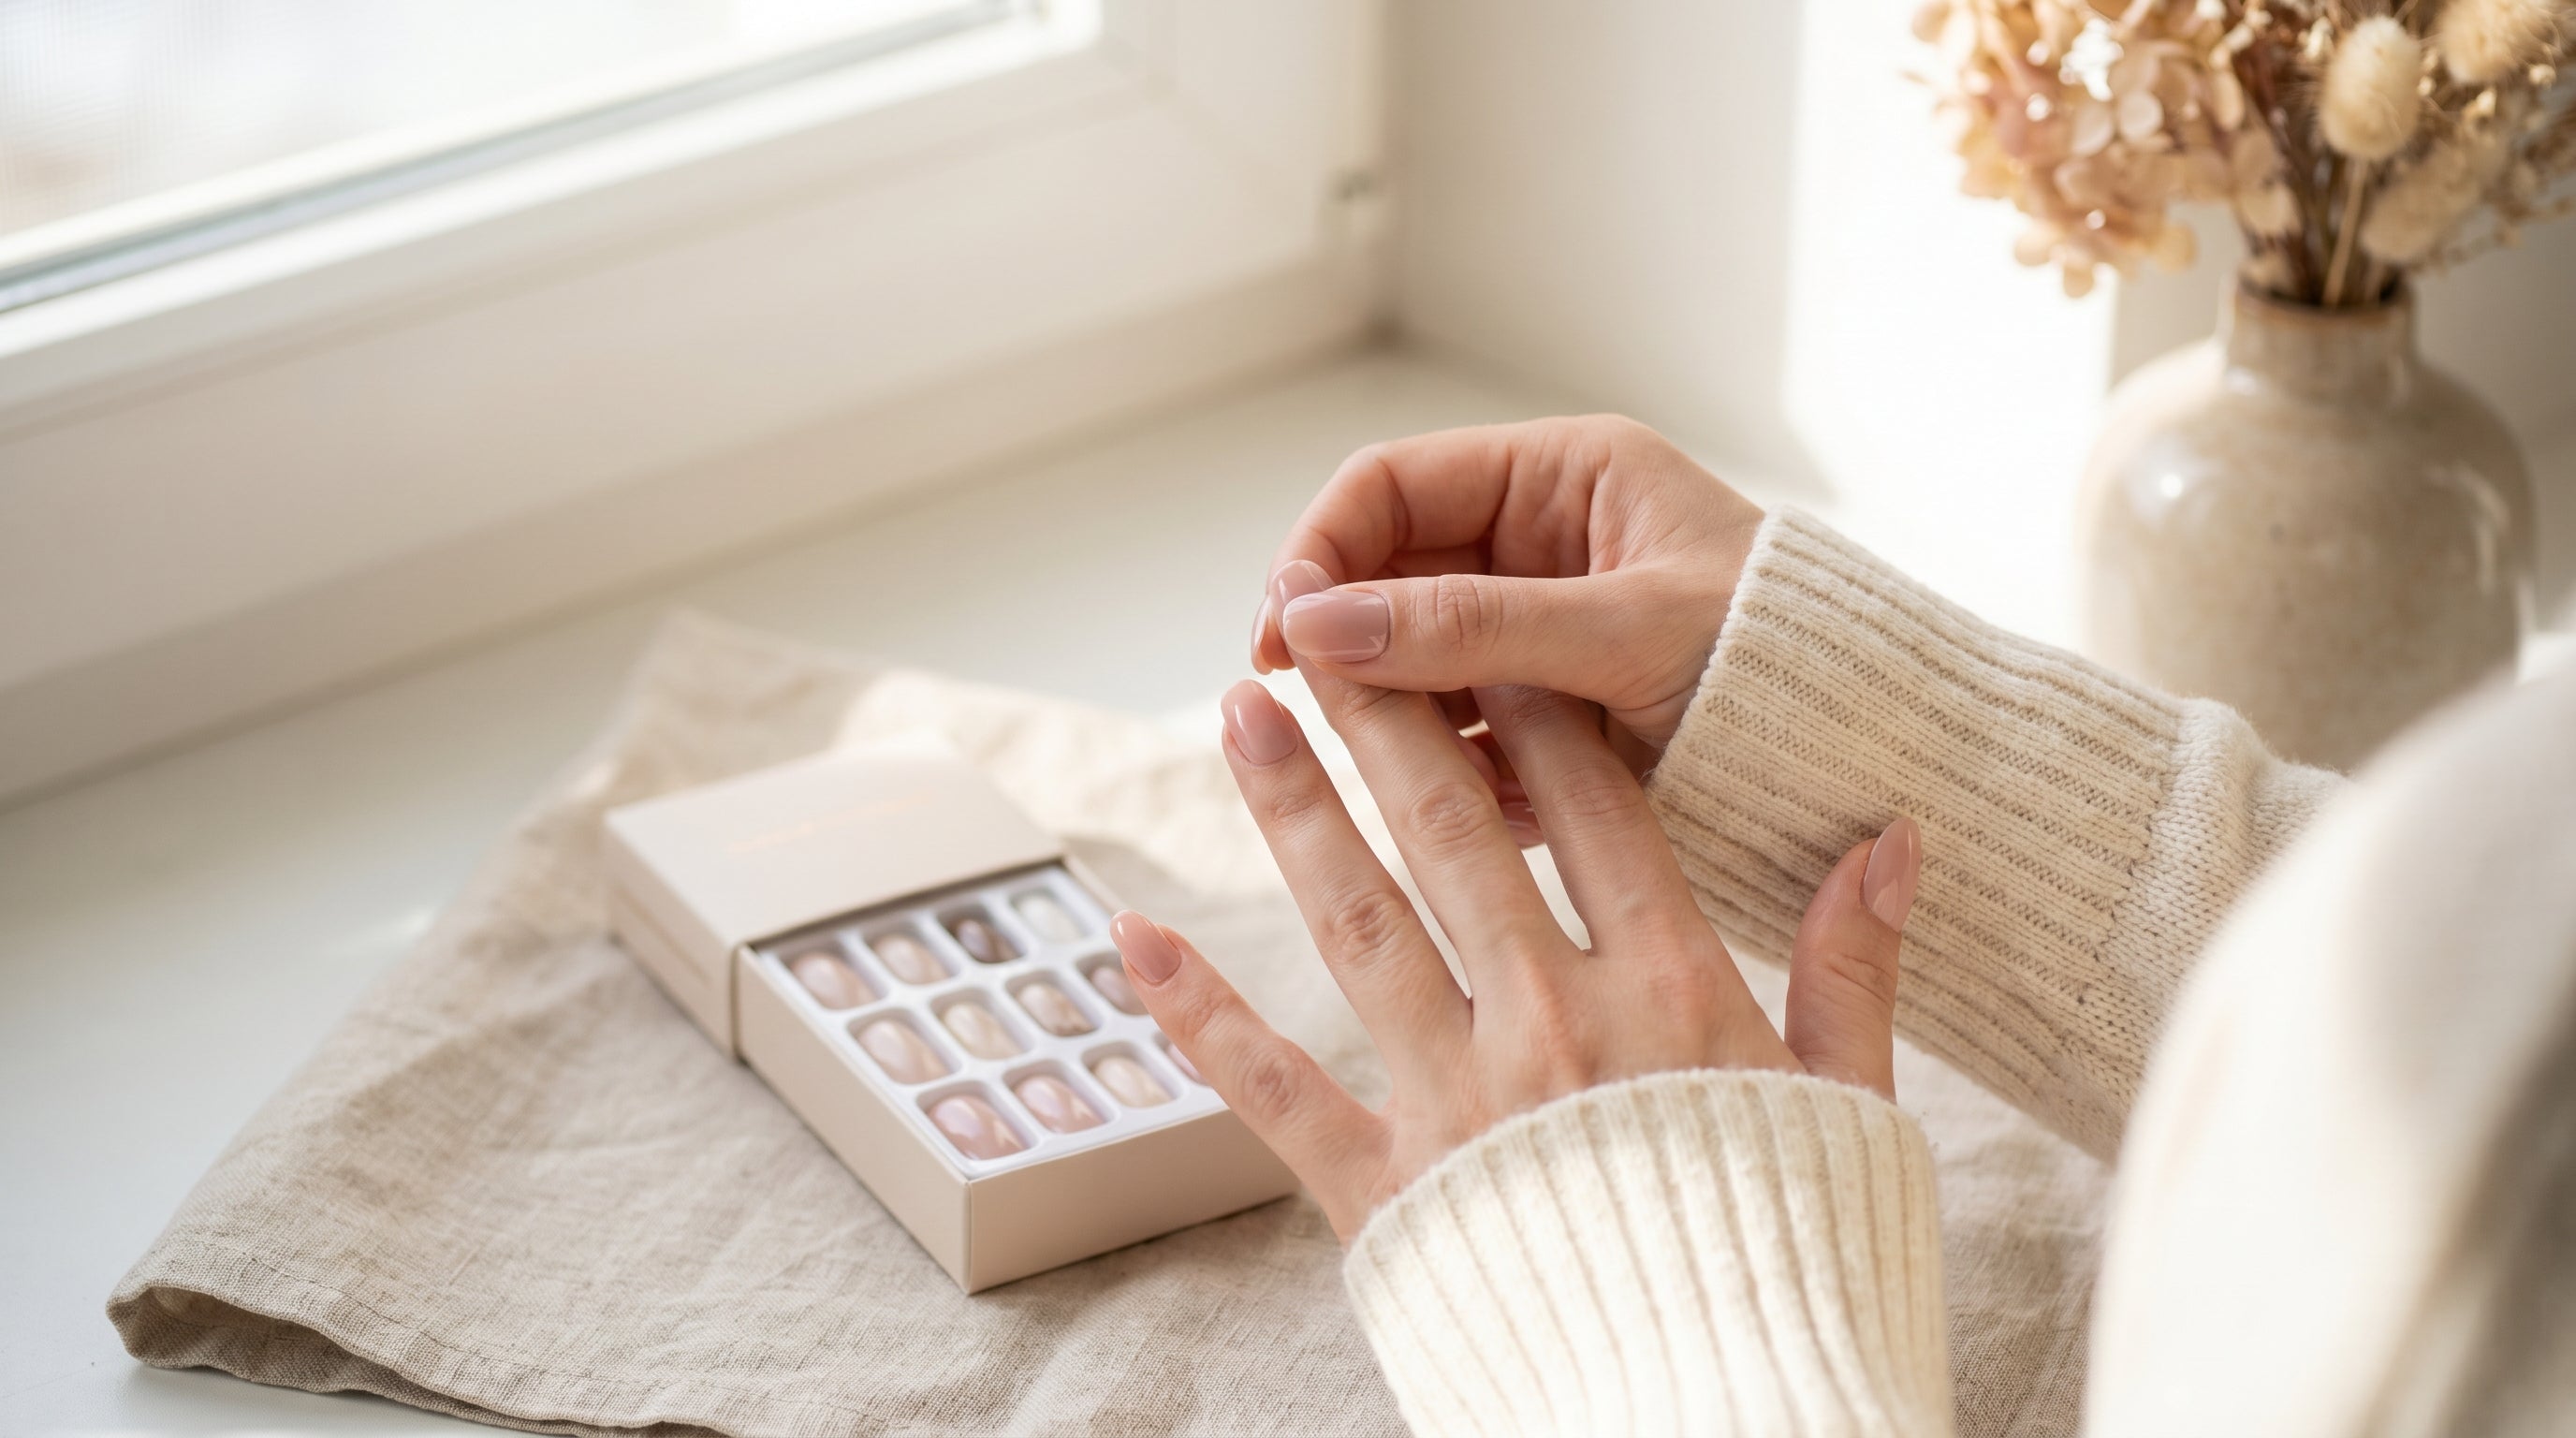
Popink sets come with multiple sizes per finger. Lay them all out before you start so you're not hunting for the right one mid-application.
See also: How to size press-on nails correctly
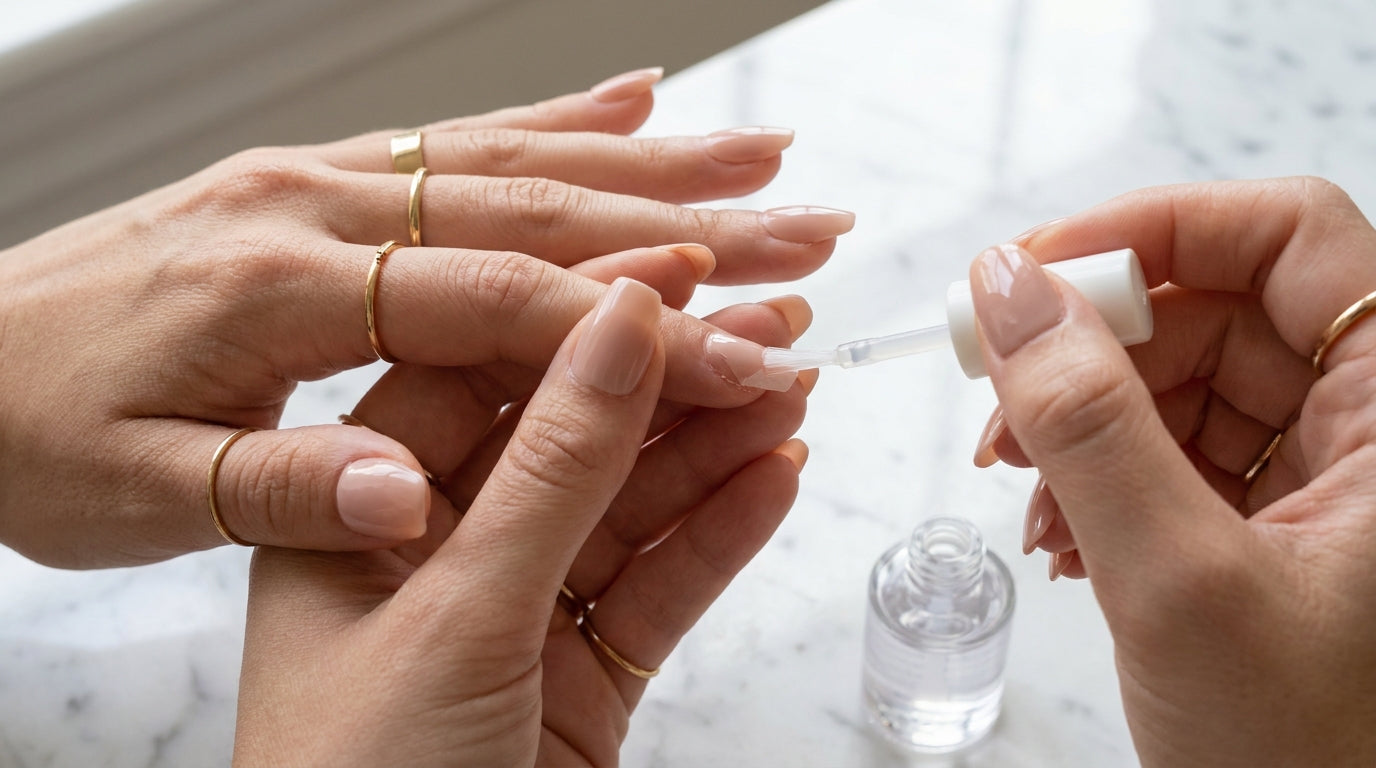
More glue means better hold, right? Not quite. Excess glue squeezes out around the edges and makes a mess without actually improving adhesion.
Apply a small drop on the press-on and a small drop on your natural nail. Press firmly for 10 to 15 seconds, then wipe away any excess glue immediately before it sets. A thin, even layer of adhesive works far better than a thick blob.
Gel tabs are a great glue-free option if you want to protect your natural nails. Most people who try them and give up do so because the tabs lift within a day — but that's almost always a prep problem, not a quality problem.
The same rules apply as with glue: prep is everything. Degrease, buff lightly, keep dry. After applying, press firmly for at least 15 seconds.
Also avoid water for the first hour or two after application. No dishes, no shower. Give the bond time to fully set.
This one's surprisingly common: forcing off a nail that's lifting causes more damage to your natural nail than the application ever did.
Soaking in warm water or acetone remover is the only correct method. Five minutes of soaking, then gently work from the sides inward — never pull from the tip. If there's any resistance, soak longer.
See also: How to remove press-on nails without damage
Press-ons come at a set length, but that's not always right for you. Long nails you're not used to are more likely to snag and break — and when they do, they can take your natural nail with them.
File the length down before applying if the set feels too long for your lifestyle. Shaping is fine; just avoid clipping, which can stress the acrylic and cause cracks along the edge.
See also: Best nail shapes for short nails
Press-ons with gel tabs comfortably last 5 to 7 days. With glue, you can realistically hit 2 weeks or more. That difference is real — and a gel tab set that lifts after a week isn't defective.
Choose the method that matches your usage. Wearing them for one occasion? Gel tabs. Want long-term wear? Glue.
See also: How long do press-on nails last?
Before you start:
Almost always, this comes down to oily or damp nails. Make sure your nails are clean, dry, and lightly buffed before you start. Never apply press-ons right after a shower or washing your hands.
Yes — if you remove them carefully and store them properly. Press-ons applied with gel tabs are easier to reuse than those applied with glue. Read more in our guide on how to reuse press-on nails.
Measure your nail bed at its widest point. When in doubt, go smaller. More detail in our sizing guide.
Not when removed correctly. Never force a nail off — always soak first. Damage almost always comes from improper removal, not from the press-ons themselves.
With gel tabs, typically 5-7 days. With glue, 1-2 weeks or more. Prep quality and how much water contact you have are the biggest factors.
Ready to give it a proper go? Browse Popink's full collection of press-on nails — from classic French tips to bold nail art sets. Pick your set, follow the steps above, and see the difference good prep makes.
The right storage keeps your press-on nails in perfect condition for multiple uses.
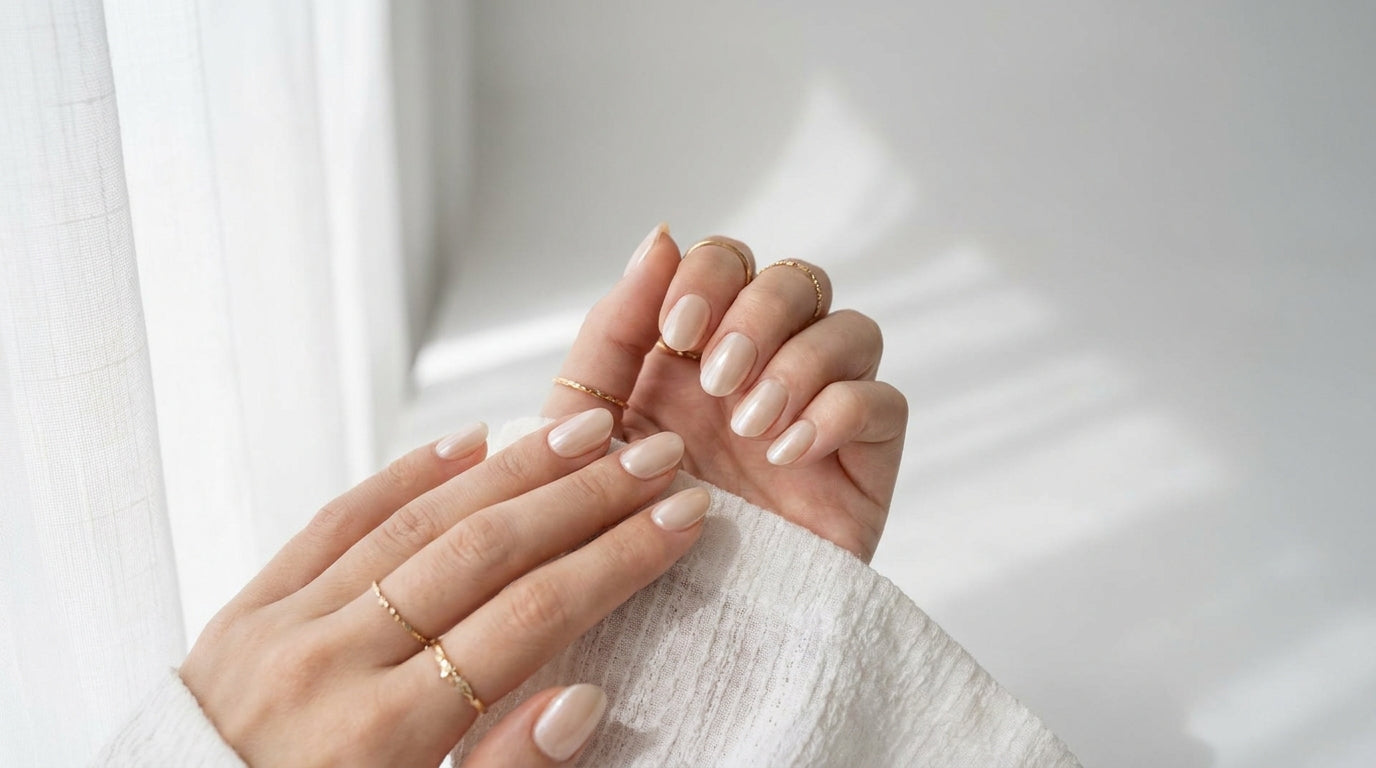
Clean girl nails are one of the biggest nail trends right now — and press-ons make them surprisingly easy to pull off.
A broken press-on nail is easier to fix than you think — the right approach has you sorted in minutes.