sports
Press-On Nails for an Active Lifestyle: Gym, Yoga & Sports
You don't have to choose between beautiful nails and an active lifestyle. Here's how to wear press-ons through workouts, yoga sessions, and more.
They looked gorgeous all week, but now it's time to take your press-on nails off. How do you do it without damaging your natural nails? This is exactly where a lot of people go wrong — pulling and prying gets you nowhere except damaged, thinned-out nails.
The good news: removing press-on nails safely is easier than you think. All you need is a little patience and the right technique. In this guide, the Popink Team walks you through it step by step.
First things first — the golden rule: never pull or pry off your press-on nails. No matter how tempting it is when an edge starts lifting, ripping a press-on off takes the top layer of your natural nail with it. The result? Thin, weak, and sometimes painful nails.
The adhesive bonds to the nail surface. To release that bond, you need to dissolve the glue — not fight against it. Everything that follows is built on that principle.
Depending on which method you choose, you'll need one or more of the following:
This is the most skin-friendly method, ideal if you have sensitive nails or prefer to avoid acetone.
Step 1: Fill a small bowl with warm water. It should be comfortably warm — warm enough to soak your fingers without discomfort.
Step 2: Submerge your fingers and soak for 10 to 15 minutes. Gently wiggle them occasionally.
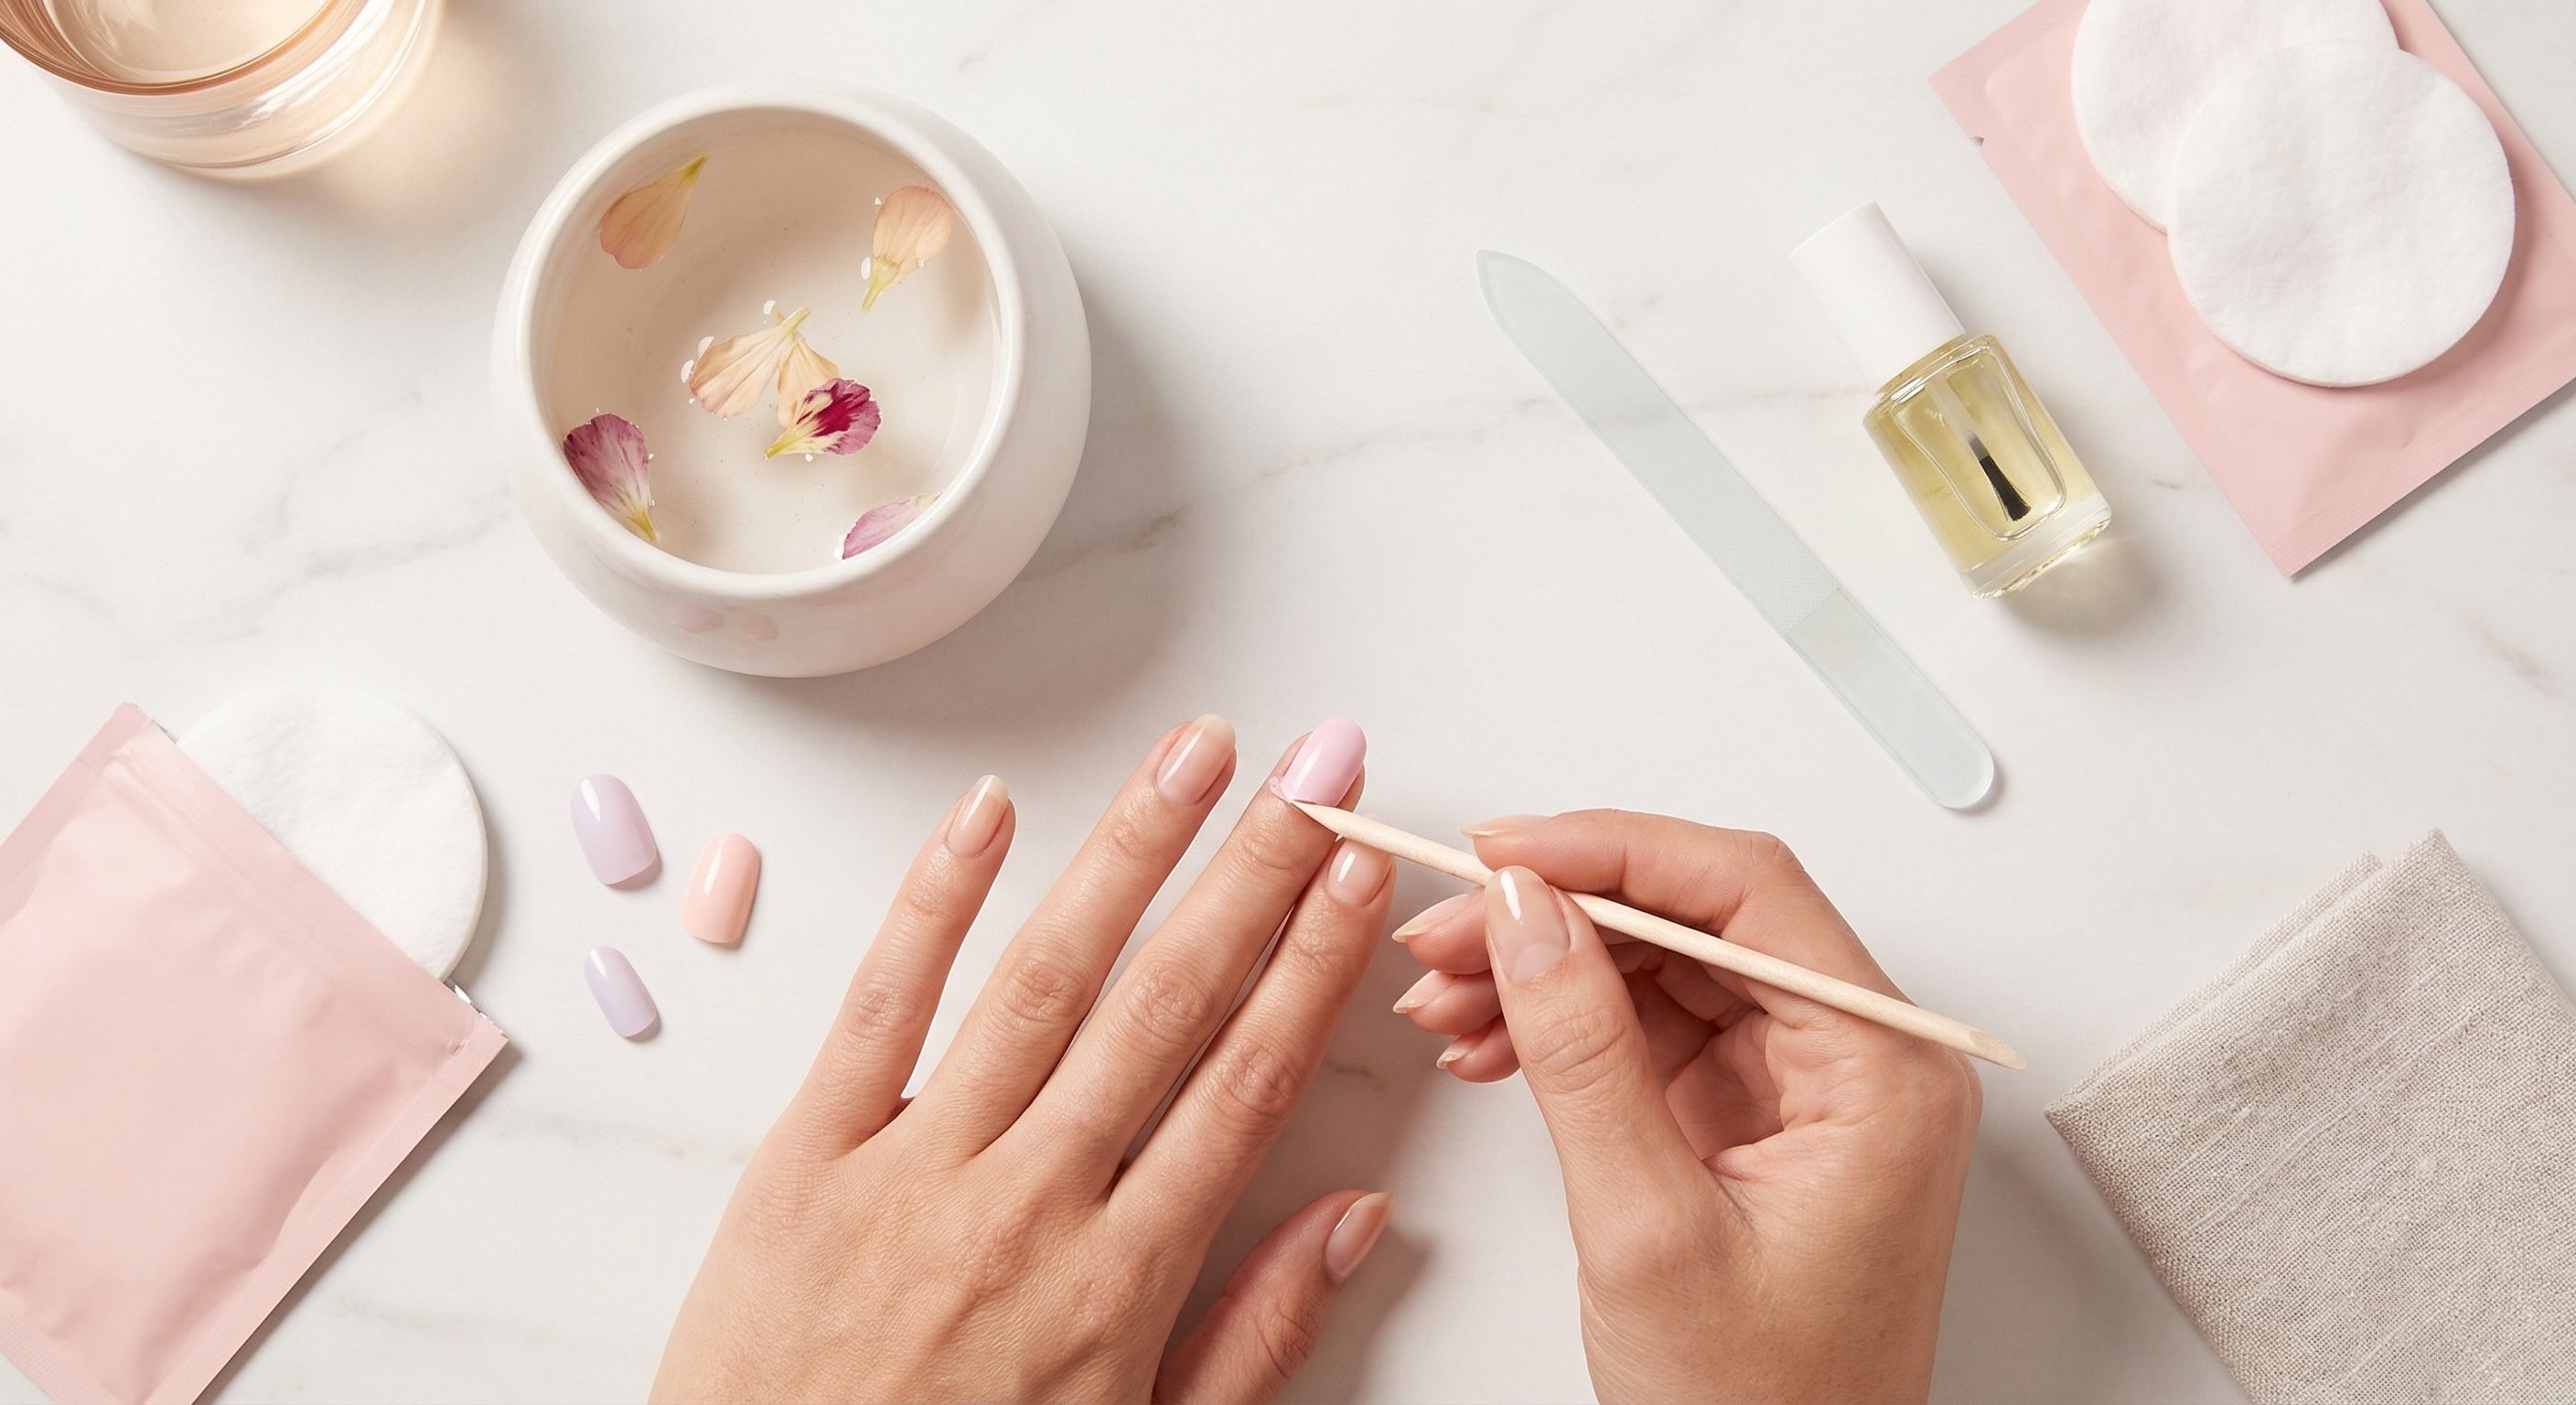
Step 3: After soaking, you'll notice the edges of the press-ons have begun to loosen. Use a cuticle pusher or wooden stick to gently slide under the edge of the press-on nail.
Step 4: Work slowly from the edges toward the centre. If you feel resistance, stop and soak for another 5 minutes before trying again.
Step 5: Once the nail is fully free, remove it gently. Repeat for each nail.
Tip: Not loosening fast enough? Add a drop of dish soap to the water — it helps break down the adhesive further.
If you're in a hurry or your press-ons have been on for a while, acetone is the fastest and most effective solution.
Step 1: Pour a small amount of pure acetone into a bowl. You can also use acetone-based nail polish remover, but pure acetone works faster.
Step 2: Submerge your fingers for 5 to 10 minutes. Keep your fingers still — moving them around slows the process.
Step 3: After soaking, the press-ons will feel soft and flexible. Use a wooden stick to gently slide under the edges and lift them free.
Step 4: If there are any adhesive residues left on your nail, soak a little longer or gently rub with a cotton pad soaked in acetone.
Important: Acetone dries out skin and nails. Don't use this method too frequently back-to-back, and always follow up with proper aftercare.
Whether you used water or acetone — your nails deserve some extra love after removing press-ons. Here's what to do:
Massage a nourishing cuticle oil into your nails and cuticle area. Jojoba oil, almond oil, or a dedicated cuticle oil all work beautifully. This replenishes moisture and helps the nail recover.
Moisturising your hands after removal isn't a luxury — it's a necessity, especially if you used acetone. Choose a rich, hydrating cream and apply it generously to your hands, fingers, and nails.
Thinking about putting on a fresh set straight away? Wait at least a day. Give your natural nails time to breathe and recover before your next application.
Sometimes a small ridge or uneven spot remains on the nail surface. Gently smooth it with a fine-grit nail file — never scrape aggressively or press too hard.
Mistake 1: Being too impatient.
Give the soaking or acetone method the time it needs. Rushing leads to pulling, and pulling leads to damage.
Mistake 2: Using metal tools.
Metal nail scrapers or pushers can scratch your nail surface. Always use a wooden stick or a plastic cuticle pusher.
Mistake 3: Skipping aftercare.
Nails that have just had press-ons on them are slightly drier than usual. Aftercare isn't optional — it's what keeps your nails healthy and strong for the next set.
Mistake 4: Using acetone too frequently.
Acetone is effective but it dries the nails out significantly with regular use. Alternate with the water method if you're switching sets often.
Press-on nails are designed for repeated wear. As long as you remove them correctly and take care of your nails between sets, you can switch as often as you like. Many Popink customers change their look every week — subtle nude sets for the weekdays, bold designs for the weekend.
The key is always the same: proper prep when applying, and proper aftercare when removing.
Now that you know how to safely remove press-on nails, there's nothing standing between you and your next favourite set. Browse the Popink collection for the latest designs — from minimalist to maximalist, there's always something that's made for you.
Have questions about removal, products, or how to get the best results from your Popink set? Drop us a message or ask on our socials. We're always happy to help.
You don't have to choose between beautiful nails and an active lifestyle. Here's how to wear press-ons through workouts, yoga sessions, and more.

Yes, you can file and reshape press-on nails — and it's easier than you think. Here's how to get a perfect fit every time.

Nail glue holds longer, adhesive tabs are gentler on your nails. Here's exactly when to use each one.