sports
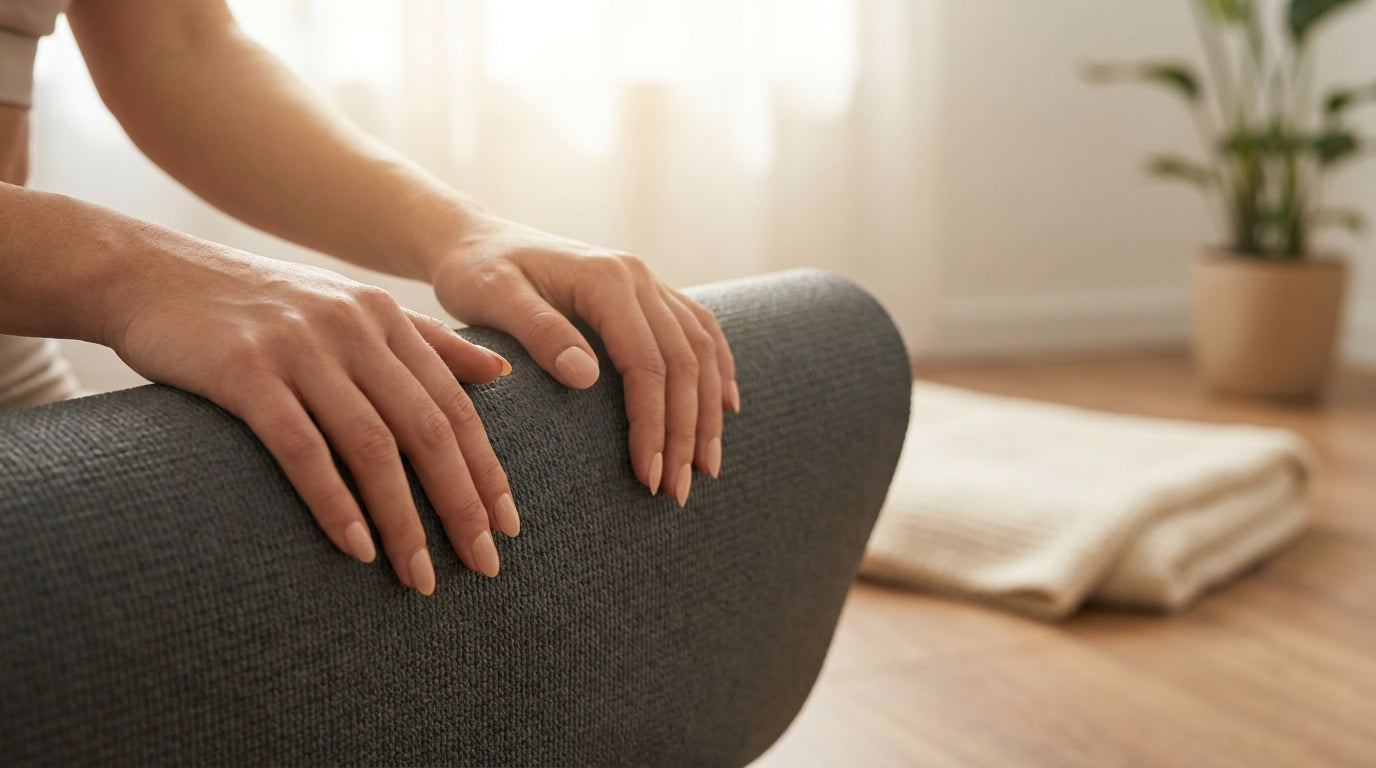
Press-On Nails for an Active Lifestyle: Gym, Yoga & Sports
You don't have to choose between beautiful nails and an active lifestyle. Here's how to wear press-ons through workouts, yoga sessions, and more.
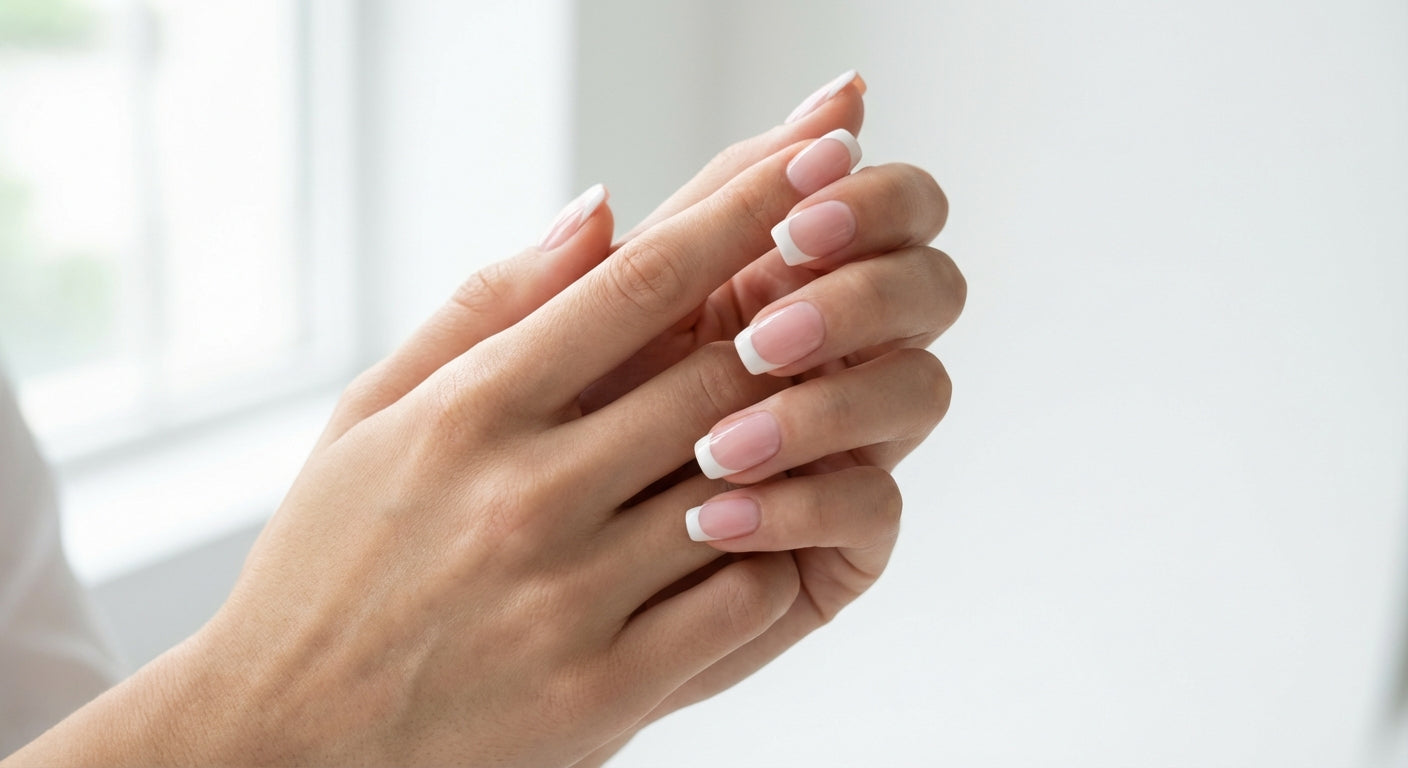
The french manicure has been one of the world's most beloved nail styles for decades — and for good reason. The combination of a pink or nude base with a crisp white tip is timeless, elegant and works with every outfit and occasion. With press-on nails you can achieve that same perfect look at home, in a fraction of the time and cost of a salon visit.
In this article we explain exactly how it works, what you need, and how to get the most beautiful results.
A traditional french manicure at the salon requires precision, a steady hand and the right products. Not everyone has those skills — and that's completely fine. Press-on nails solve this problem elegantly:
Not all press-on nails are suited to a classic french manicure. Look for these features:
Good preparation is the secret to long-lasting wear.
1. Remove all old nail polish completely with acetone or remover.
2. Push back your cuticles with an orange stick — this gives more surface area for the glue.
3. Lightly buff the surface of your natural nail with a buffer file. This creates better adhesion.
4. Clean your nails with an alcohol wipe. Remove all oil and moisture — this is crucial. Don't use hand cream or oils right before application.
Lay the press-on nails next to your natural nails and find the best fit for each finger. The nail should fit side to side without overlapping onto the skin. Slightly too small is better than too large — nails that are too wide lift faster.
1. Apply a small drop of nail glue to your natural nail (not the press-on).
2. Hold the press-on at an angle, start at the cuticle end and press firmly toward the tip.
3. Hold for 30–60 seconds, pressing on the centre to avoid air bubbles.
4. Repeat for all ten fingers.
Tip: Start with your non-dominant hand to practise.
With proper preparation and glue, press-on nails last 7 to 14 days. Want to wear them temporarily (for a party or event)? Use nail tabs instead of glue — they last 1–3 days and leave your nails undamaged.
Tips to extend wear time:
The power of the french manicure is its versatility. It always works:
| Occasion | Tips |
|---|---|
| Work / office | Choose a subtle nude base, short to medium length |
| Wedding (guest or bride) | Oval or almond shape, classic white, medium length |
| Casual weekend | Short square tips, possibly with a coloured tip |
| Party / night out | Glitter or gold tip, longer nails |
| First date | Oval, pink base — polished but not overdone |
1. Not cleaning nails properly
Oil or moisture on your nail is the biggest cause of nails lifting quickly. Always clean with alcohol — never skip this step.
2. Choosing the wrong size
A nail that's too wide sits on your skin, not on the nail — this causes irritation and lifting. Always choose the smaller size when in doubt.
3. Not pressing firmly enough
Really hold the nail for 30–60 seconds. Letting go too soon = air bubbles = early loss.
4. Not pushing back cuticles
Skipped out of haste. But the difference in finish is huge — always do it.
5. Using acetone to remove
Never force a press-on off. Soak your fingers in warm water or use a nail removal stick to remove them gently.
Beyond the classic advantages, there's another reason to choose press-ons: sustainability for your natural nails. Gel and acrylic nails require a fill every 2–3 weeks and can damage the nail plate during removal. Press-on nails:
At Popink you'll find press-on nails in all kinds of french manicure styles — from classic white to modern coloured tips, in every shape and length. Whether you're looking for a timeless bridal look or just want polished nails on a regular weekday: a french manicure with press-ons is always a great idea.
Shop the collection at popink.nl and find your perfect french in minutes.
You don't have to choose between beautiful nails and an active lifestyle. Here's how to wear press-ons through workouts, yoga sessions, and more.

Yes, you can file and reshape press-on nails — and it's easier than you think. Here's how to get a perfect fit every time.

Nail glue holds longer, adhesive tabs are gentler on your nails. Here's exactly when to use each one.